

cabreco
-
Posts
978 -
Joined
-
Last visited
Content Type
Profiles
Forums
Gallery
Events
Store
Everything posted by cabreco
-
From the album: The Blond
-
From the album: The Blond
-
From the album: The Blond
-
From the album: The Blond
-
From the album: The Blond
-
I took the liberty of documenting my replacement with photos & details. I think it would be a big help to Venture newbies who have never seen (much less worked on) a 1st Gen 63236.pdf
-
From the album: The Blond
-
From the album: The Blond
-
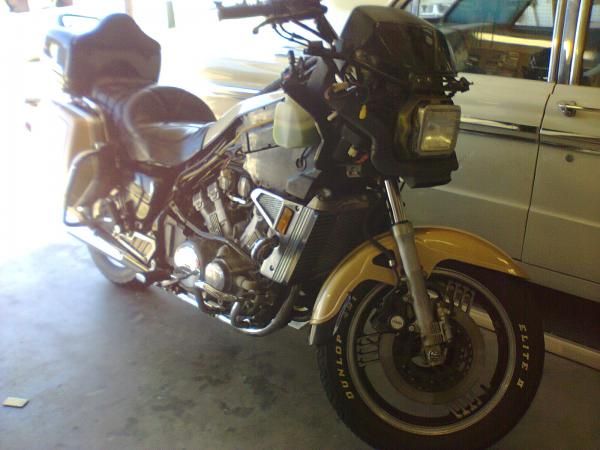
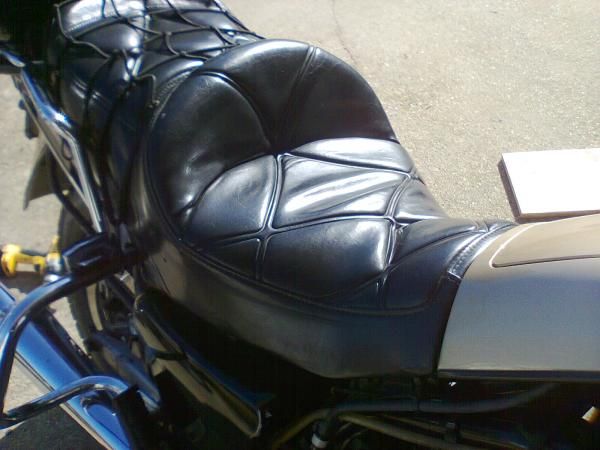
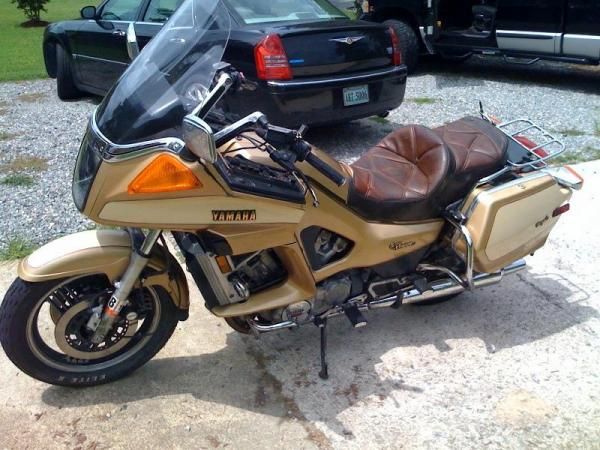
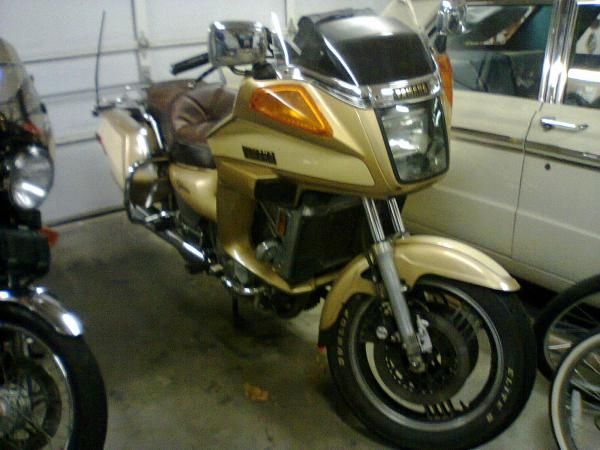
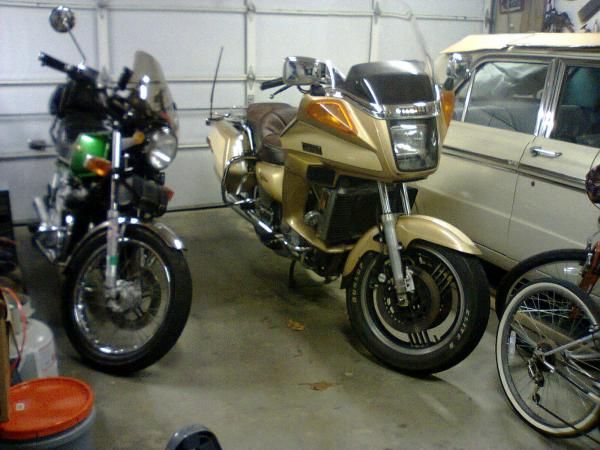
Now that I joined the forum, I was searching through the member lists & found the history of my 84. For those who know her I bought jurob 's Blondie last month. She still needs some TLC but not in the power, engine, & carb setup. Even though I have never met Jeff I want to thank muffinman for the carb sync he did on this bike. THIS THING IS AWESOME! She runs like a dream. The TLC I've done so far is add the trunk, a hidden antenna, a rebuilt slave cylinder, new stainless reservoir screws (thanks again dingy) and a new seat. The only thing left is basically all the plastic welding on the ABS & finding that pesky gas smell . This bike has been a joint effort by many people here. Knowing that I am damn proud to own her! I look forward to meeting other members on ride & meets. Thank you all for all of your help!
-

Slave Cyl Remove & Replace Question
cabreco replied to cabreco's topic in Venture and Venture Royale Tech Talk ('83 - '93)
This should be fun. I called the Yamaha dealer because I had ordered the 3JP-15461-01-00 so he looked up on the fische the gasket I need and he did indeed show 26H-15461-00-00. He called me back 5 minutes later & told me the 3JP number superceeds the 26H. I can't wait to see what comes in -
Slave Cyl Remove & Replace Question
cabreco replied to cabreco's topic in Venture and Venture Royale Tech Talk ('83 - '93)
If anyone can confirm this. The gasket for this cover is part # 3JP-15461-01-00 right? -
Slave Cyl Remove & Replace Question
cabreco replied to cabreco's topic in Venture and Venture Royale Tech Talk ('83 - '93)
That's what I thought, did it right. Guess I need a new mid engine cover gasket to stop the drip. -
In all honesty sometimes it is difficult to see a motorcycle on the road but for some it's impossible with them talking on the cell or texting. Understanding that the average car driver overlooks the small footprint of a bike, motorcycle riders should take extra steps to be seen. My thing is I ride with a safety vest on that I got at harbor freight. Ok I look dumb in this reflective dayglow yellow vest but I've noticed that when I ride without it, I seem to be a bit more invisible. Best $8 I ever spent. I have a few of them!
-
Slave Cyl Remove & Replace Question
cabreco replied to cabreco's topic in Venture and Venture Royale Tech Talk ('83 - '93)
I didn't notice when I removed this allen bolt, does the copper washer go over or under the mid engine cover? The reason I ask is, I now have a small oil leak which wasn't there before. Looking at the cover I see the washer marks on the outside of the mid engine cover. So I put the washer between the bolt & the cover. That being said, I thing the leak is probably that I need to replace the mid engine cover gasket (it kind of ripped). ANYWAY... The Slave cylinder was not as bad as I expected. No cursing at all (& I'm from NYC). It took me a total of 90 minutes including cleanup & rebuilding the original slave. I did get a used one to put in but decided since I had a rebuild kit to try my hand at rebuilding the original as well. No more leaking brake fluid! Bleeding was not really bad. I basically filled the reservoir and opened the bleeder & let gravity do it's thing. Once only fluid was coming out of the bleeder I closed it pumped the clutch handle & cracked the bleeder to let out air. Did that a few times & bleeding done! Didn't have to use the vacuum bleeder. Clutch nice & tight! As far as being a supporting member of this site, I can definitely attest that it's the BEST $12 I am spending! I've just sent my subscription to Don via PayPal! Thank you all AGAIN for your help. -
Slave Cyl Remove & Replace Question
cabreco replied to cabreco's topic in Venture and Venture Royale Tech Talk ('83 - '93)
I've done a search on line but so far the 1st Gen stainless lines elude me. Any good sources for parts (good=inexpensive) so, I'm really looking for "Gooder":mo money: Actually, I'm looking for a parts supplies for all parts. My local Yamaha dealer has ambitions of being a proctologist. Andy -
Slave Cyl Remove & Replace Question
cabreco replied to cabreco's topic in Venture and Venture Royale Tech Talk ('83 - '93)
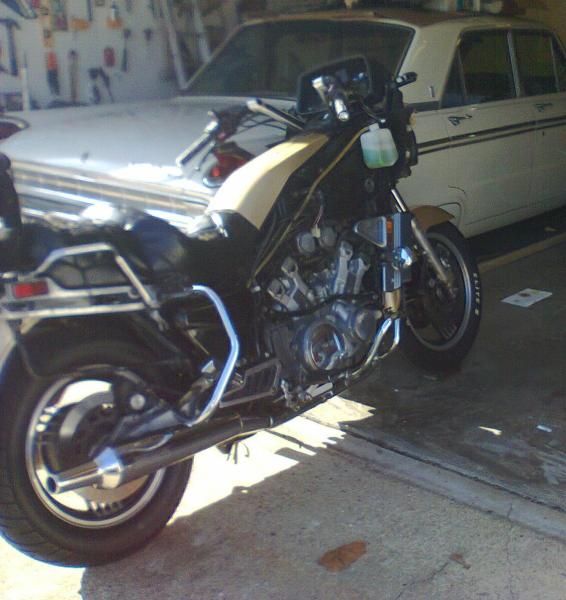
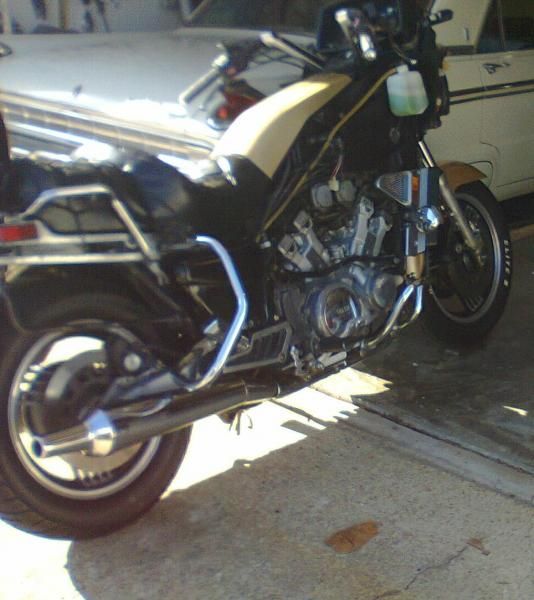
So I went to Harbor Freight to buy the tools (ok I over did it). Picked up all 3 sets for $32. http://www.harborfreight.com/media/catalog/product/cache/1/small_image/160x/9df78eab33525d08d6e5fb8d27136e95/i/m/image_14192.jpghttp://www.harborfreight.com/media/catalog/product/cache/1/small_image/160x/9df78eab33525d08d6e5fb8d27136e95/i/m/image_19635.jpghttp://www.harborfreight.com/media/catalog/product/cache/1/small_image/160x/9df78eab33525d08d6e5fb8d27136e95/i/m/image_14199.jpg Now I'm all set for the "fun" tomorrow. On a better note I did dump a few ounces of Seafoam in the tank the other day & today a took her out for a run to see if I can clear the gas smell. It did help a bit. I figure a few tanks & she'll clear up. The smell is less noticeable. Funny though the looks I was getting driving her stripped of all her plastic bodywork! She's ugly nekked! http://luvinpokerplayers.com/forum/images/smilies/smiley_running_naked.gif -
Slave Cyl Remove & Replace Question
cabreco replied to cabreco's topic in Venture and Venture Royale Tech Talk ('83 - '93)
As in move out of the way or disconnect & remove? -
Slave Cyl Remove & Replace Question
cabreco replied to cabreco's topic in Venture and Venture Royale Tech Talk ('83 - '93)
Thanks Gary. Got a trip to Harbor Freight scheduled tomorrow. I've got my list of profanities ready to yell! http://www.smileyvault.com/albums/userpics/10172/swear2.gif Andy -
I haven't been able to find a write up on here on the r/r of the slave cylinder. I will document my job with pix & post it here for others that follow. Looking at the service manual, I have been able to surmise the following must be done. But I have some preliminary questions I will post in red: 1. Remove bolts on the left footrest-shifter. 2. Remove the 6 allen bolts on the middle-gear cover.. Do I have to drain the oil? 3. Remove the bolt that attaches the clutch line to the slave What size are they? 4 Remove the two allen bolts holding the cylinder to the engine. What size are they? Can I use Allen Wrenchs or will I need to buy metric hex sockets? Also is there a preferred bleeding technique or is it a pain like bleeding my Honda's front caliper? (not enough pressure) Basically That is all the questions I have to prepare for this. I looks simple enough. Andy
-
Battery Warning Bypass
cabreco replied to cabreco's topic in Venture and Venture Royale Tech Talk ('83 - '93)
It's an Odyssey Drycell battery. It was actually around $140. Anyway, Thanks to everyone for the help (posts & PMs) I replaced the sensor with a 2.2K resistor & soldered it to the accessory fuse clip. 1st shot the light went out after the system check! Now is I do have an issue with another system the warning light will work! I'm down to my last 3 tasks...the plastic work, gas odor & replacing a leaking slave cylinder. The manual is weak on slave replacement procedure but I'm sure I'll find a write up here somewhere. Thanks again, you guy are making this fix very easy for me. I'll be touring before you know it! Andy -
Battery Warning Bypass
cabreco replied to cabreco's topic in Venture and Venture Royale Tech Talk ('83 - '93)
Shorty, when you're using a $150 battery, you don't want to drill anywhere near it (lol) -
Battery Warning Bypass
cabreco replied to cabreco's topic in Venture and Venture Royale Tech Talk ('83 - '93)
Appreciate it Gary. I figured i wasn't alone in this. The PO "fixed" this problem by putting a piece of electrical tape over the warning light. A little butcher Bob job & I'm too much of a stickler to deal with the tape. Andy -
Going to put the resistor to fix the battery warning light issue. I bought bothe the 1k & the 2.2K ohm. Which one should I try first? I'm trying to do as few steps as possible. Thanks Andy
-
Since Working on my plastic welding skills, kind of got the itch to get back to fabricating. I have time on my hands since retiring a few years back & I decided to take a 10 week course on the operation of both oxy–fuel and electric welding systems, as well as the joining processes of SMAW, GMAW, GTAW, and plasma cutting. It's been a long time since I did any fabrication (35 years) & I still have my old Oxy torches & arc welder, now I guess I'll need to get my a tig, mig, & plasma torch. Andy
-
Plug in for headphones
cabreco replied to cabreco's topic in Venture and Venture Royale Tech Talk ('83 - '93)
Picked up a pair of 5 pin din cables on Ebay for $4 & they word great. Of course they are NOT right angle which will cause me a problem. I will either have to ger adapters OR try to reposition the radio/amp a bit. All in all, a pretty good day!