

cabreco
-
Posts
978 -
Joined
-
Last visited
Content Type
Profiles
Forums
Gallery
Events
Store
Everything posted by cabreco
-
Talk about overlooking the obvious while it stares me in the face! Flattening the sticks!!! That would avoid having to grind down the weld~~~ Actually the DA was just to feather the bondo, BUT with flat weld sticks the imperfection would be much less. I could probably use only glaze.. I have A LOT of cracks in the ABS to take care of, this will help! I also bought a Hobby Woodburner (a 30w soldering iron with attachments) to bury metal stiches for the tab repairs. http://www.googleadservices.com/pagead/conversion/1047459996/?label=319QCJrUpAEQnPG78wM&guid=ON&script=0http://px.owneriq.net/ep?sid%5B%5D=56351349&sid%5B%5D=56351354&sid%5B%5D=56351364&sid%5B%5D=55521059&sid%5B%5D=55521064&rid%5B%5D=1142751&rid%5B%5D=1142752&rid%5B%5D=1356721&rid%5B%5D=1512847&pt=hbft
-
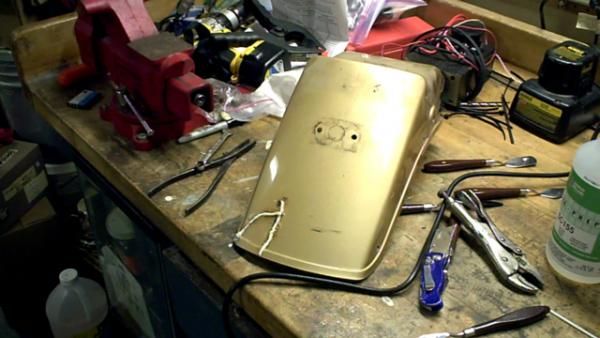
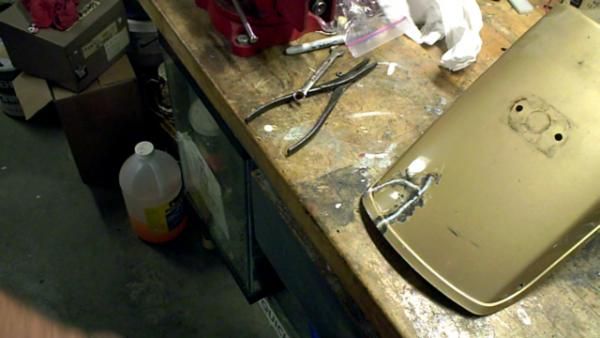
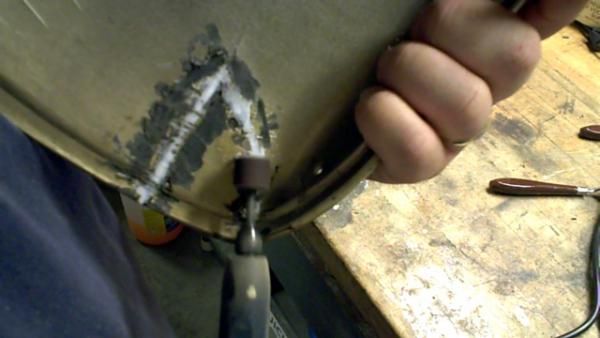
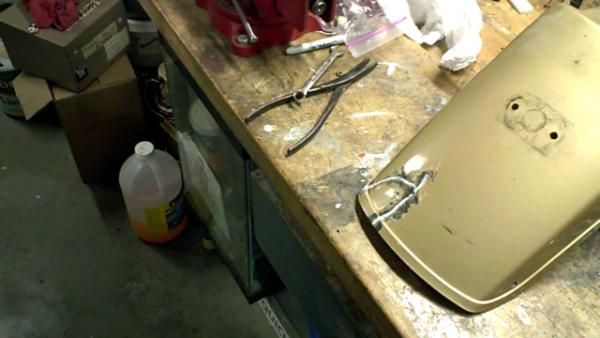
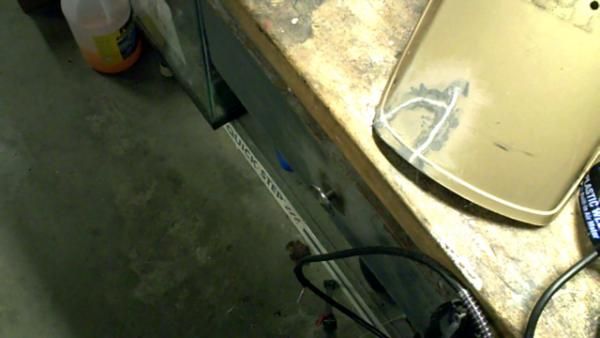
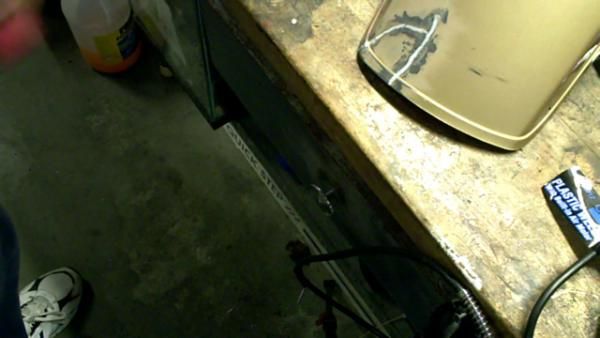
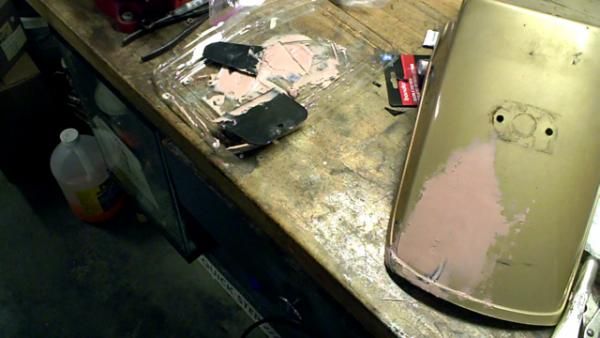
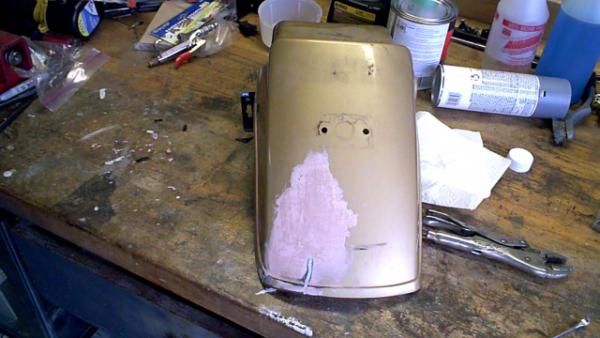
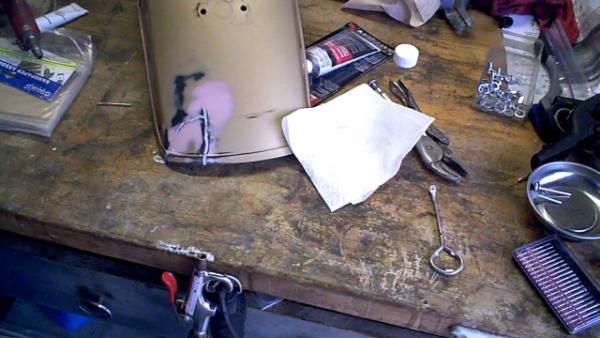
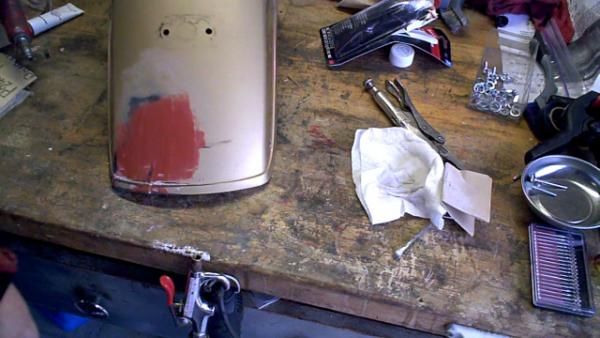
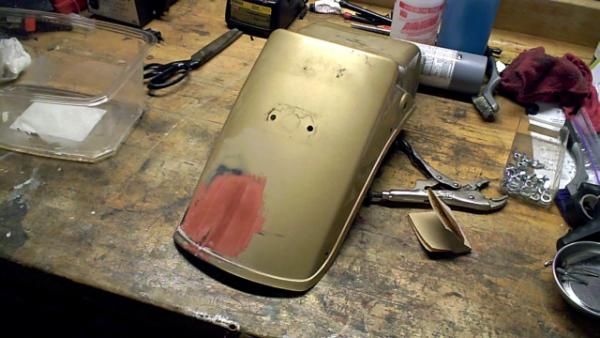
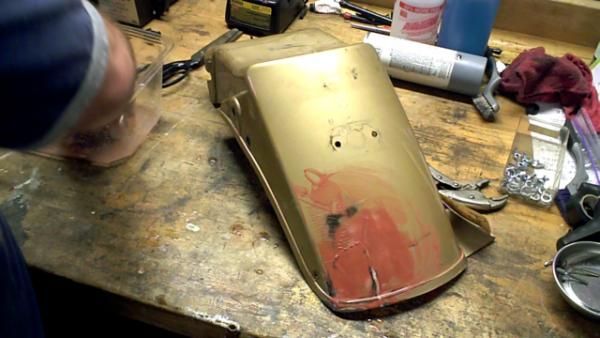
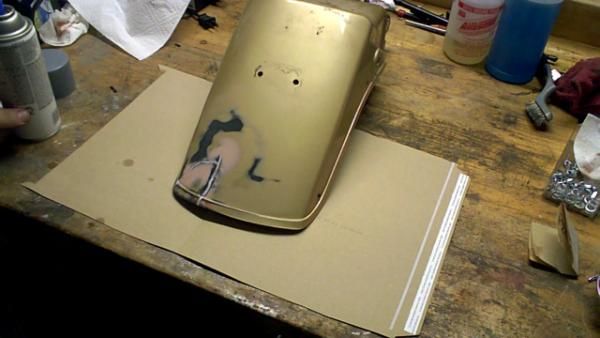
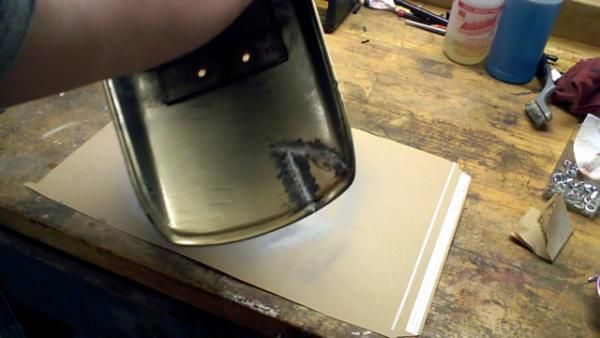
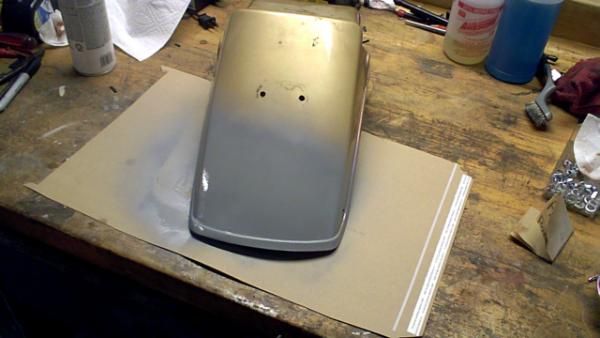
Today I decided to start the ABS plastic Welding on my bike. I figured I would start with something that I wasn't using to test the unit. I also documented everything from the tack weld to the primer in several videos. When I went to edit the pieces into something shorter than Gone with the wind, I found the part one, that actual welding process segment of the video, was corrupt. SO, I will have to redo the video when I begin welding the ACTUAL bike parts. For now I have a few vid caps of the repair & the finished fender. CLEANLINESS is the key. Prep your work before tacking and clean the work between steps with plastic cleaner. It was actually fairly simple. I have no fears to moving forward. I used the hot air welder from harbor freight, a dremel with a rasp & a drum sander, I did have to use my Air D/A sander as well for the bondo. Anyway here are the vidCaps AFTER I welded the piece. http://www.venturerider.org/forum/album.php?albumid=994
-
From the album: Plastic Welding Part 1
-
-
-
From the album: Plastic Welding Part 1
-
From the album: Plastic Welding Part 1
-
From the album: Plastic Welding Part 1
-
From the album: Plastic Welding Part 1
-
From the album: Plastic Welding Part 1
-
From the album: Plastic Welding Part 1
-
From the album: Plastic Welding Part 1
-
From the album: Plastic Welding Part 1
-
From the album: Plastic Welding Part 1
-
From the album: Plastic Welding Part 1
-
From the album: Plastic Welding Part 1
-
From the album: Plastic Welding Part 1
-
From the album: Plastic Welding Part 1
-
From the album: Plastic Welding Part 1
-
Good to know, I guess then I will just put highway pegs on the front cashbars.
-
Eventually I will have to pick up a backrest, floorboards, maybe a heel toe shifter & bigger rear brake pedal & the lower bag bracket tow thing with lights like you have on yours. Some things I can get from an mk2 but most are mk1 for direct bolt on!
-
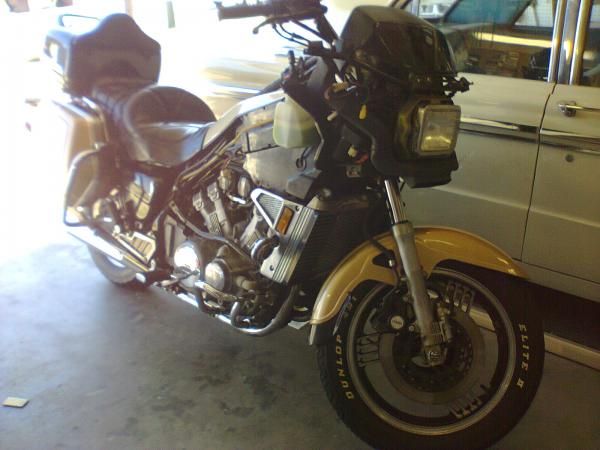
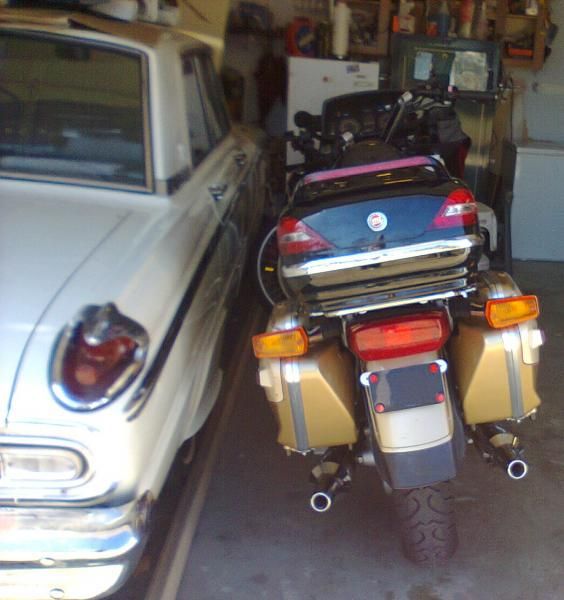
Thanks! The car is a 63 Mercury Meteor. I picked it up in 2005 from the original owner for $1,100. It only has 56K original miles. The owner told me he bought the car brand new Oct of 1962 when his son graduated college & moved out. It was hes empty nest gift to himself. He was 46 at the time...yep do the math, this guy was 89 when I bought it! The 1st 4 pix are when I bought her. The last is how she sits today.
-
I figured since many of you have been helping me with this bike, it's only fitting that I show you the progress so far. When I bought her last month she was running strong. The major thing was cosmetics. This is how I picked her up. She needed some repairs but a lot of cleaning and plastic work. One of the first things I did was buy a new seat. I found this one on EBay for $50. The original seat had a rip by the gas fill & was covered with stick junk. I've since read this is protectant breaking down & quite common. I understand that when the original owner died & the bike sat for years. A major part of my work so far has been tearing her down & cleaning, scrubbing & polishing. When I took her apart, you could not imagine the amount of dirt I found. The next thing I did was slap a trunk on her. When I bought my 81 Honda CB750, she came with K&G hard saddlebags & an aftermarket trunk. Since I pulled all the bags from the Honda, I decided to recycle the trunk. This is how it sits right now. I'm going to start the plastic welding on the fairing and other ABS parts. I will make videos of the repairs & post them so that anyone else looking to try their hand at plastic welding has at least a heads up to what to expect.
-

From the album: The Blond
-
From the album: The Blond
-
From the album: The Blond