-
Posts
978 -
Joined
-
Last visited
Content Type
Profiles
Forums
Gallery
Events
Store
Everything posted by cabreco
-
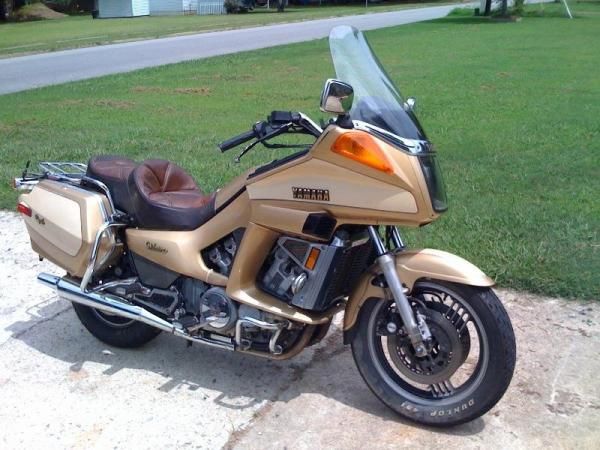
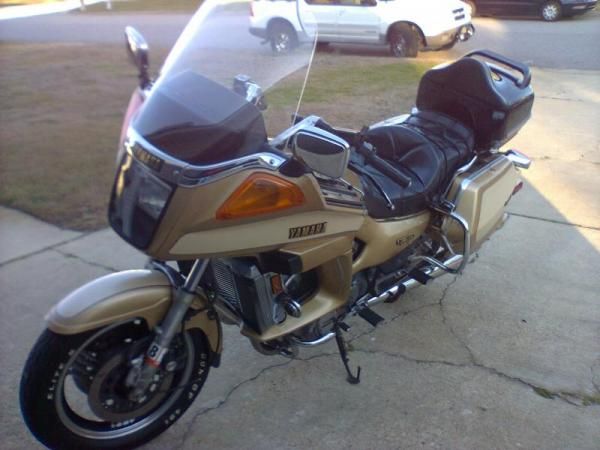
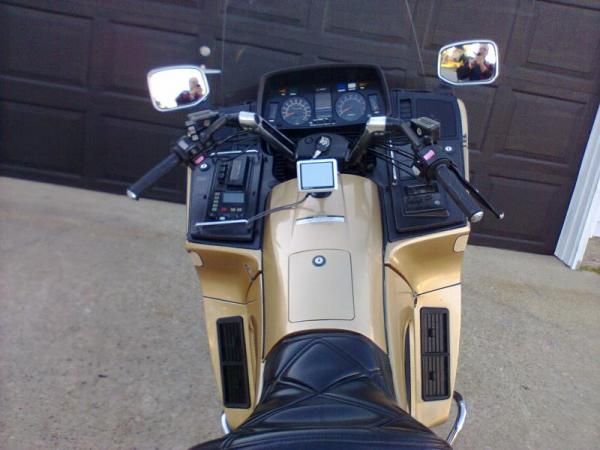
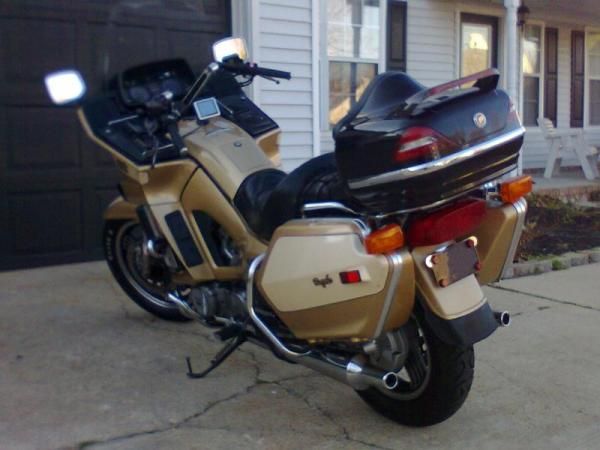
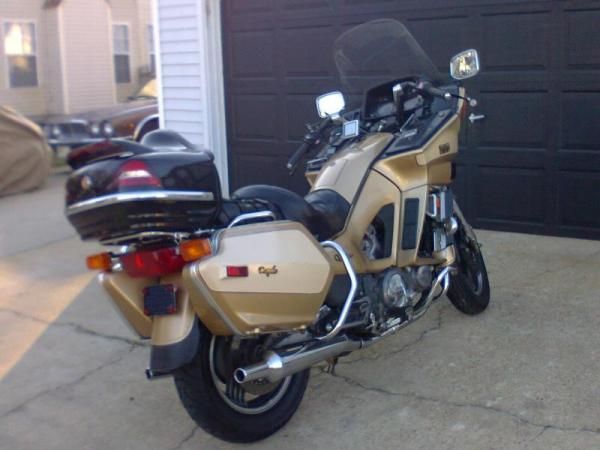
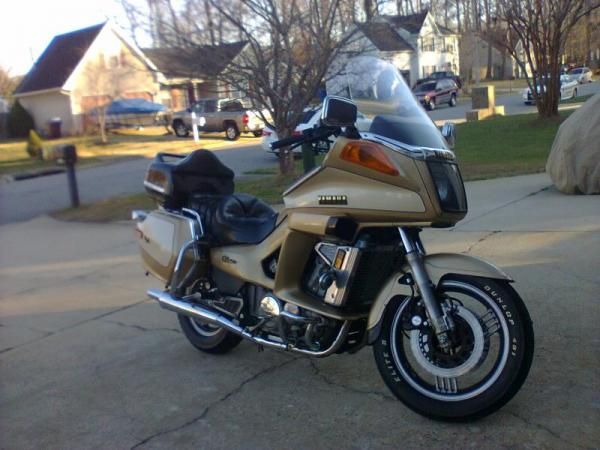
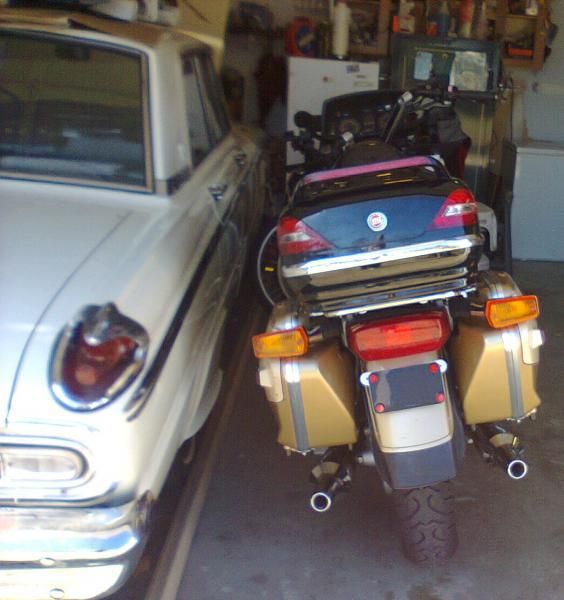
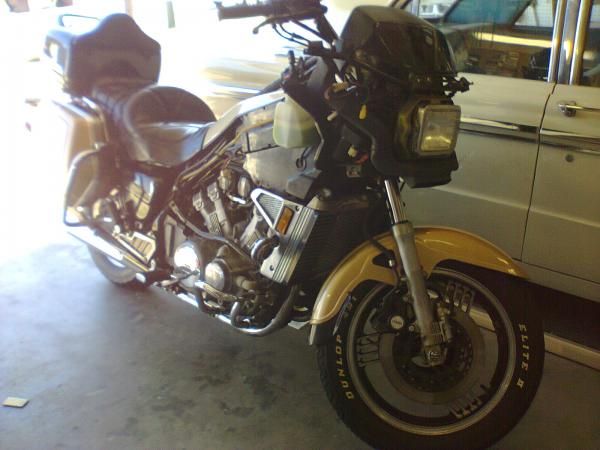
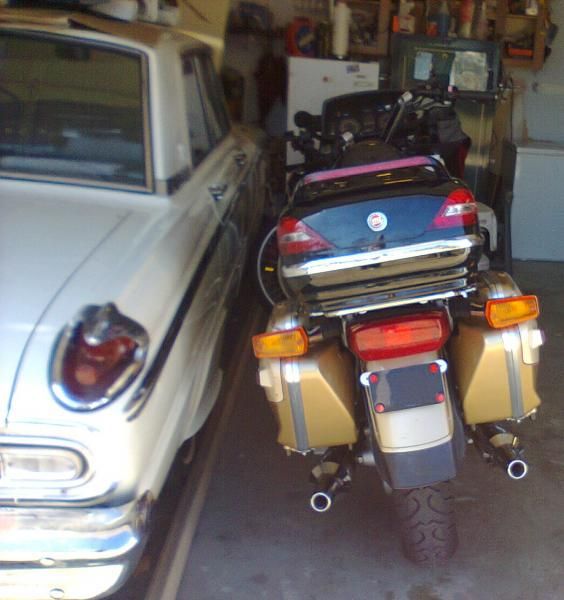
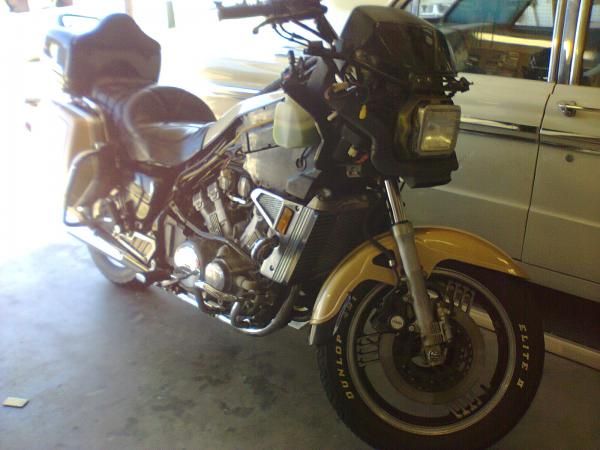
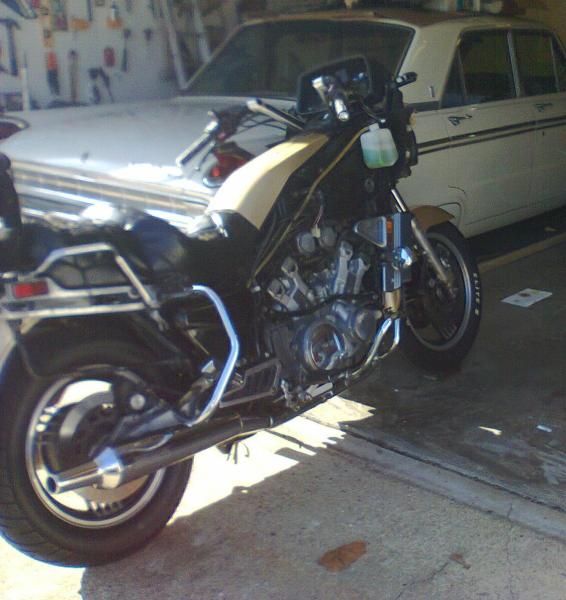
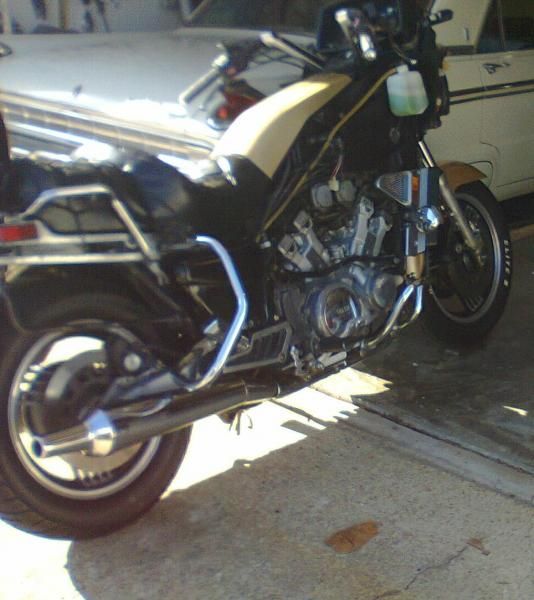
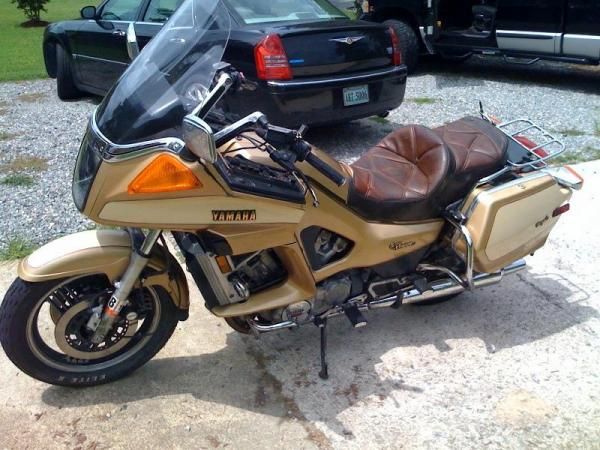
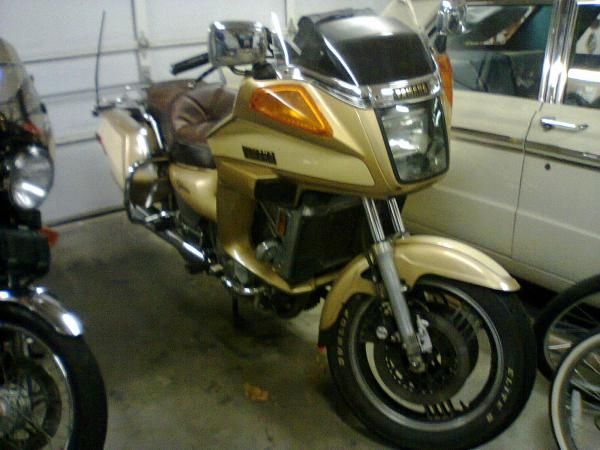
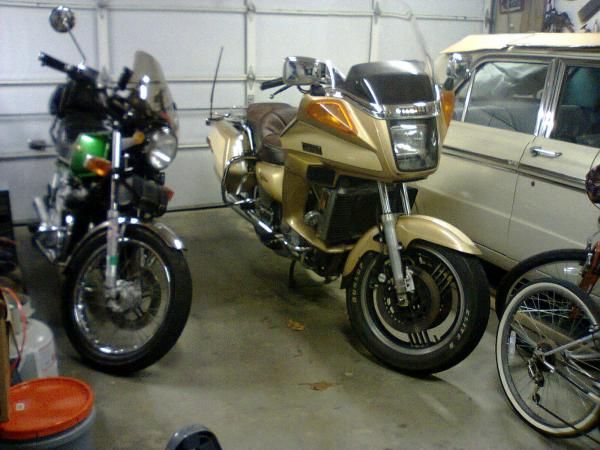
So I've spent the last 2 days finishing the plastic soldering, compounding & waxing. I added the GPS & MP3 as wall. This is what I started with when I bought her Christmas eve: After 3 weeks solid (being retired & at home helps) and a lot of elbow grease, this is what it looks like now. The only thing left will be a complete paint job. I figure I will wait until next winter to do that. !st I want to make sure she "deserves" expense of a new look.
-

Looking for a radio button.
cabreco replied to cabreco's topic in Venture and Venture Royale Tech Talk ('83 - '93)
I appreciate the look see Ray. -

Strong Gas Smell
cabreco replied to cabreco's topic in Venture and Venture Royale Tech Talk ('83 - '93)
Well the bike has been sitting for a week with no smell coming from it. Today after I reassembled her, I turned the ignition on to test the compressor, the front directionals & the stereo. I never started the bike but I did hear the fuel pump. Well there's a gas odor again. SO I have to conclude it must be the line between the feul pump & carbs since the starter didn't crank. Fun! -
I could have sworn I posted this, but I can't find it anywhere. I must be getting old! Does anyone have a 1st Gen radion button they want to part with? My 84 is missing the intercom volume button & it's really driving me nuts. Let me know. Appreciate the help.
-
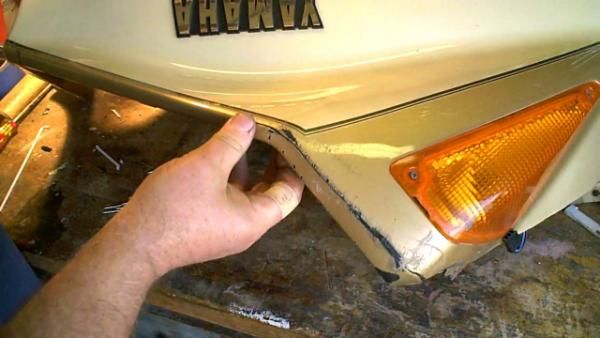
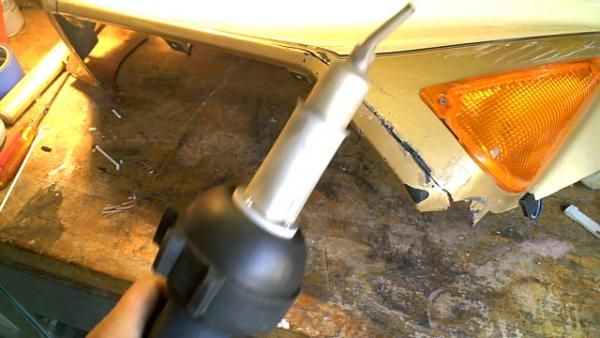
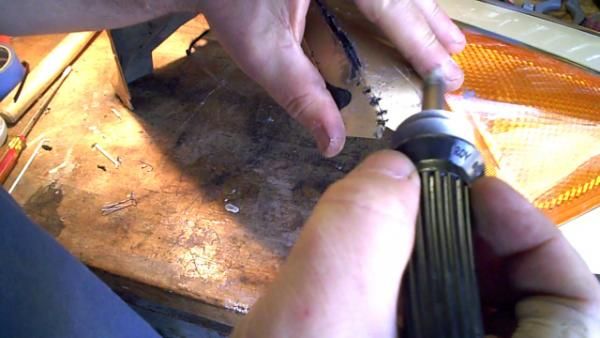
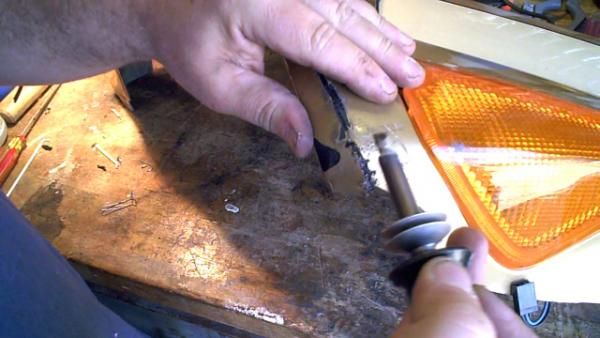
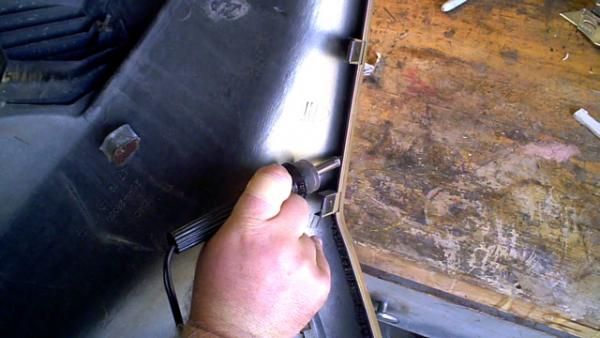
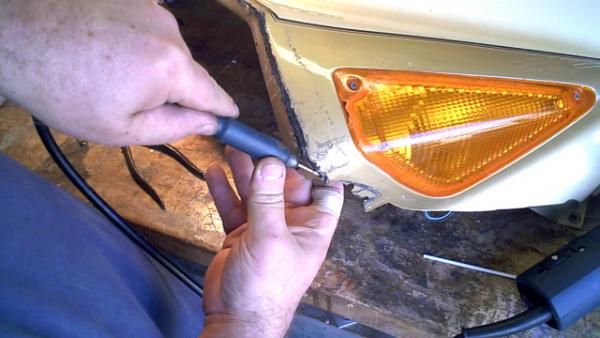
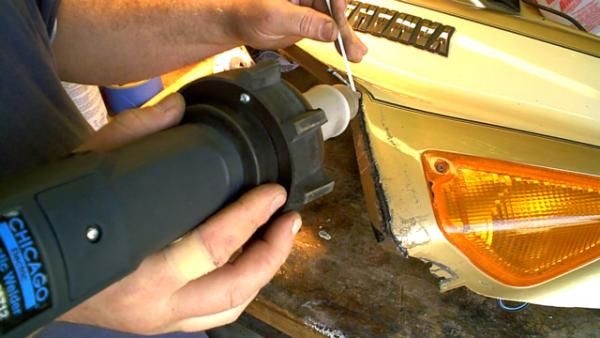
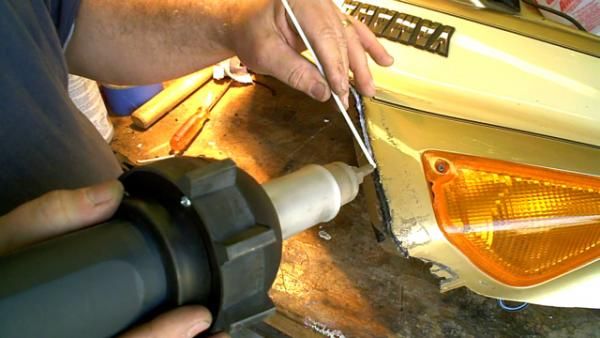
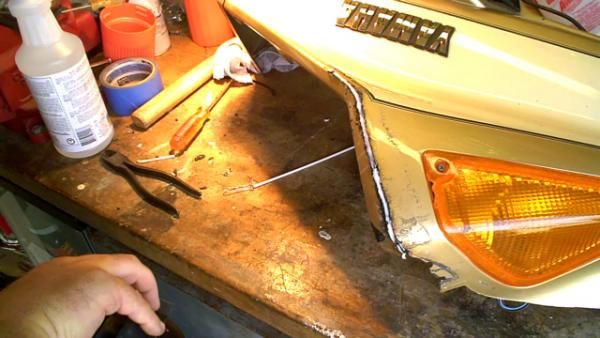
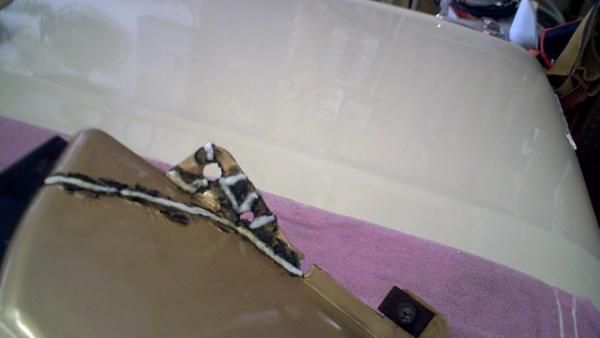
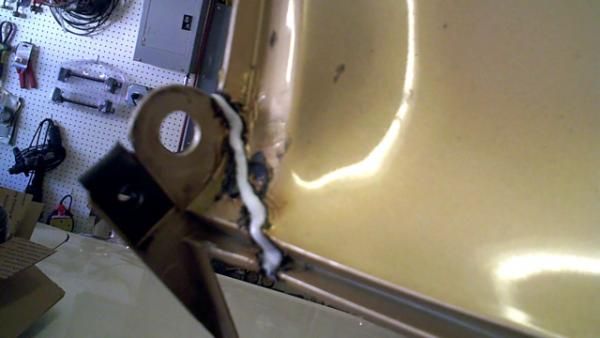
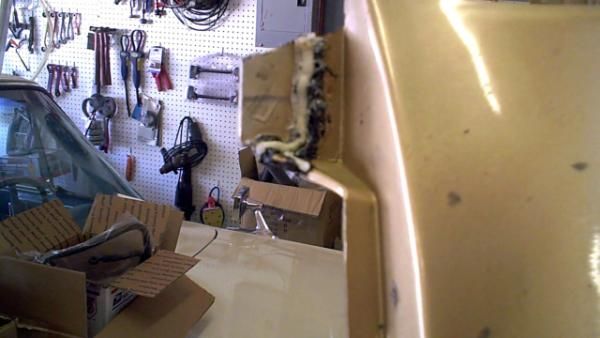
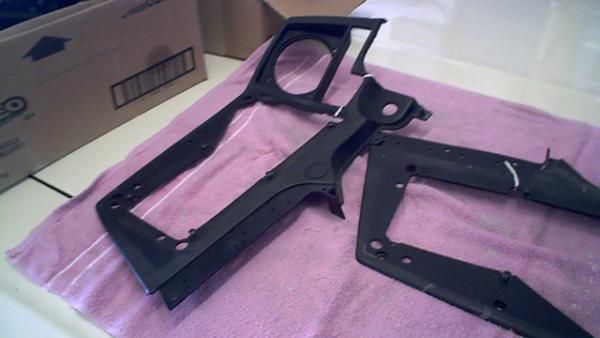
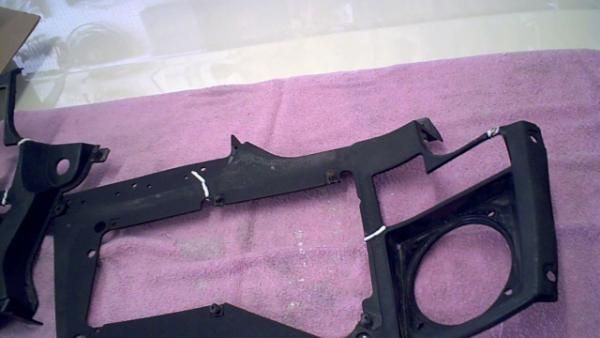
Here are a few images of the actual welding. http://www.venturerider.org/forum/album.php?albumid=996 I do recommend wearing some sort of respirator or at least a mask. I did this in an open garage and didn't wear one. Last night I felt like I had smoked a pack of cigarettes in an hour...& I am an ex smoker! Anyway working with plastic welding is fairly simple. Anyone thinking about it should not fear it at all.
-
From the album: Plastic Welding Part 2
-
From the album: Plastic Welding Part 2
-
From the album: Plastic Welding Part 2
-
From the album: Plastic Welding Part 2
-

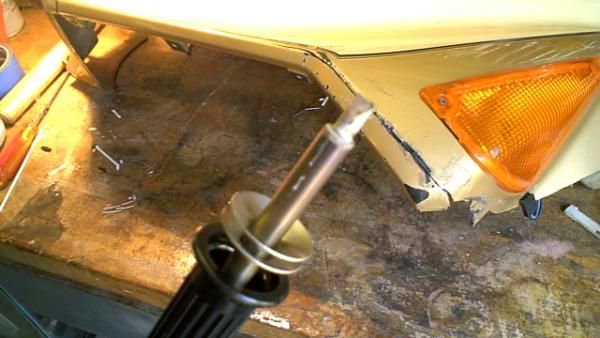
To tack, 1st makee little stiches to clip the pieces together
cabreco posted a gallery image in Member Albums
From the album: Plastic Welding Part 2
-

Next drag the stiches, lightly pushing the material.
cabreco posted a gallery image in Member Albums
From the album: Plastic Welding Part 2
-
From the album: Plastic Welding Part 2
-

Use a Dremel with a rasp to shape a V groove along the crack.
cabreco posted a gallery image in Member Albums
From the album: Plastic Welding Part 2
-

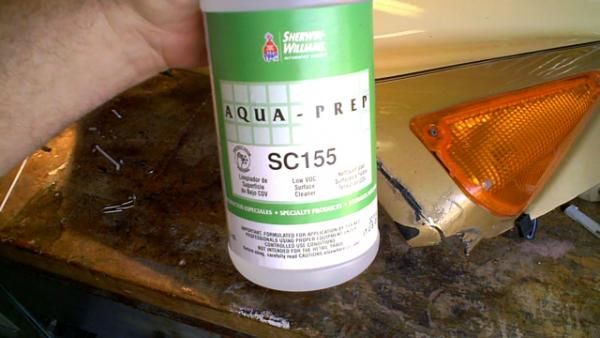
Before welding clean the area AGAIN with plastic cleaner.
cabreco posted a gallery image in Member Albums
From the album: Plastic Welding Part 2
-
From the album: Plastic Welding Part 2
-
From the album: Plastic Welding Part 2
-
From the album: Plastic Welding Part 2


