-
Posts
3,621 -
Joined
-
Last visited
Content Type
Profiles
Forums
Gallery
Events
Store
Everything posted by Prairiehammer
-

Eand on forks
Prairiehammer replied to Venturesteve86's topic in Venture and Venture Royale Tech Talk ('83 - '93)
Yes. Connectors are behind the headlight. Look for a two wire connector for each side with a white wire and a black wire. Probably have to remove the headlight to see them. -

Eand on forks
Prairiehammer replied to Venturesteve86's topic in Venture and Venture Royale Tech Talk ('83 - '93)
One cannot remove the solenoid from the valve body of the EAND while the EAND unit is attached to the forks. Simply disconnect the EAND wires at their respective connectors. -

Removing the Choke Lever
Prairiehammer replied to a topic in Venture and Venture Royale Tech Talk ('83 - '93)
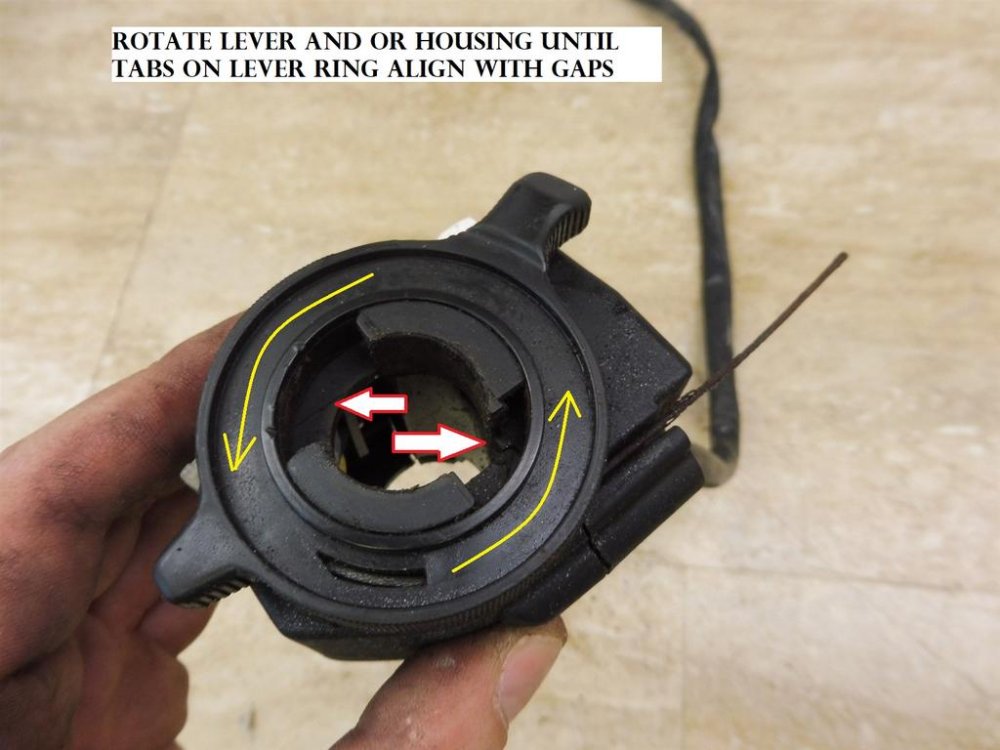
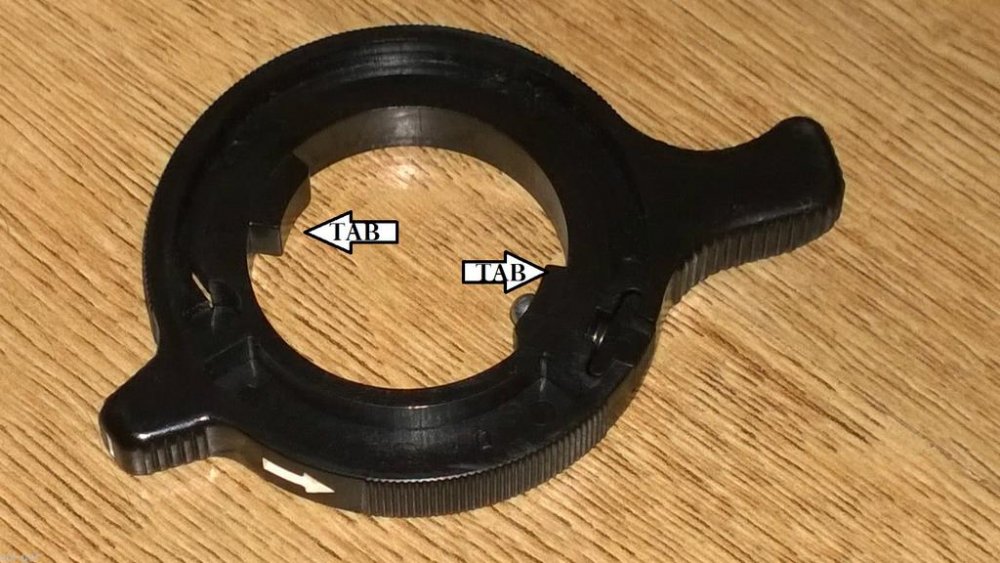
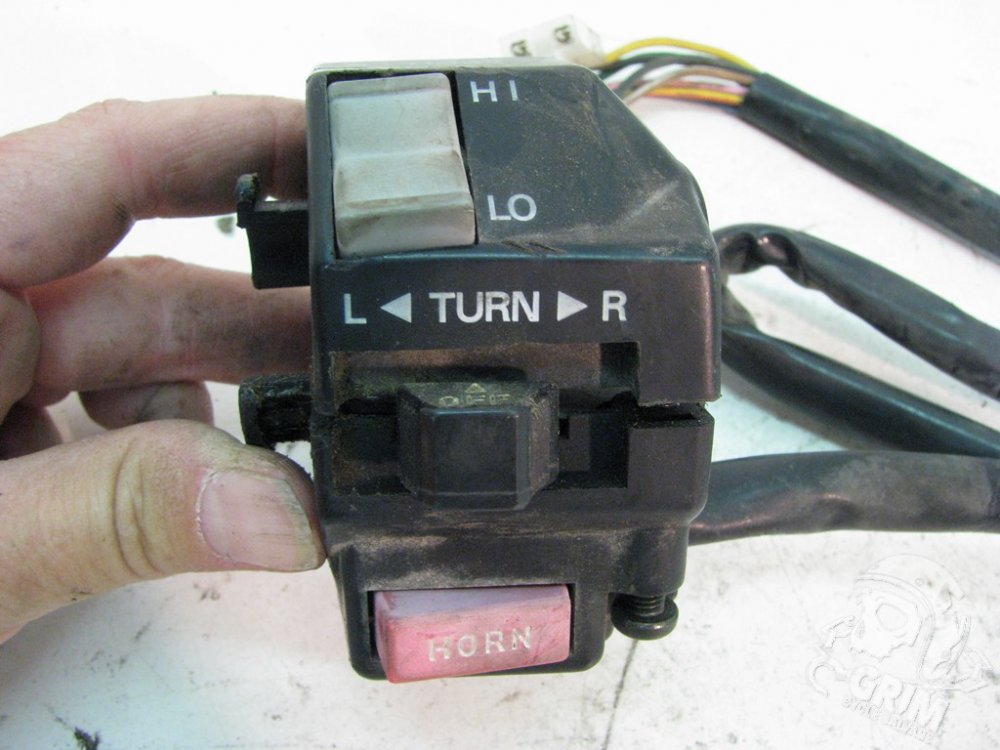
You need to get enough slack in the choke cable in order to rotate the lever until the inner tabs on the lever align with the gaps in the switch housing. Do this by either disconnecting the choke cable from the carb or (easier) rotate the switch housing around the handle bar until the lever tabs are aligned with the gaps, then slide the lever ring off. -

Removing the Choke Lever
Prairiehammer replied to a topic in Venture and Venture Royale Tech Talk ('83 - '93)
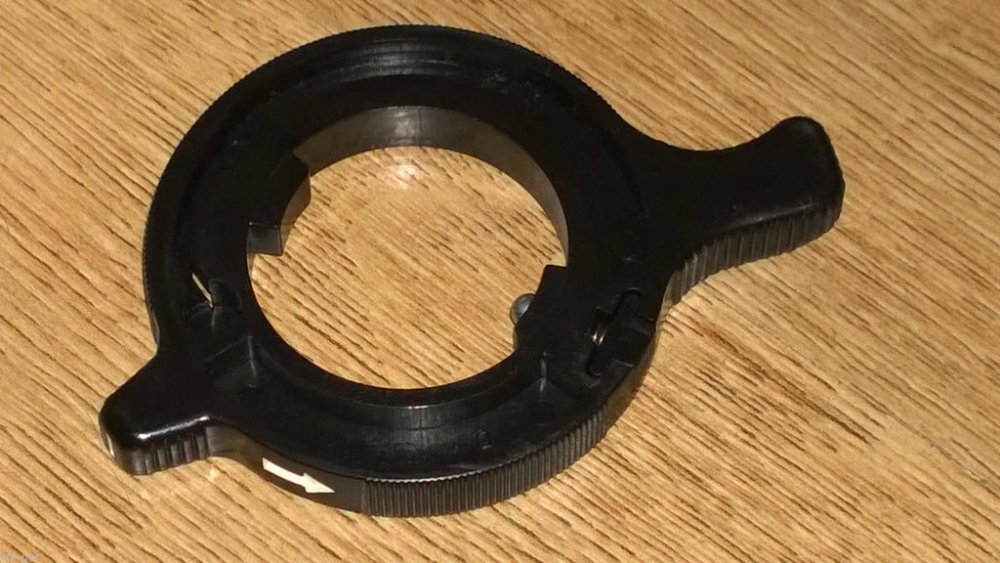
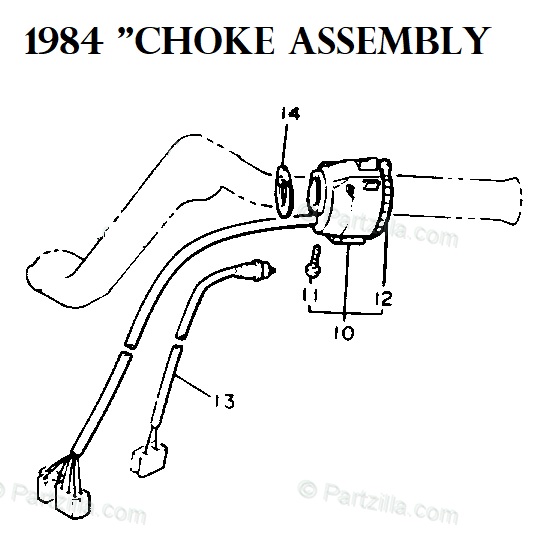
The 1984 choke ring is secured to the switch body by a ball detent riding in a groove molded into the switch body. One must depress the detent in order to remove the ring. You may also have to rotate the choke lever to align the lever tabs with the gaps in the concentric groove. -

Removing the Choke Lever
Prairiehammer replied to a topic in Venture and Venture Royale Tech Talk ('83 - '93)
What year Venture? If it is a 1984 with the choke lever encircling the handle bar, you may have to remove the grip, or at least move it away from the choke lever and the switch assembly. If it is a 1983 or 1985-1993, one does not have to remove the choke assembly from the switch body in order to service the switches. Two screws on the underside of the switch body "clamp" the assembly to the handlebar. -
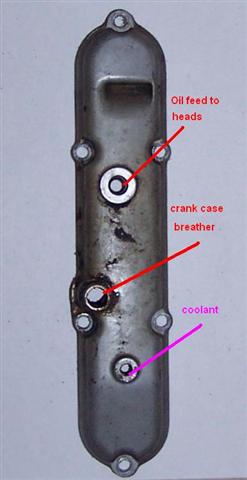
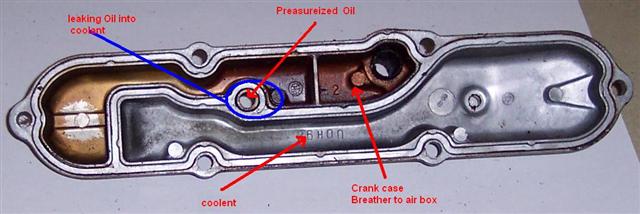
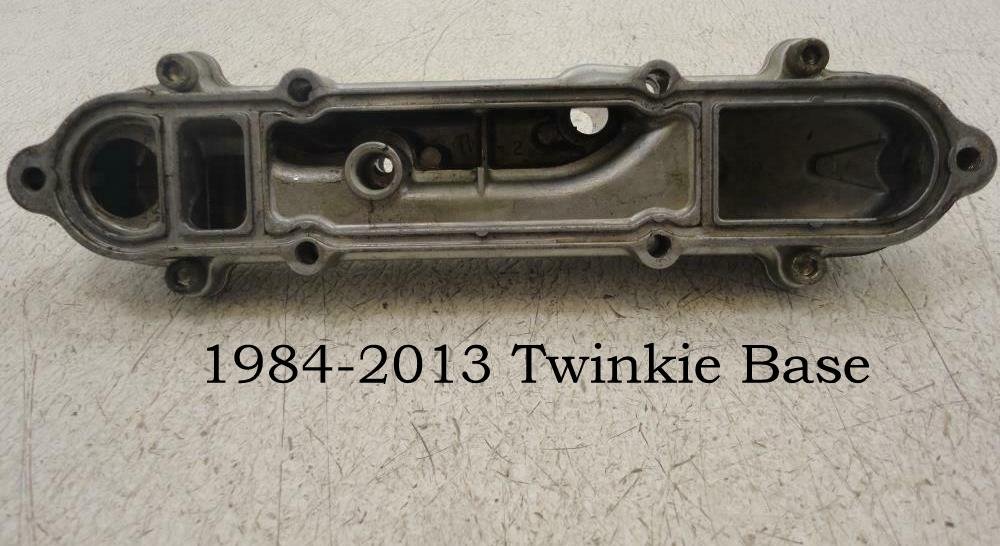
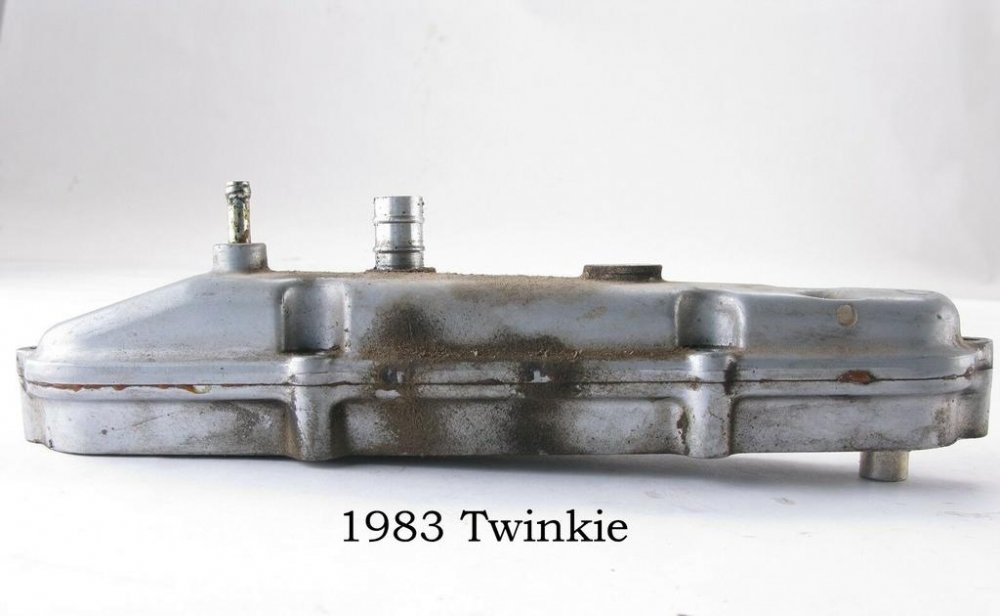
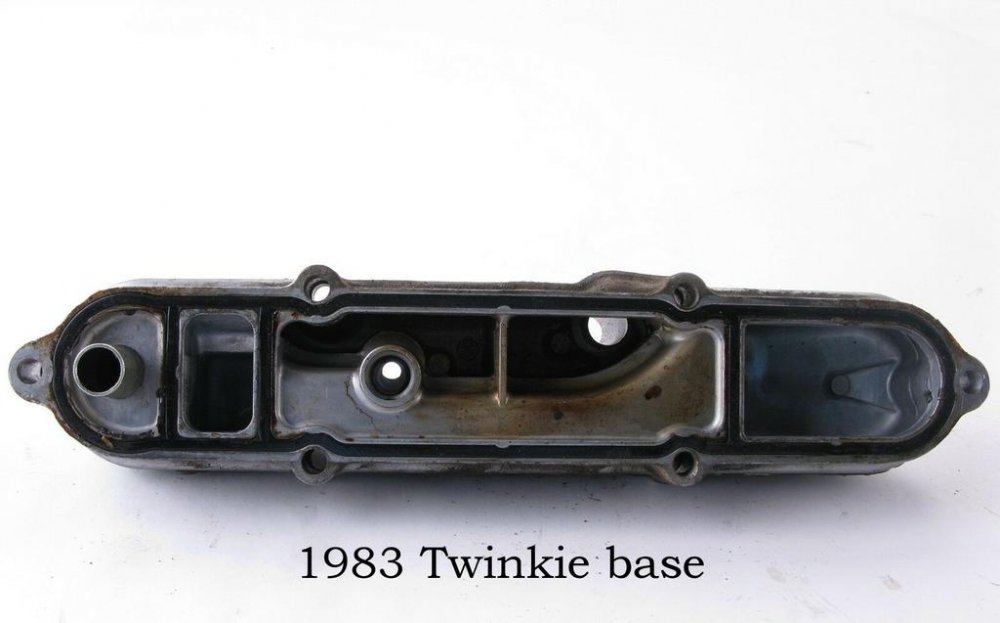
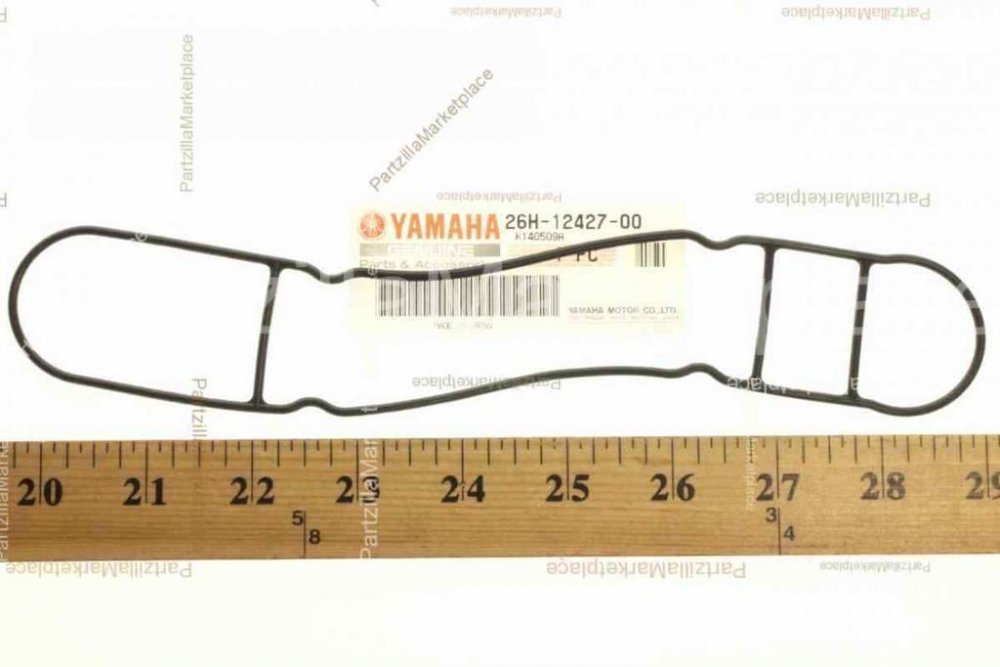
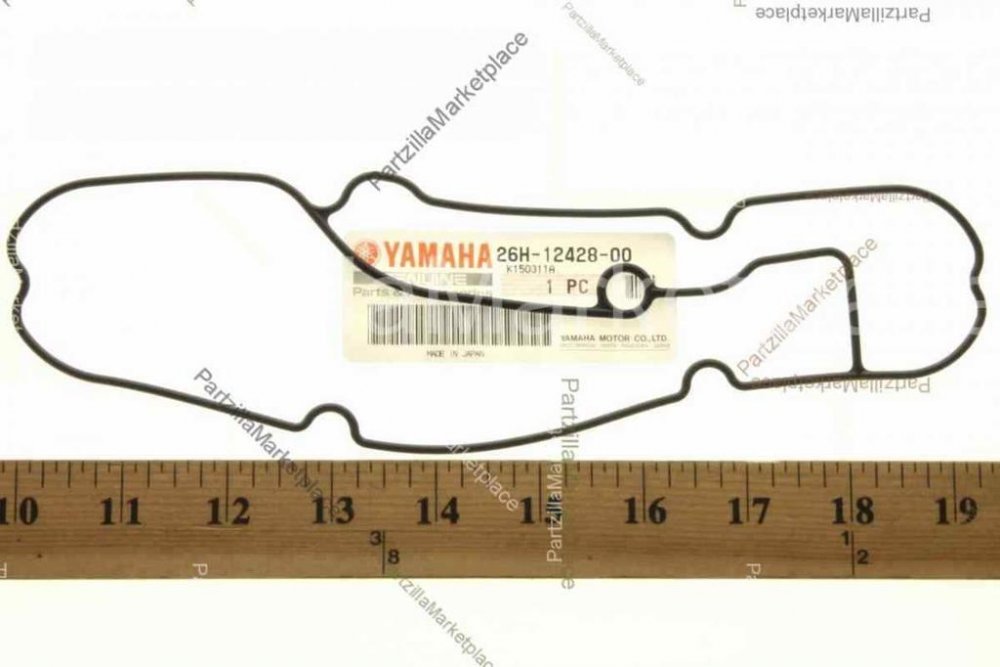
The "Twinkie" (that's the breather/oil distribution junction/coolant cover) contains two gaskets; one between the two sections of the Twinkie and one at the base where it mates with the crankcase. The Twinkie contains pressurized oil feeding the heads (the chrome lines with banjo unions), coolant and a crankcase breather passage. The gaskets are more akin to O-rings in composition and cross-section. The O-ring style gaskets become flattened and hardened (less resilient) with time and heat. Tightening the six mounting cap screws does not usually result in reducing the leak, because the housing bottoms out on the crankcase before the shrunken gasket is compressed. Because of the construction and purpose of the Twinkie, it is not uncommon for coolant to enter the engine oil or engine oil to mix with coolant when the gaskets fail. Check your coolant reservoir for milky tan oil scum and your engine oil level (may rise). It is doubtful that the gaskets can be replaced with the carbs in place (replace BOTH gaskets while the Twinkie is out). It would also be easier to access the Twinkie for removal if the intake boots are removed from the heads, but that may require replacement of the intake boot gaskets (also O-ring style gaskets).
-
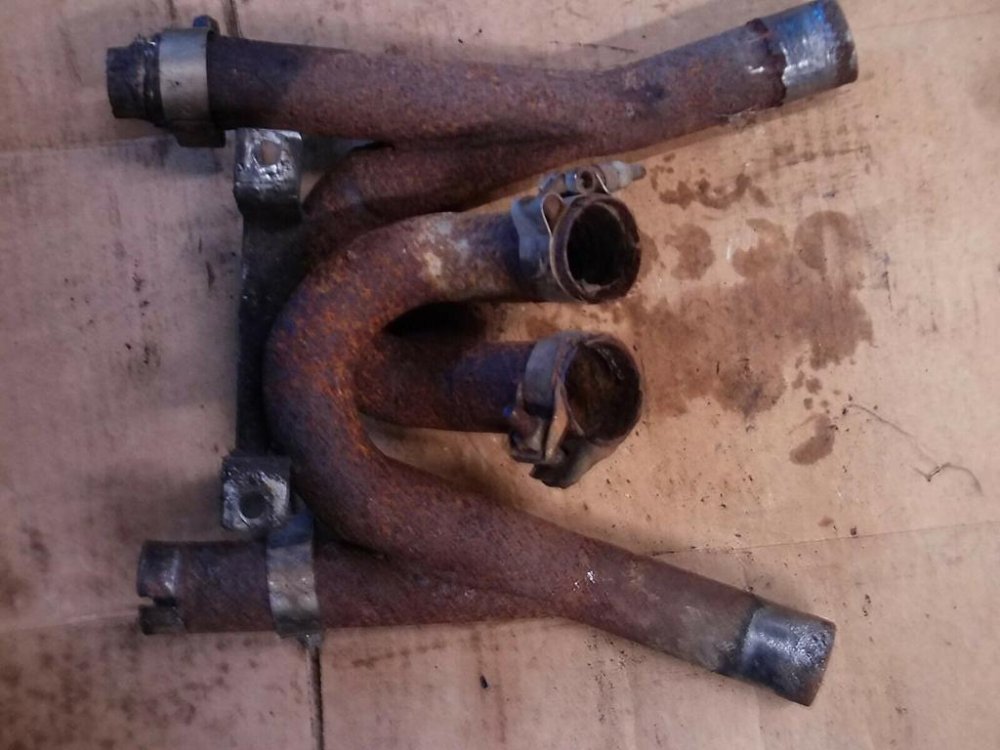
One hundred dollars (free shipping!) gets you what appears to be a Mark's exhaust header for the First Gen. It don't look pretty, but I'll bet it would clean up and look fine with some high temperature paint. https://www.ebay.com/itm/1985-Yamaha-Venture-Royale-XVZ-1200-Exhaust-Chamber-1/333245919346?epid=1822936647&hash=item4d97013072%3Ag%3Am4wAAOSwjG1dEOQF&LH_ItemCondition=4
-
31 mpg (US). Only fair/middling mileage. Perhaps you were doing a lot of high speed "testing"?
-
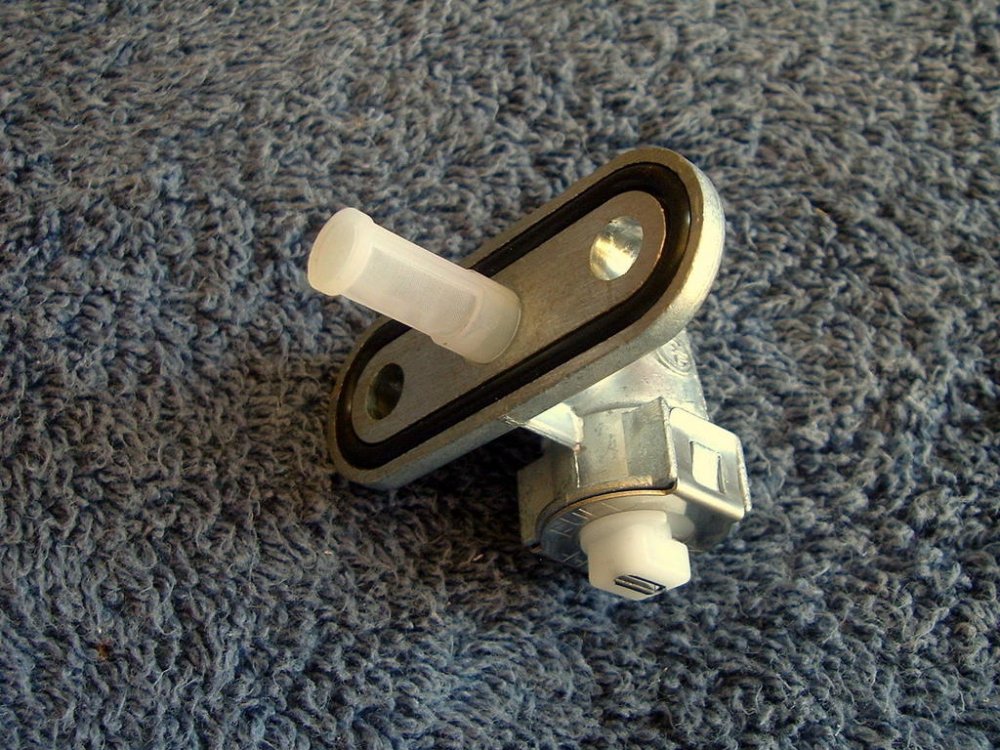
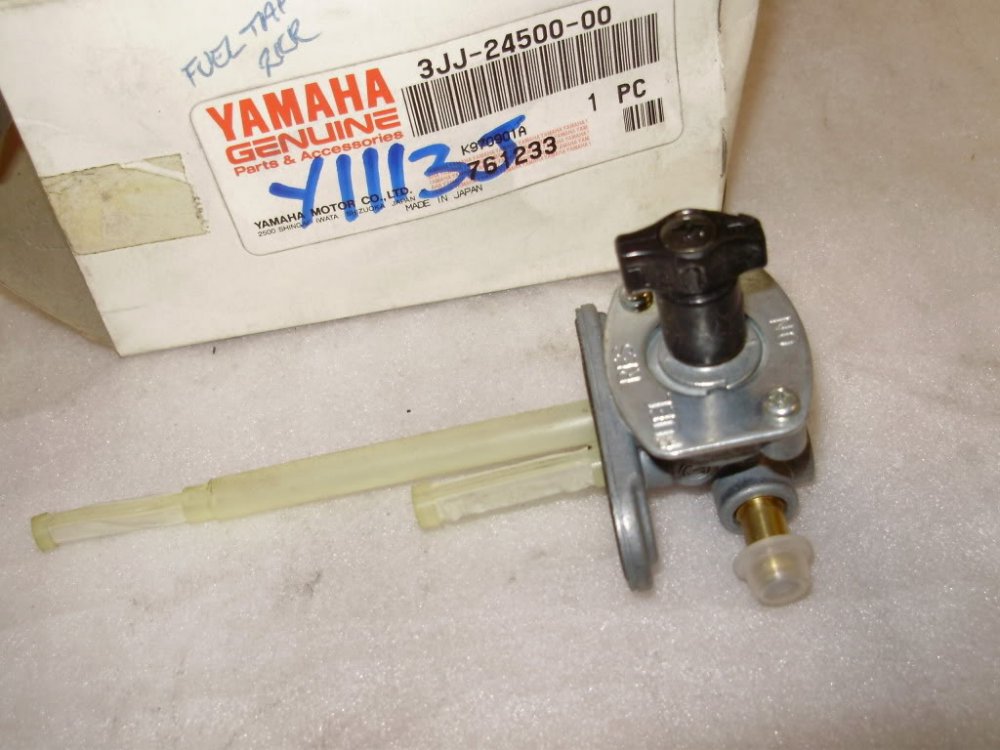
1983 had no reserve and a tool (screwdriver or wrench) was required to turn the petcock on or off. Starting with the 1984, a reserve and a hand turnable knob was incorporated. The 1990 and newer petcock was changed to have the fuel outlet on the left side of the valve. (I have no idea why the change). All three petcocks will bolt onto any year fuel tank, though fuel hose and routing may need to be changed. Also, if a 1984 or later petcock is used on a 1983, the right side cover will require a notch to clear the knob.
-

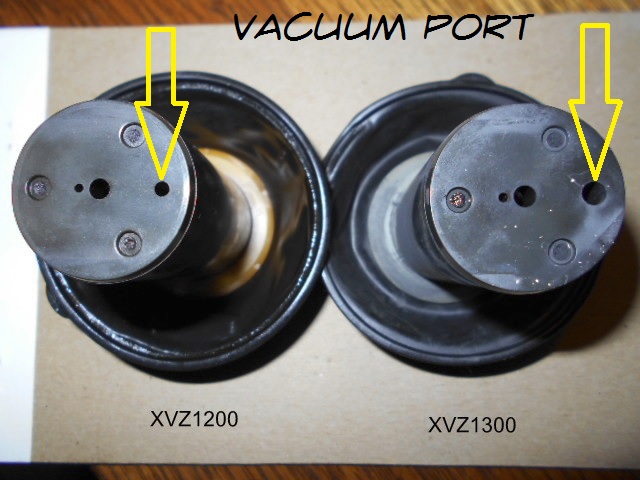
83 carb slide
Prairiehammer replied to John.'s topic in Venture and Venture Royale Tech Talk ('83 - '93)
-
That bushing (90381-18049-00, "Bush, solid") is no longer available from Yamaha. There IS at least two available on eBay, but... https://www.ebay.com/itm/YAMAHA-83-87-XVZ1200-XVZ-1200-VENTURE-ROYAL-REAR-UPPER-SUSPENSION-ARM-BUSHING/112864209229?epid=19016431588&hash=item1a473b294d:g:fBEAAOSwC6haposJ
-

Neutral light
Prairiehammer replied to suds's topic in Venture and Venture Royale Tech Talk ('83 - '93)
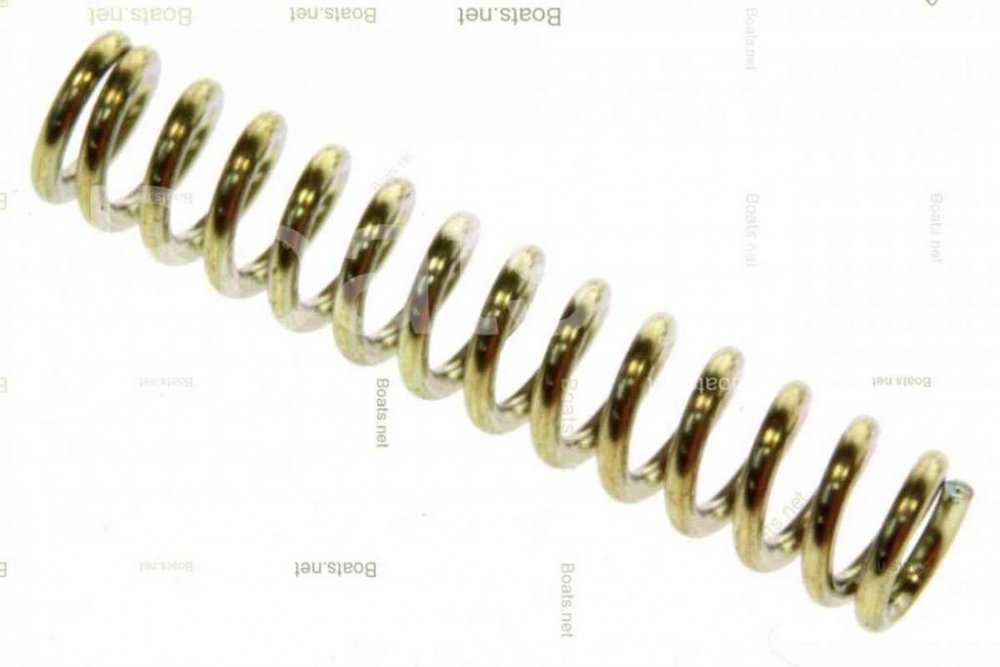
Yes. [TABLE=class: table table-hover table-striped table-responsive] [TR] [TD][/TD] [TD]SPRING, COMPRESSION 90501-06022-00 In Stock [/TD] [TD] $3.40 $2.48 [/TD] [TD=class: tabQty] [/TD] [/TR] [TR] [TD=class: tabQty] https://www.partzilla.com/product/yamaha/90501-06022-00?ref=cb55e21b8884f31e414714ca7bf2dee46e76196f [/TD] [/TR] [TR] [TD][/TD] [TD]POINT, NEUTRAL 4UN-18542-00-00[/TD] [/TR] [/TABLE] https://www.partzilla.com/product/yamaha/4UN-18542-00-00?ref=cb55e21b8884f31e414714ca7bf2dee46e76196f -

Neutral light
Prairiehammer replied to suds's topic in Venture and Venture Royale Tech Talk ('83 - '93)
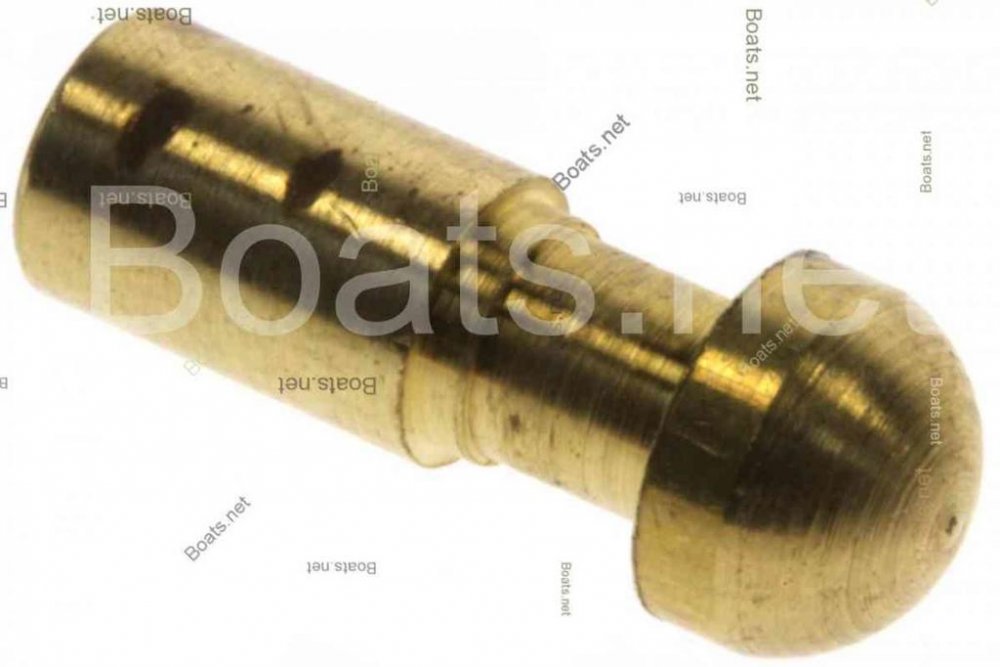
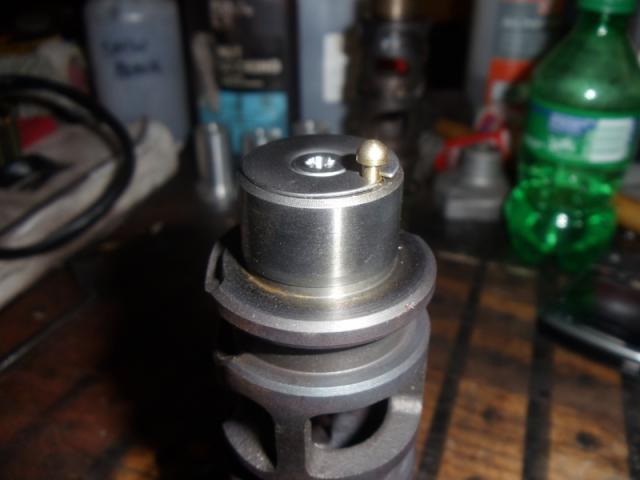
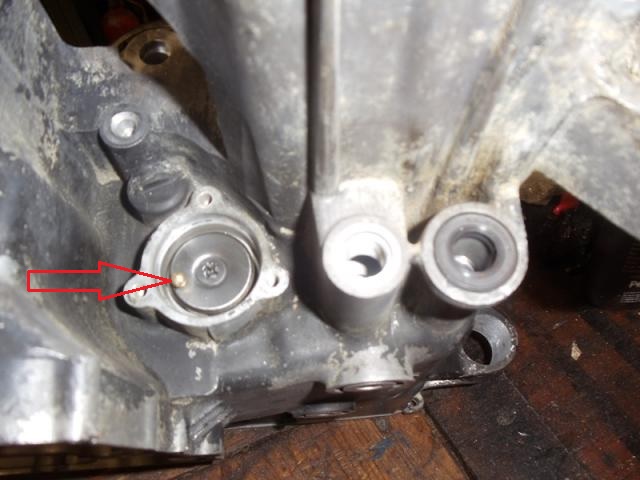
The gear indicator switch uses a brass pin as the sliding contact. This pin becomes worn and the tip flattened from wear. This reduces the effective length of the pin and enlarges the contact area with resultant poor contact. Remove the Phillips screw and pull the pin out and the spring behind it. Either replace the pin and spring or stretch the spring a bit or place an appropriate shim between the spring and pin. File the end of the pin to more a point to help with good contact. -
Other makes and models that use same valve shims as the Venture: K&L valve adjustment shims - 25mm diameter. Used on late 70's & 80's Honda's, 80's & 90's Yamaha's and some Triumph's Fits Honda: CB750C Custom - 1980-1982 CB750F Super Sport - 1979-1982 CB750K - 1979-1982 CB750L LTD - 1979 CB750SC Nighthawk - 1982-1983 CB900C Custom - 1980-1982 CB900F Super Sport - 1981-1982 CB1000C Custom - 1983 CB1100F Super Sport - 1983 CBX1047cc - 1979-1982 Fits Yamaha: SRX250T/TC - 1987 XVZ12TK/TDK Venture & Venture Royal - 1983 XVZ12DL/DKC2/DN Venture Royal - 1984-1985 XVZ13DS/DT Venture Royal - 1986-1987 XVZ13DSC/DTC Venture Royal - 1986-1987 XVZ12T/TC/U/UC Venture - 1987-1988 XVZ13DU/DUC/DW/DWC Venture Royal - 1988-1989 XVZ13DA/DAC/DB/DBC Venture Royal - 1990-1991 XVZ13DD/DDC/DE/DEC Venture Royal - 1992-1993 VMX12N/NC/S/SC V-Max - 1985-1986 VMX12U/UC/W/WC/A/AC/B/BC/D/DC/E/EC V-Max - 1988-1993 FJ1100L/LC/N/NC - 1984-1985 FJ1200S/SC/T/TC - 1986-1987 FJ1200W/WC/A/AC/B/BC/D/DC - 1989-1992 FJ1200AD/ADC/AE/AEC (ABS) - 1992-1993 Fits Honda Automobiles: CR-V '02-05 CR-V '06 CR-V '07-11 CR-V '97-01 ELEMENT '03-06 ELEMENT '07-10 ELEMENT '11 PILOT '03-07 PILOT '08 PILOT '09-11 RIDGELINE '06-11
-
RUSTY! Usually the dirt inside is carbon from the brushes. The amount of rust showing would make me nervous about reusing it. The field magnets have been exposed to a lot of high moisture conditions. When the magnets begin to rust, they often start to spall. The consequence is either shorted armature or a severely dragging starter due to the rust and fragments wedged between the field magnets and the armature.


.thumb.jpg.e02d202c77d861e776f68374c3adf6b0.jpg)
.thumb.jpg.979b99acaa25f8c5160eab0cc40fcafa.jpg)
