-
Posts
3,621 -
Joined
-
Last visited
Content Type
Profiles
Forums
Gallery
Events
Store
Everything posted by Prairiehammer
-
No one sells a complete new water pump. Indeed, Yamaha has never offered a complete assembled water pump. Just get the needed oil seal and mechanical coolant seal and the impeller (shaft and impeller are one integrated on one assembly). The place that I use for OEM parts is Partzilla, https://www.partzilla.com/catalog/yamaha/motorcycle/1984/xvz12dl/water-pump
-
-
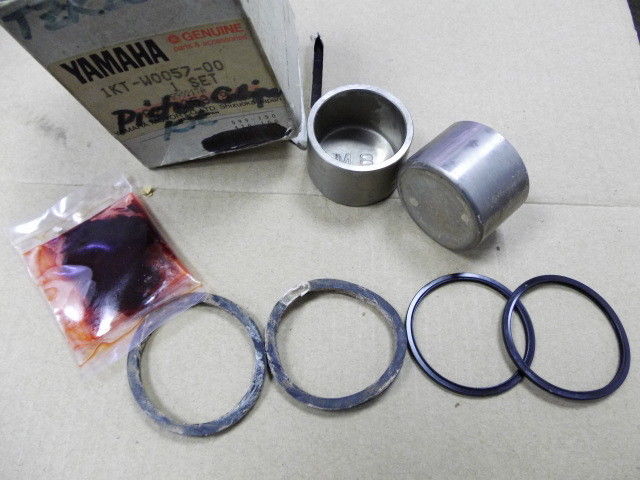
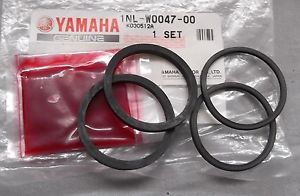
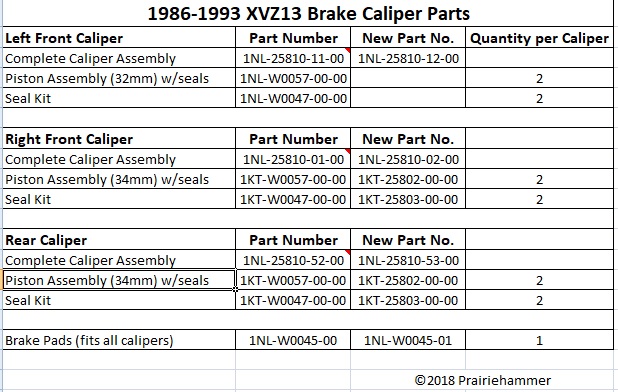
Note that the Brakecrafters' seal kit for the FRONT calipers on the 1986-1993 XVZ13 include two different kits (piston sizes are different between the right caliper and left caliper, due to differing piston diameters). Since you are desiring to rebuild the left front caliper and the rear caliper, use the Brakecrafters' two caliper kit for the "front" calipers to rebuild. The seals for the REAR caliper and the seals for the RIGHT front caliper are the same.
-

Is TCI going bad?
Prairiehammer replied to SpencerPJ's topic in Venture and Venture Royale Tech Talk ('83 - '93)
There are a myriad of electrical possibilities, but the first one I would check is the IGNITION fuse. Are you still running with the stock fuse block? It is extremely common to have fuse block issues, due to age. Obviously, the glass fuse itself is not blown, but the spring clips that hold the fuse often become weak and or corroded. Intermittent operation is a result. -

1st Gen Auxiliary gas can.
Prairiehammer replied to Pasta Burner's topic in Venture and Venture Royale Tech Talk ('83 - '93)
Perhaps, but apparently not, since there are manufacturers making and selling fuel cans specifically designed for mounting to a motorcycle. https://packupandride.com/5-ways-to-carry-extra-gas-on-your-motorcycle/ -
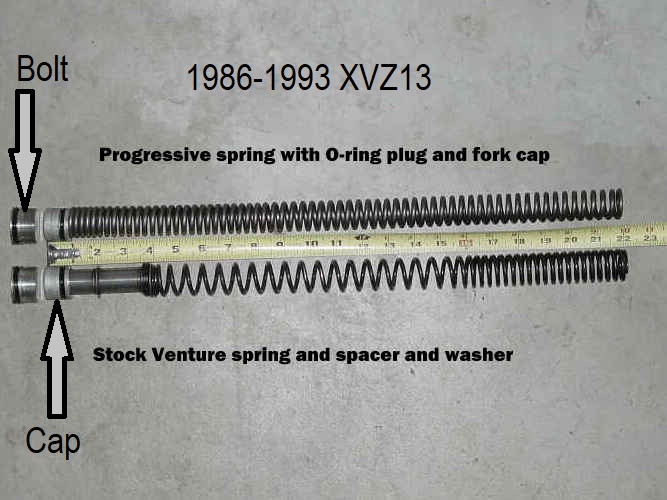
One can purchase the Progressive® springs from Progressive Suspension or from several vendors on eBay. For the First Generation Venture (1983-1993), Progressive's part number is 11-1112. https://www.progressivesuspension.com/product/1465/fork-spring-kit https://www.ebay.com/sch/i.html?_from=R40&_trksid=p3984.m570.l1313&_nkw=Progressive+11-1112&_sacat=0
-

1st Gen Auxiliary gas can.
Prairiehammer replied to Pasta Burner's topic in Venture and Venture Royale Tech Talk ('83 - '93)
An alternate to carrying fuel cans IN the saddlebag, might be to securely mount the fuel can on one (or both) of the passenger floorboards as Steve did with his water jug. Of course, that will only work if riding solo. -

Headset recommends
Prairiehammer replied to Patmac6075's topic in Venture and Venture Royale Tech Talk ('83 - '93)
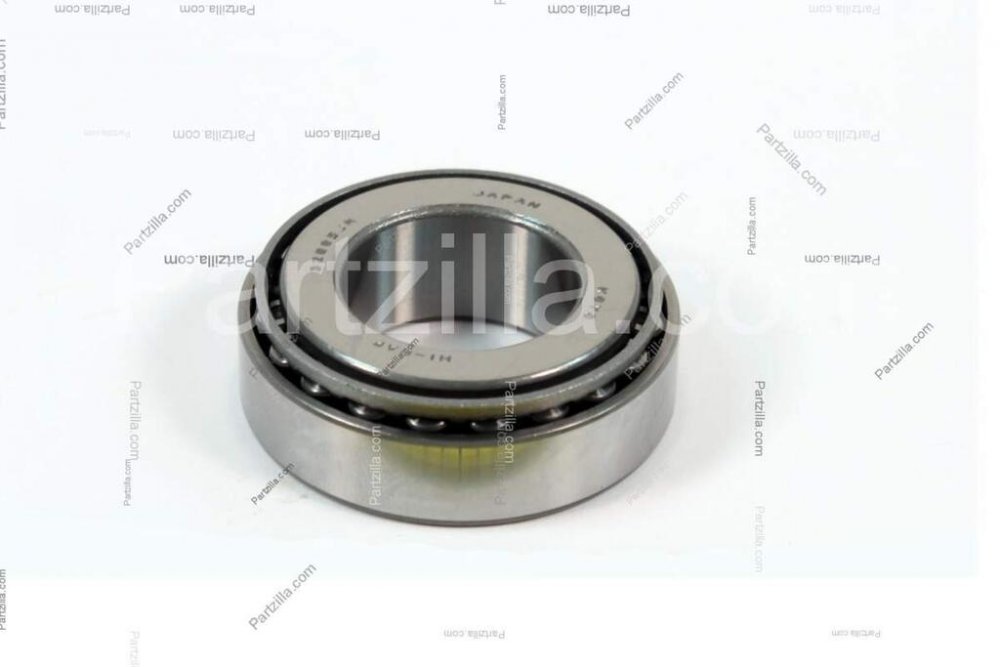
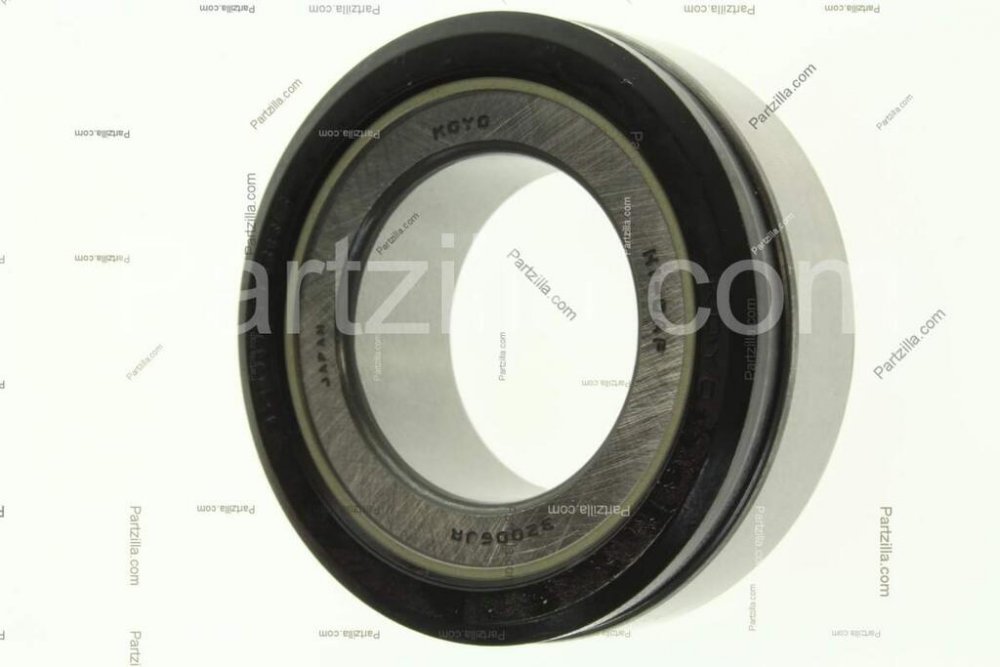
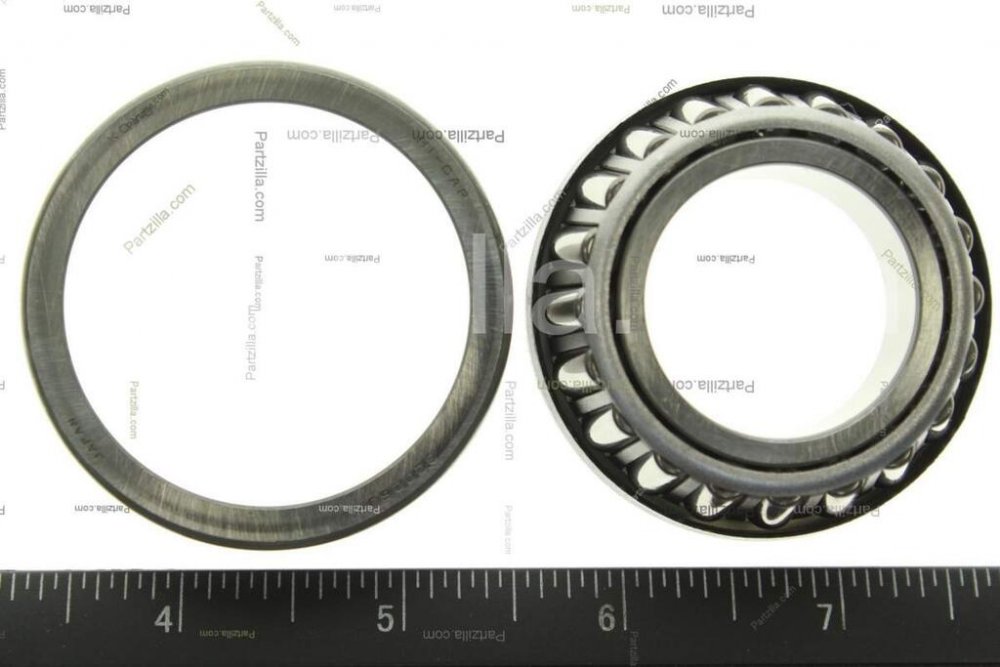
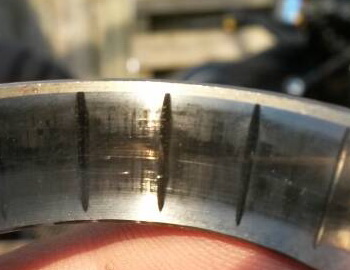
The head bearings are not ball bearings on the Venture. From the factory they are tapered roller bearings. Personally, I prefer genuine Yamaha parts. And yes, replace the races, they are included; the race is probably dented (brinelled) and is the cause of the "notchy" feel you experience. Top bearing part number: 93332-00001-00 Bottom bearing part number: 93332-00008-00 -

1st Gen Auxiliary gas can.
Prairiehammer replied to Pasta Burner's topic in Venture and Venture Royale Tech Talk ('83 - '93)
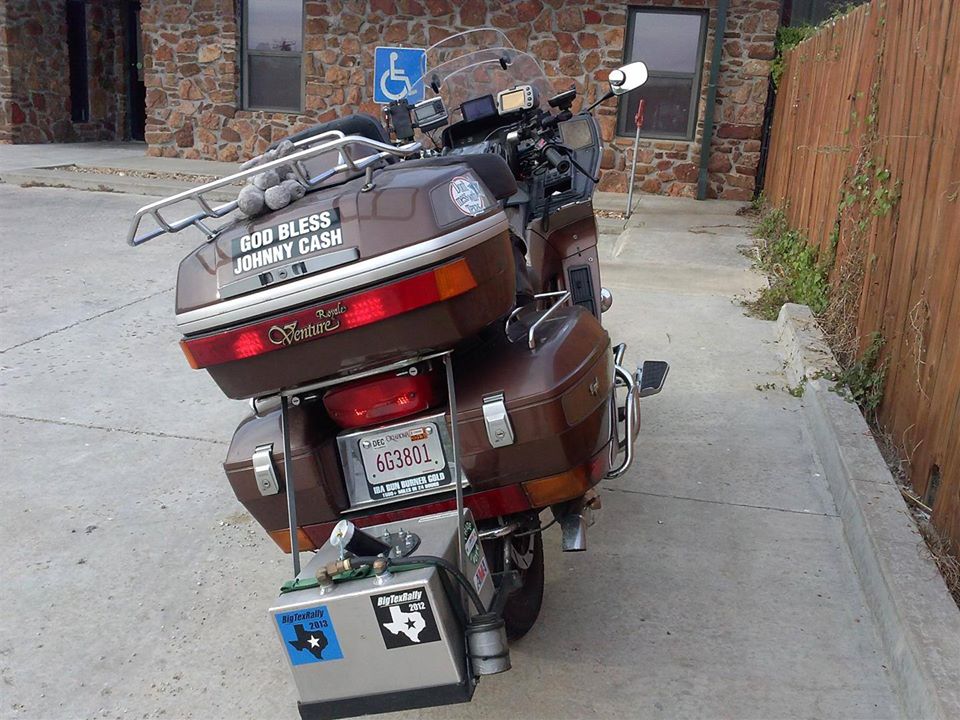
Steve Bracken ( @twigg ) is a veteran long distance rider who partook on many a rally with his 1986 Venture. He used this auxiliary tank. It was certified by the Iron Butt Association. -

Battery Bypass, Right Wire?
Prairiehammer replied to clint_1985's topic in Venture and Venture Royale Tech Talk ('83 - '93)
TCI (transistor controlled ignition). I relocated the TCI from the ignition coil rack to the top of the air box. Cooler, drier location. -

Battery Bypass, Right Wire?
Prairiehammer replied to clint_1985's topic in Venture and Venture Royale Tech Talk ('83 - '93)
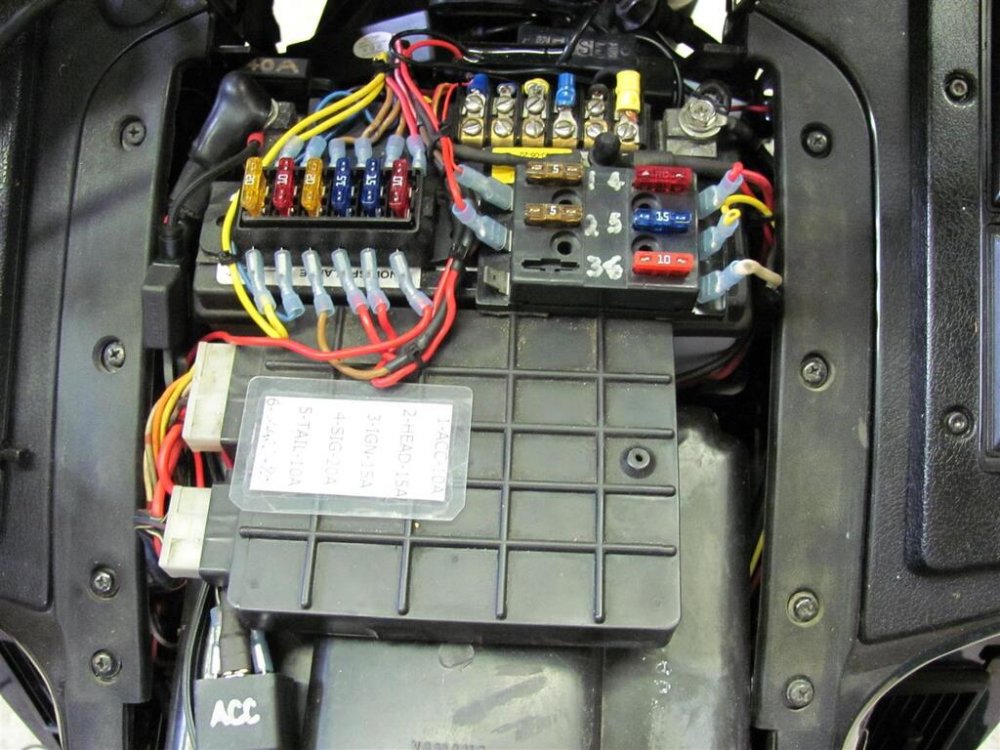
As I explained in my previous post; the driving lights wired to the ACC terminal directly means that the potentially high current draw (possibly 100 watts if using typical halogen driving lights) is flowing through the ignition switch via the accessory circuit. And if you have other accessories hooked to the same ACC terminal, the current through the ignition switch can be excessive. The driving lights will certainly work wired through the ACC terminal, but in addition to the load on the ignition switch, the wiring in the harness may be too small for full light efficacy. If the driving lights are low wattage LED, then a relay may not be required. When I replaced the stock fuse block on my Ventures, I incorporated a relay into a dedicated accessory circuit. Virtually no current added to the ignition switch. -

Battery Bypass, Right Wire?
Prairiehammer replied to clint_1985's topic in Venture and Venture Royale Tech Talk ('83 - '93)
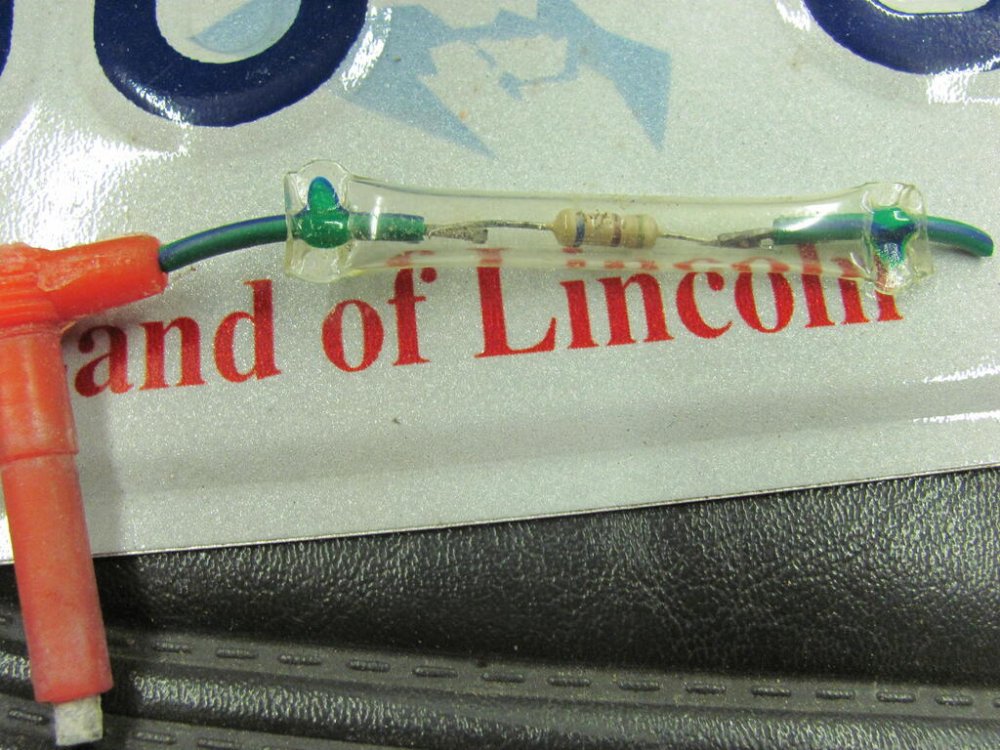
Yes, you are correct. The sensor's green/blue lead ultimately hooked into the white with red stripe at the harness. Sorry for the confusion. -

Battery Bypass, Right Wire?
Prairiehammer replied to clint_1985's topic in Venture and Venture Royale Tech Talk ('83 - '93)
Your auxiliary light diagram is correct. Don't eliminate the relay. Connect to the "ACC" terminal on the stock fuse block. The ACC terminal is "hot" only when the ignition switch is on. If you eliminate the relay, all the current for the driving lights will be going through the ignition switch. That is not good. With the relay, only the slight current required to trigger the relay is carried by the ACC circuit and the ignition switch. As for the CMS warning, I believe there is either something wrong with headlight wiring or there is something amiss within the CMS circuitry. There should be no relationship with the Battery warning and the headlight warning. Are you POSITIVE that you are in fact dealing with the battery electrolyte sensor wire and not some other wire? On your 1992 the battery sensor wire will be green with a blue stripe. -

guage backlights
Prairiehammer replied to mttoews's topic in Venture and Venture Royale Tech Talk ('83 - '93)
Number 168 (wedge) 3.4 watts. -

Coolant overflow tank
Prairiehammer replied to Pasta Burner's topic in Venture and Venture Royale Tech Talk ('83 - '93)
There is an O-ring on the "drain cock" (bypass valve) that often weeps coolant, dripping coolant into the lower cowling (chin fairing) where it may evaporate without evidence of the leak. -
-

Use of terms
Prairiehammer replied to donens's topic in Venture and Venture Royale Tech Talk ('83 - '93)
The chassis ground is on the left coil rack mounting bolt. I am not aware of a chassis ground under the trunk. -

Rear caliper dragging.
Prairiehammer replied to Pasta Burner's topic in Venture and Venture Royale Tech Talk ('83 - '93)
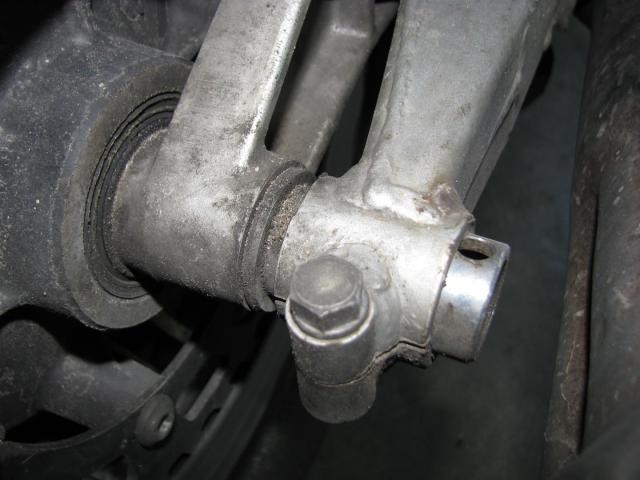
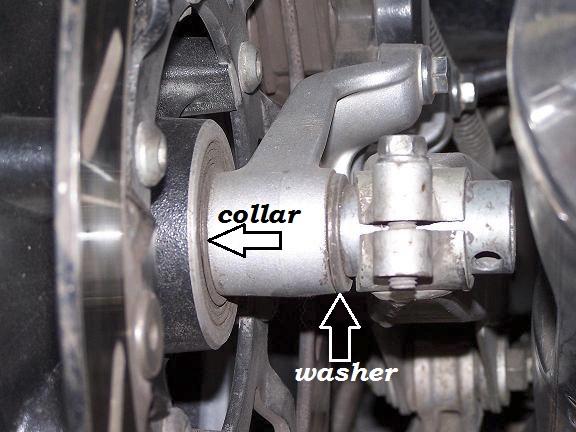
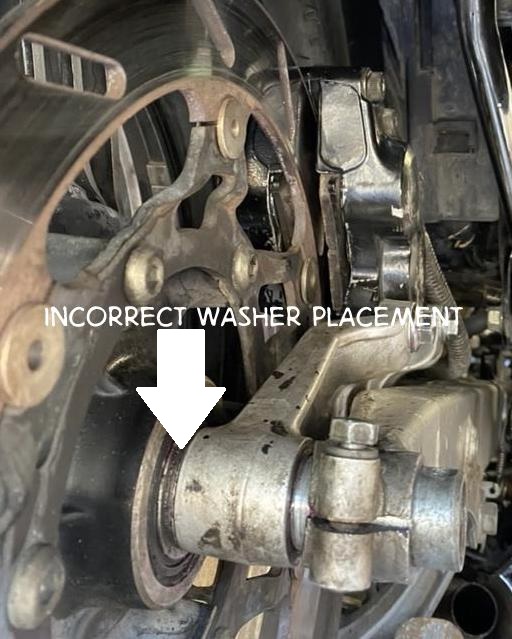
I don't know what to tell you. But your complaint about the misalignment of the caliper is because of the incorrect washer placement. The pulsing brake pedal is likely caused by a warped rotor (either rear or left front). Dragging pads will overheat the rotor, causing a distortion of the rotor. The rear rotor is a "floating" rotor, whereas the front rotors are rigidly mounted to the wheel. Perhaps the left front rotor is warped? -

Rear caliper dragging.
Prairiehammer replied to Pasta Burner's topic in Venture and Venture Royale Tech Talk ('83 - '93)
It appears that you have the rear axle "stack" incorrect with a washer against the wheel, whereas the washer should be outboard between the bracket and shoulder on the axle. -
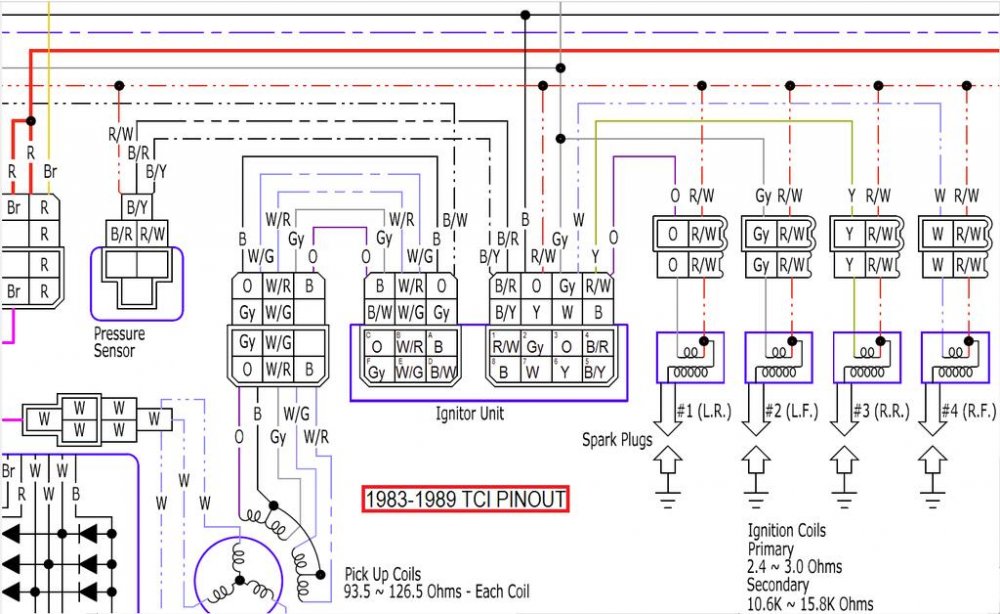
Don is correct about the tach dropping out as a dead giveaway to a TCI or coil issue, but not on number 3 cylinder. The tach gets its signal from number 2 cylinder ignition. Revisit the connector on the TCI for good contact. Also check the wiring from the pick-up coils in the generator/alternator crankcase cover. If one (or more) of the pick-up coils are bad, you will drop one or more cylinders. Typically, a pick-up coil will fail when it gets hot from engine heat. When the coil cools, it often works again. Check the resistance on the pick-up coils when cold and again when hot (and failed).
-

Rear caliper dragging.
Prairiehammer replied to Pasta Burner's topic in Venture and Venture Royale Tech Talk ('83 - '93)
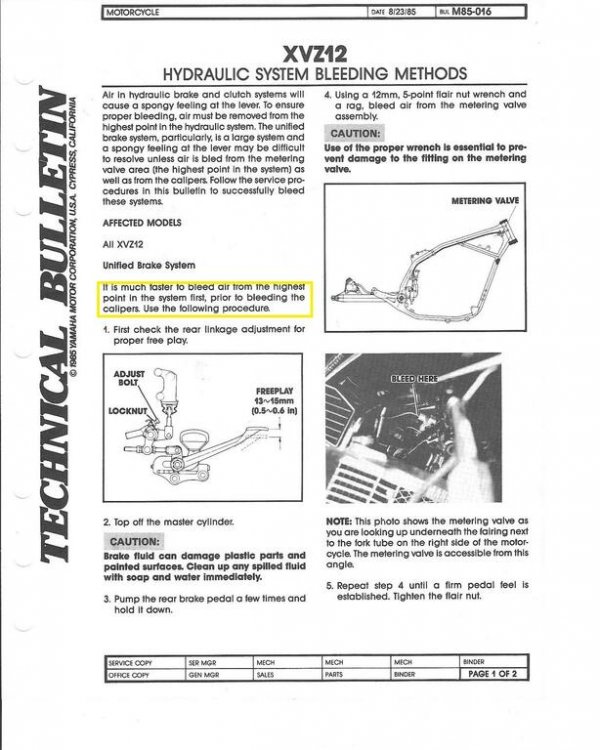
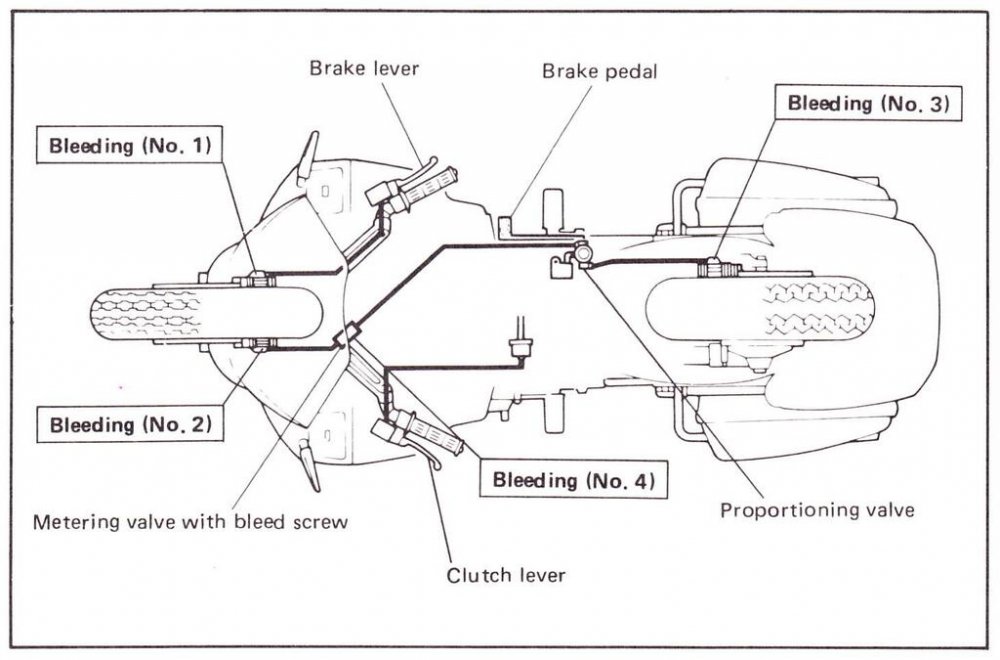
Yamaha has had three different procedures/sequences over the years for bleeding the brakes. In the first service manual for the XVZ12, there was no mention of which caliper to bleed first and no mention at all about "high side" bleeding. In a Tech Bulletin, dated August 1985 (XVZ12), there is a recommendation to bleed the high side FIRST, (by cracking the banjo bolt at the metering valve). Finally, in the XVZ13 Service Manual and Assembly Manual, the sequence stated by cimmer, is recommended. -

Carb Trouble
Prairiehammer replied to mralex714's topic in Venture and Venture Royale Tech Talk ('83 - '93)
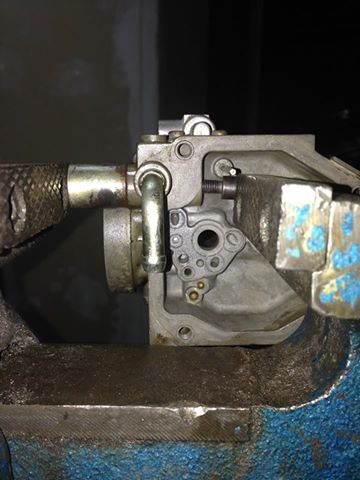
The float valve seat and the "cap" are a friction fit with an O-ring on each. And of course the "stakes" securing the cap. So they (the float valve seat, the net filter and the cap WILL come out with sufficient force). The net filter and the float valve seat will be ruined when using a punch, but you are replacing the seat and filter anyway, right? Some have pressed the float seat and cap out (still squashing the filter) with a vise. You ARE trying to remove the float seat from the inside out, correct?





.thumb.jpg.bab25bd97370441ae228f5527a3191ae.jpg)
.jpg.8b3624ce8b78a0d4299887afd6c906ba.jpg)
.thumb.jpg.8ec152bb51902077c78b5f960124fd7f.jpg)
.thumb.jpg.5efe53e7fe90750b39ee075dffe3dfed.jpg)
