

.jpg.e9727887186a1d52dce67bfa67738b8e.jpg)
kantornado
-
Posts
665 -
Joined
-
Last visited
Content Type
Profiles
Forums
Gallery
Events
Store
Everything posted by kantornado
-
Have been using the same VW bug fuel filter on my Yamaha's. 80 XS 1100 -83 venture -2002 venture -2007 venture. cost is about $4.00 now and never had a problem. The parts stores all carry them and I just throw a year at the counter person and they put it on the counter. Works good and is versatile and frugal.
-
Did not look so see what bike you own. Sorry about that and no disrespect intended. I think the post of my 83 Venture pics are still in my VRGallery and I had a few thing on it but those parts would be kinda hard to find but they are out here. I just have not made it to Oregon yet but it is on my list.
-
I thought we had a crash on the sight before "06" I could be wrong but we had some kind of thing happen. FREEBIRD would know for sure.
-
LOL Thank you for the info now my burning desire has been fulfilled. This is why I love you guy's your full of great info.
-
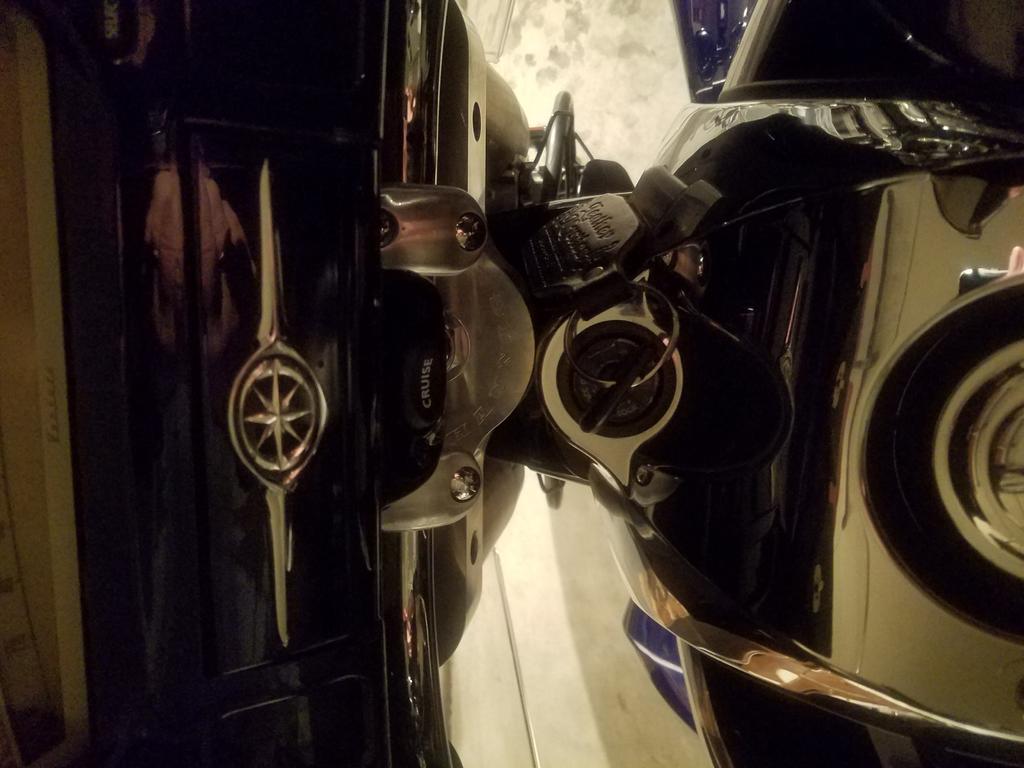
Here is some stuff to add. I have added more just have not taken new pics.

-
I joined as soon as Freebird started the sight and have really never payed attention to what number I am. Their have been gaps because I forget to renew and have never thought of a member number. I figure FREEBIRD knows where I'm at and it's O.K. by me. I wouldn't even know were to look and if it was important he would let me know. I have gotten so much info here and met so many great people and rides I don't think it matters.
-
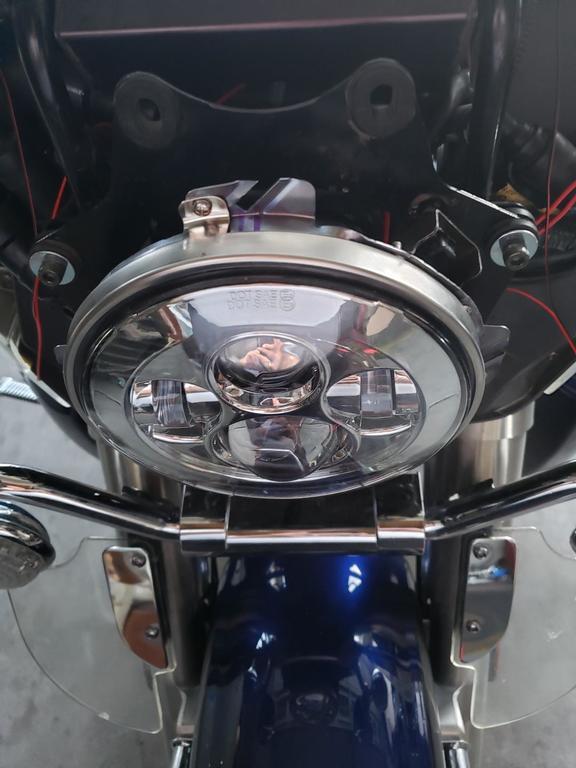
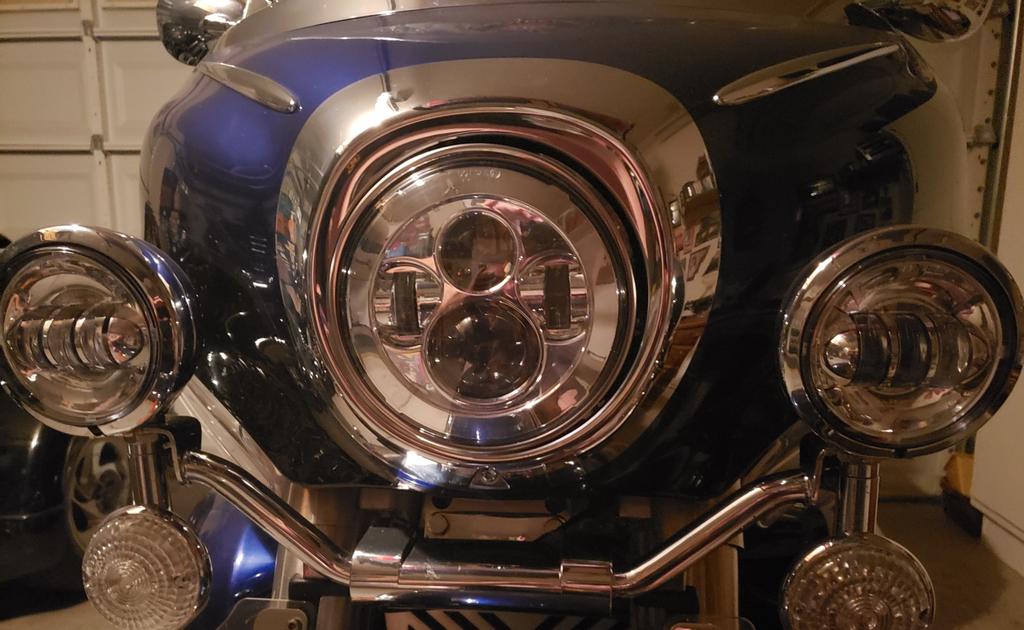
After instaling I adjusted my headlight on low beam. Bike on flat sulrface 25 feet from a wall I measure from center of headlight to the ground. Then on the wall I measured the same height and used a 3 ft level and draw a straight line then adjusted my headlight to the middle of line. In comparison these daymakers on low beam are about the same as my Chevy truck and on bright are about the same. In my opinion the bike light is just fantastic. And truly light up the road without blinding on coming traffic.p]
-
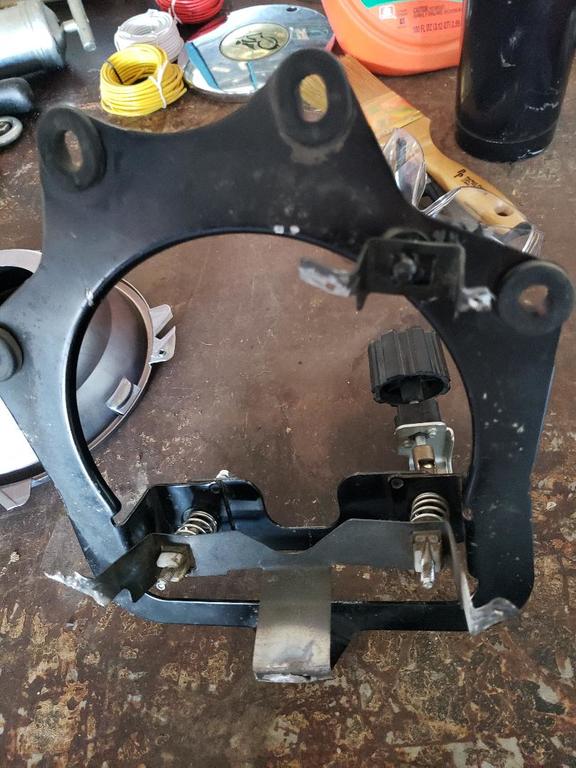
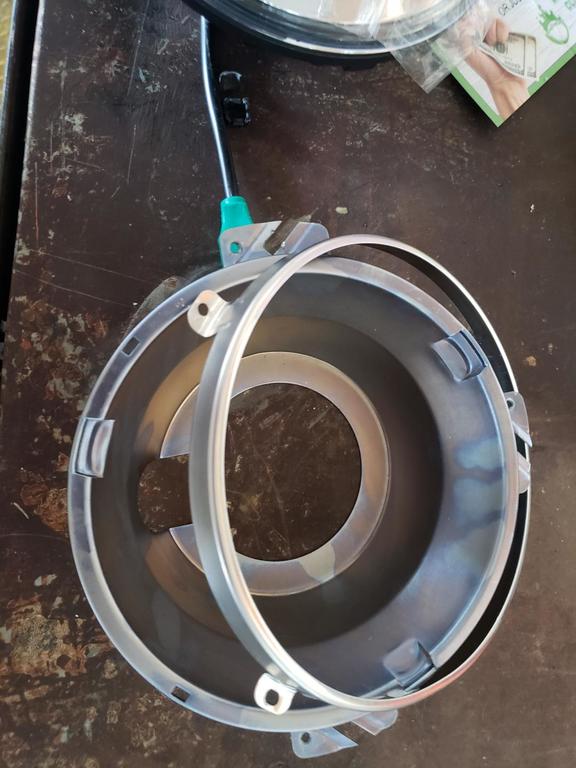
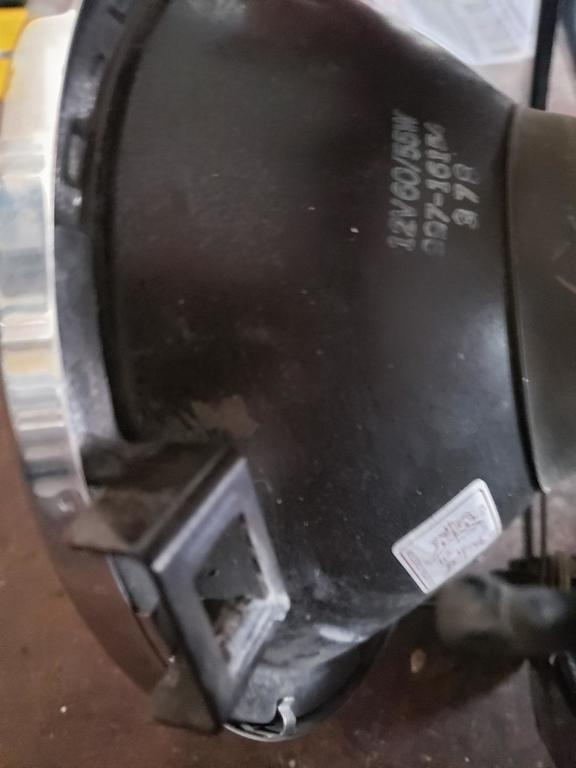
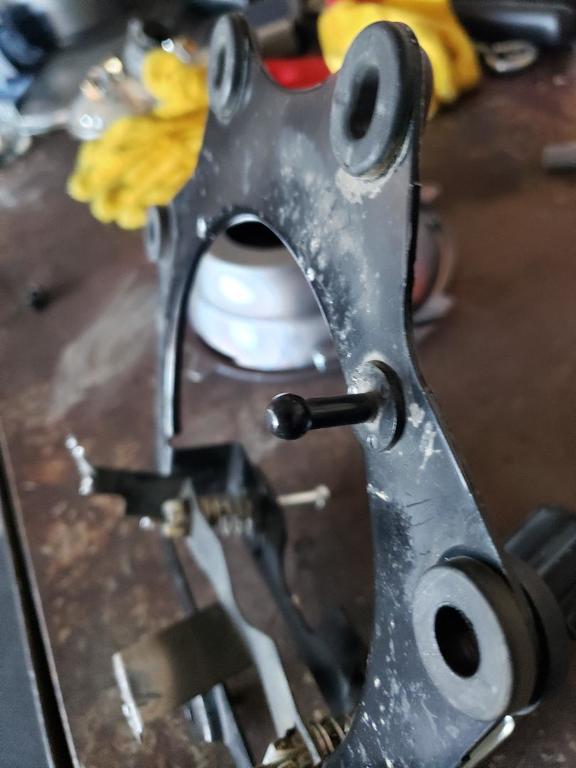
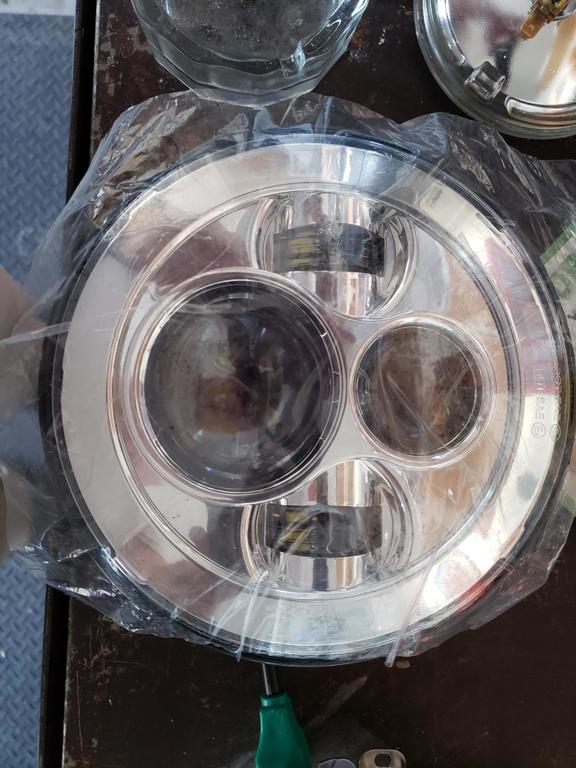
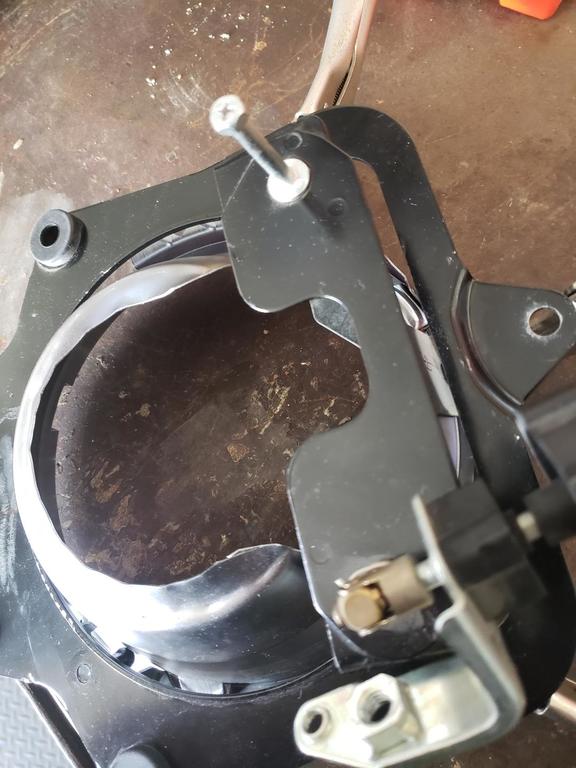
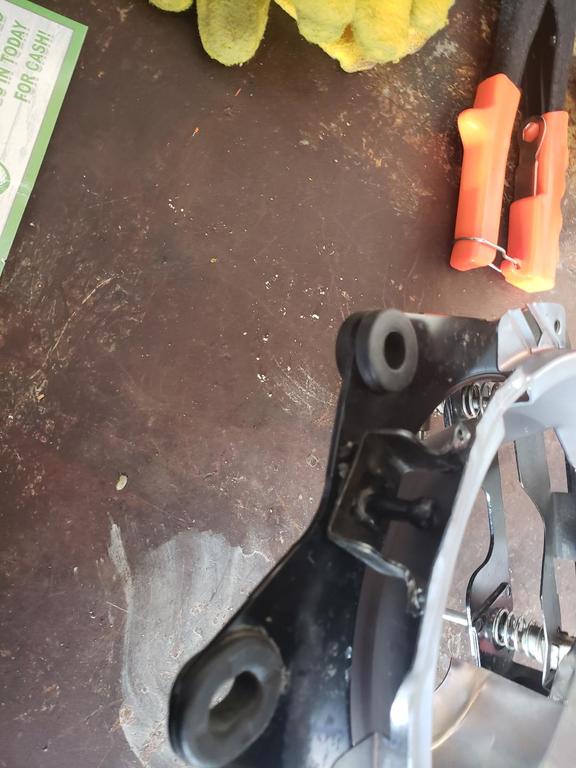
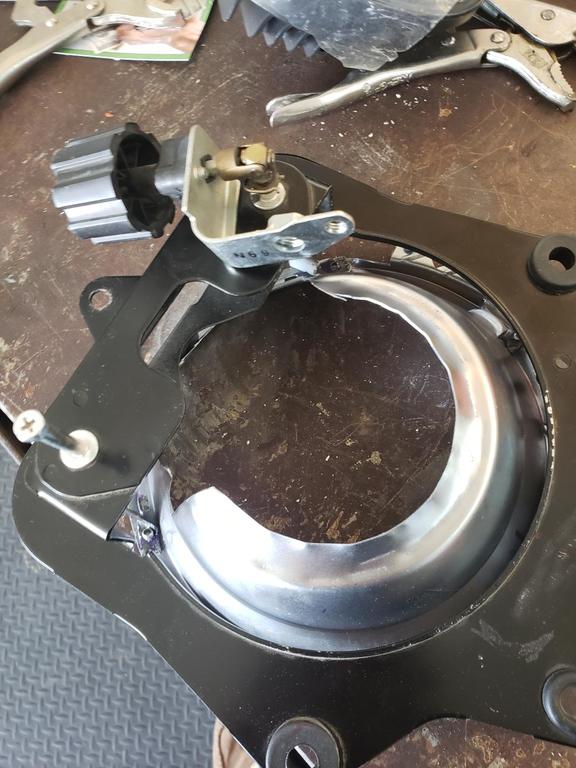
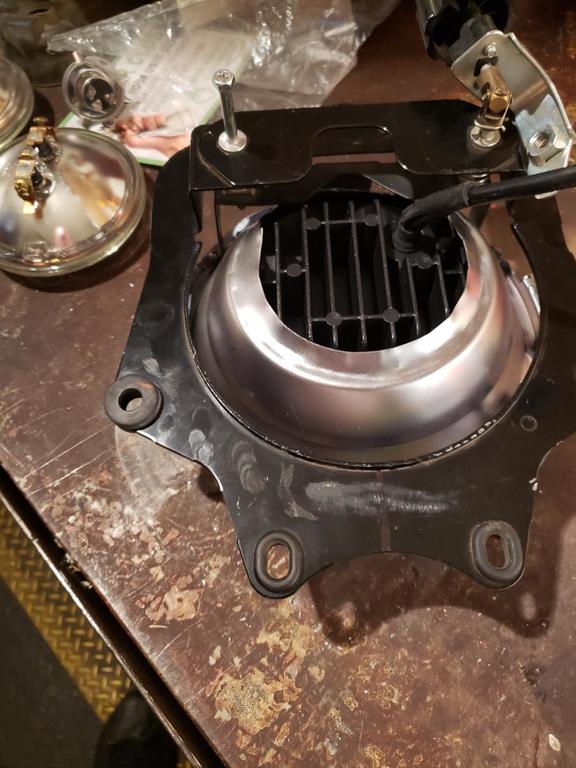
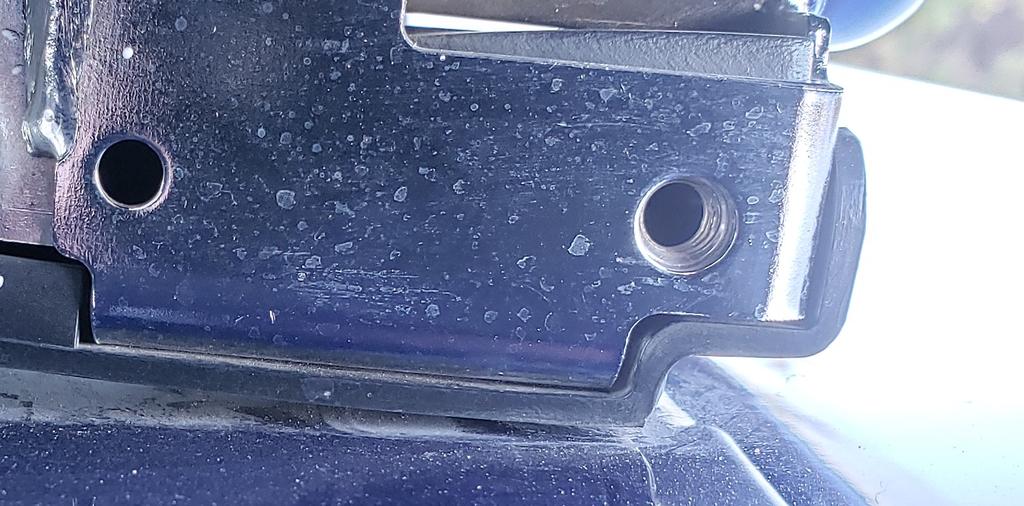
I will post pics of what I did and write out how I did it and if is worthy FREEBIRD can be posted in the Technical library. O.K. I got it done and hope this may help someone else. It is a job for sure but well worth it headlight and driving light set I bought on Amazon Prim. https://www.ebay.ca/…/7-inch-Headlight-Mounti…/163339540192… This is the replacement ring I had purchased for the new headlight. You cannot use the old ring or attempt to use old light housing because you need the locking tabs for the new light to mount. The driving lights more or less plug and play. When taking apart the original light housing first thing is to remove the plastic retainer on the top of light housing. DO NOT BREAK IT and be careful with it treat it like gold. To remove it mark the top with a marker then you have to put your thumb in behind the plastic and take a small screwdriver and push in on both sides while pushing with your thumb. Once off put it in a safe place. I broke the glass out of housing and I used a propane torch on the back side of light to heat up the rubber glue so I could scrape it away to get to the brackets to Dremel. I cut the light housing brackets off with a Dremel to remove old light housing off old headlight. Draw a center line down middle between the two mounting holes and the new housing to line up mounting bucket to clamp housing brackets before drilling and pop rivet. I also held the new headlight in place in the locking tabs mounting bucket to insure center of headlight and the center lines lined up. I had to cut the back side of the new housing out to accommodate the new light and bend the flange and put it on work bench and hammered it flat to be able to clamp the housing to the mounting bucket and make sure your lines line up as perfect as you can to drill 1/8 holes for pop rivets. While clamps are on drill holes and pop rivet housing and mounting bucket. After you have it pop riveted and it’s to your liking now you can put the plastic holder on the shaft and slide it into the bracket. Then put outer ring on and screw in place then mount on the bike. Trim the tabs down were the screws go in and bend them back so they do not touch the chrome headlight rim so you have room to adjust the headlight up and down. If any question ask.
-
This is one of the best winter projects you can do for your VENTURE. I did this about 8 months ago and wanted to see how they held up these Daymakers are just that and then some. Well worth the time and money.
-
Thanks for the help. I found 2 that fit.
-
Helmet lock bolt size
-
Doing really good at being retired. Retired in July and am loving it. Riding my 07 Venture trike and I keep adding bling. One of the best things I have done is replace the headlight and driving lights with Day makers. OH what a difference it was a little work but well worth it. I highly recommend the up grade.
-
.thumb.jpg.f728770fad1ac7ebf6a720ed6af3a09c.jpg) I own a 2007 Venture with a triwing conversion and a 4.5 degree Hannigan easy steer. 6 degree is to much I was told by the experts. I do love this Hannigan and it steers like it has power steering. I would really like to find a car tire to mount on the front. When I ordered from Hannigan they told me it was a 6 degree but the installer checked it and it is a 4.5 degree he called them and they said it must of been labeled wrong. This would be a useless post without pics so here are 2. I run 40 psi front and 25 psi rear and it is excellent. If your front tire gets low it will shake or wobble at low speeds. 2 wheeled bike will do the same if front tire gets low.
I own a 2007 Venture with a triwing conversion and a 4.5 degree Hannigan easy steer. 6 degree is to much I was told by the experts. I do love this Hannigan and it steers like it has power steering. I would really like to find a car tire to mount on the front. When I ordered from Hannigan they told me it was a 6 degree but the installer checked it and it is a 4.5 degree he called them and they said it must of been labeled wrong. This would be a useless post without pics so here are 2. I run 40 psi front and 25 psi rear and it is excellent. If your front tire gets low it will shake or wobble at low speeds. 2 wheeled bike will do the same if front tire gets low.
-
I really don't need to put reverse on it for now. But will keep it in mind. One never knows.
-
All the bling I have added. It is a UTOPIA back rest and is very comfortable.Has no Reverse, except my legs. It is a TRI-WING conversion. I bought it off of a guy in Arizona and he had bought it new. Title was screwed up from the state of Arizona and it took me 3 months to get it straightened out. Could not ride it with out it being legal. I also stripped my Midnight down before selling it. The bling came off my 02 MIDNIGHT. I am and will ride the wheels off of it. Had a hard time selling my MIDNIGHT with so many miles on it. But its to a good home. I told him to join this site but he says he cant afford it, His loss. THANKS for all the complements I plan on adding more bling as time goes buy.
-
I just got a 2007 Venture Trike and am getting used to not putting my feet down. I had to sell my 02 Midnight because of medical concerns. I sure didn't want to but as we get older things change. it went to a good home.
-
Very nice and have a good round.
-
I HATE when people mess up my stuff through ignorance.
kantornado replied to Flyinfool's topic in Watering Hole
You all should of seen the wiring mess that was done on my NAVIGATORS trike. 12 gauge in to 18, 18 into 22 and back into 18, 8 into 10 gauge and into 14. Lucky it did not catch fire. All the fuses were wrong 10 amp in a 5 amp and so on. I just can not trust a shop to do work on our vehicles. -
CONGRATULATIONS!! We did the same thing and had a blast. We rented the bike instead of a car for a week. Rode all over the island,Always had great parking. Most uncomfortable H/D we have ever had the displeasure to ride. But OHH what memory's.
-
Sorry I can not help you with a wrench for your bike. But I lived in Longmont for 16 years. That was 25 years ago and go back from time to time to visit old friends. Great town to live in and you will love all the great places to ride. It is a beautiful place to live.
-
Be safe and have a GREAT DEPLOYMENT. If you need anything let me know, I am close and if you need storage let me know. I do have room.....
-
I just had to set my bike down in a parking lot
kantornado replied to CMCOFFEY's topic in Watering Hole
Glad your O.K. -
So good to here from you Brad and your second job is more rewarding then your first I know. It is a good thing you are doing to help the Vet's. You and Lonna are mist by all of us. I work with Vet's pretty much on a daily bases and know of the rewards I get personally and all the fine friends I have met along the way. If you ever find yourself in Vegas give a shout it would be nice to see you again.
-
I got mine from FreeBird years ago and can not tell you how many times I was thankful for getting it. The center stand has saved me countless times when on the road and you need the bike up and centered for a easy fix. Just washing and cleaning make the task easier as well as maintenance. Quit talking about it and buy it. You will not be disappointed.
.jpg.346aaf780face64d67212fe849ac0c72.jpg)


.jpg.b8cc15dd78500adb65bf9fb61955b8a6.jpg)
.jpg.4547c1c7a15c264edb98ff3206c5a5b3.jpg)
.jpg.d1e0b11baa3d15bbfac3c9906159c03f.jpg)
.jpg.59272c3e814a70a348a4b4d0959831b6.jpg)
.jpg.55e7c9285625b4bc38ab1174a2e853e1.jpg)