-
Posts
5,403 -
Joined
-
Last visited
Content Type
Profiles
Forums
Gallery
Events
Store
Everything posted by dingy
-
The 1st gen side stand switch has 2 contacts in it, but both are switched to ground. Both normally open (side stand down). So if you were able to mount a 2nd gen side stand switch, which only has 1 contact, normally open, a minor wiring change would allow it to work. Same principle applies to any other switch you may find. Electrically, the switch needs to be closed when plunger is depressed. Mechanically, it needs to be mountable and allow side stand to depress plunger when side stand is up. Gary
-

Carb Throttle Cable Which is Which?
dingy replied to GolfVenture's topic in Venture and Venture Royale Tech Talk ('83 - '93)
The cable with 2 barrel clamps on it is the return cable. It goes towards the center of carb rack. Gary -

Carb Throttle Cable Which is Which?
dingy replied to GolfVenture's topic in Venture and Venture Royale Tech Talk ('83 - '93)
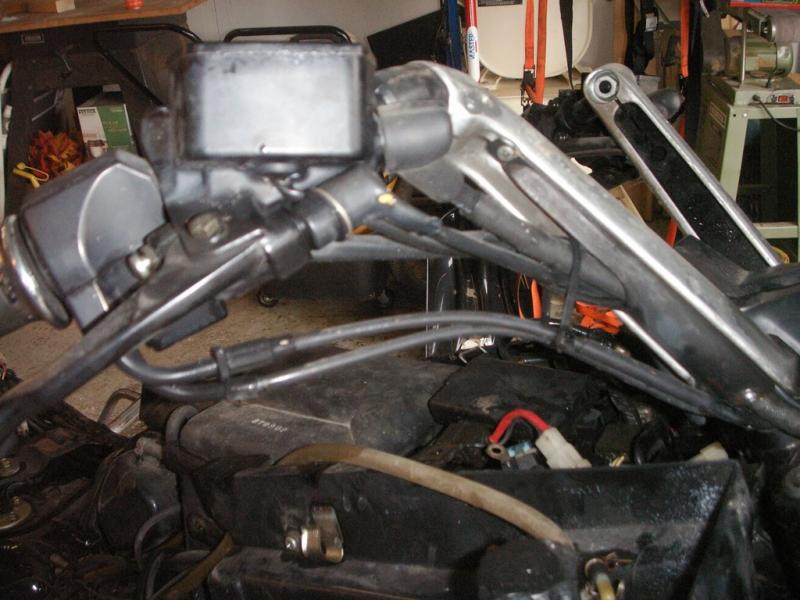
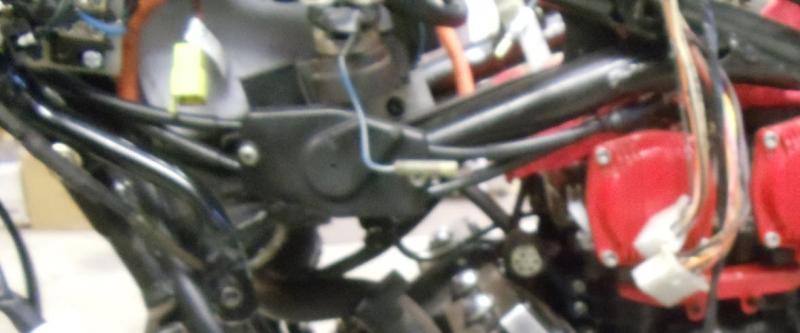
1st picture is from an 88 that I got from MiCarl that now partially lives in Tweety. Shows connections at throttle. 2nd picture shows that exiting throttle junction block, that cable to carbs that has in line adjuster is on top. Based on this post and previous one, you should be able to determine correct configuration of cables. Gary -

Carb Throttle Cable Which is Which?
dingy replied to GolfVenture's topic in Venture and Venture Royale Tech Talk ('83 - '93)
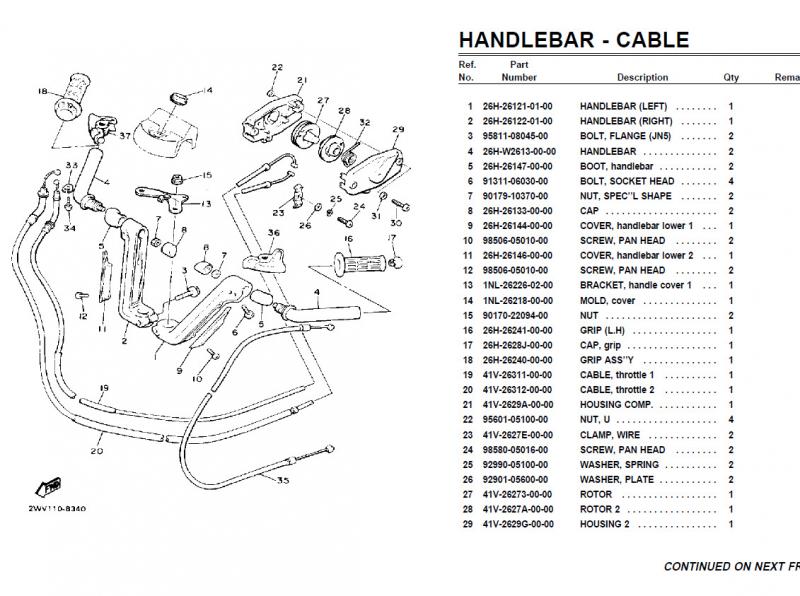
Switching them at the carbs is not possible due to different barrel clamps on the end of cables that attach to the throttle linkages. What may be incorrect is the way the throttle cables are assembled at the junction block where the cruise control ties in. These all have similar ends and could be mis-assembled. Attached picture from parts fiche shows upper cables to junction box, all I could find that is useful. Gary -

Do I need this?
dingy replied to Donvito's topic in Venture and Venture Royale Tech Talk ('83 - '93)
The exposed bare wires on the connector plug are an issue if nothing else. It appears that two filters (capacitors) where put in parallel, in order to decrease noise in radio/cb/intercom. That is not a factory setup. The filters will only effect voltage in the sense that they will smooth out transient spikes. These can be induced by a number of things,ignition issues, switches opening & closing (brake or clutch), relays engaging or releasing. Gary -
I just got plates for the 88 today and got charged full price. Gary
-
One thing to keep in mind, with the type of printer that this one appears to be, and this is from a quick glance, they do not have sufficient resolution to get small detail. For instance threads, will be incomplete, or non uniform. Also,parts are not water tight without post processing. But still cool for that price. Gary
-
I can help you. 1992 is not a problem. http://www.venturerider.org/forum/photopost/showproduct.php?product=204&title=ingnitech-tci-2c-replacement-for-1st-genventures&cat=20 I have them on hand now. I don't always have them. To be fair, the stock 1990~1993's are not as failure prone as the 1983~1989's, but not unheard of. Gary
-

pilot screw 5 turns out
dingy replied to Mike R's topic in Venture and Venture Royale Tech Talk ('83 - '93)
I thought the enrichment diaphragms also helped with the backfiring on deaccel. Maybe a bad one? Not positive though. Gary -

Stuck Pilot Screw, Got any Ideas?
dingy replied to Chaharly's topic in Venture and Venture Royale Tech Talk ('83 - '93)
I had just came back to post that very same thing. Actually, I am surprised I haven't got this thread deleted with my hissy fit. And Charley was supposed to post some measurements, so we could help figure out what he done did to carb. Gary -

Stuck Pilot Screw, Got any Ideas?
dingy replied to Chaharly's topic in Venture and Venture Royale Tech Talk ('83 - '93)
Well then I will apologize, I thought it was you on Face Book, a few hours before you made above post, someone I thought was you was reaming me for buying bike out from under cowpuc. Not being able to relate FaceBook name to user name here has bit me in buttocks. My bad. I am not good about getting pushed into a corner. Been attending R-Fator training that deals with this very type behavior. Gary -

Freebird's MD, Quaker Steak & Lube Friday night dinner.
dingy replied to dingy's topic in Watering Hole
I fixed it, I missed a check box on initial post. Gary -

Stuck Pilot Screw, Got any Ideas?
dingy replied to Chaharly's topic in Venture and Venture Royale Tech Talk ('83 - '93)
The above quote is what I posted, maybe I should have used smaller words. Since your profile listed your occupation as an Engineer, I was curious, at that point, I was still trying to be cordial. I have over the decades worked with many different kinds of engineers, from aviation, to civil. Most engineers aren't know for there charming personalities, mine included. We tend to be introverts. Prior incident was accusations you made here & on Facebook regarding the 88 Venture I recently purchased, Short term memory issues also? Post #18 from below link. http://www.venturerider.org/forum/showthread.php?99841-Remember-that-nasty-looking-700-dollar-Venture-Bob-posted-up-This-aint-it!!&p=900028#post900028 Gary -

Stuck Pilot Screw, Got any Ideas?
dingy replied to Chaharly's topic in Venture and Venture Royale Tech Talk ('83 - '93)
As far as I am aware, JIS (Japanese Industrial Standard) screwdrivers pertain to what we call Phillips head. The pilot screw has a flat blade type of slot. The Phillips head was designed to cam out from engagement with the screw to prevent over tightening. This feature is great on an assembly line, but a pain in the buttocks when used for dis-assembly. Quote from Wikipedia "The rounded, tapered slots of the Phillips head were deliberately designed for the screwdriver to "cam out" (pop out) of the screw head recess under high torque on high-speed factory assembly lines.[6] This prevents stripping damage to the screw threads, at the expense of possible damage to the recess in the screw head. Modern torque-limiting power driver tools for professional use eliminate overtorquing damage much more reliably. Market inertia and ignorance of the design's historical intent have led to widespread misapplication of Phillips head fasteners in applications where cam-out is not desirable. Some Phillips head screwdrivers have been manufactured with hardened "anti-cam-out" (ACO) grooves in an attempt to defeat this designed-in behavior.[7] See torx head screw. " Full text of above at http://en.wikipedia.org/wiki/Screwdriver Gary -

Ask and you shall receive ( pics of Brenners project)
dingy replied to Brenner's topic in Watering Hole
Do you want to sell any of the chrome you removed. I am interested in chrome guard under fairing that wraps around front. Nice color. Did you powder coat the exhausts? Has seat been recovered? Gary -

Pins for Ingtech TCI ??
dingy replied to jdog910's topic in Venture and Venture Royale Tech Talk ('83 - '93)
I sent you PM. Attached is wiring diagram for harness that I modify & sell with TCI's. Be very sure of connections to MAP sensor, if hooked up incorrectly, it will render MAP sensor unusable, I have learned this the old fashioned way. Without knowing details of MAP sensor you purchased, I can not promise attached wiring diagram is accurate for connections to your MAP, so treat is a reference drawing. Refer to Manufacturer specs for required connections. Gary Venture Ignitech supplied harness wiring.pdf -
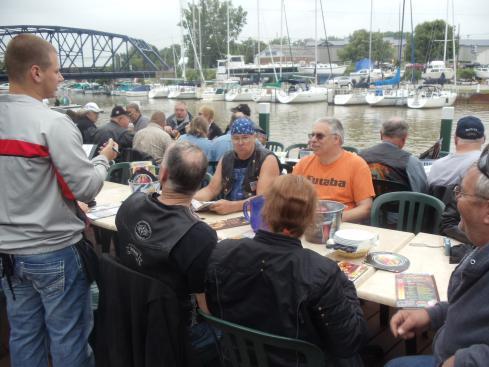
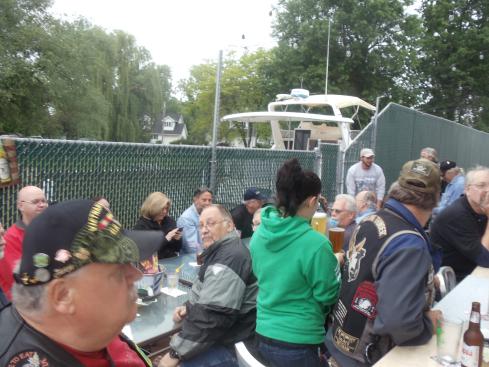
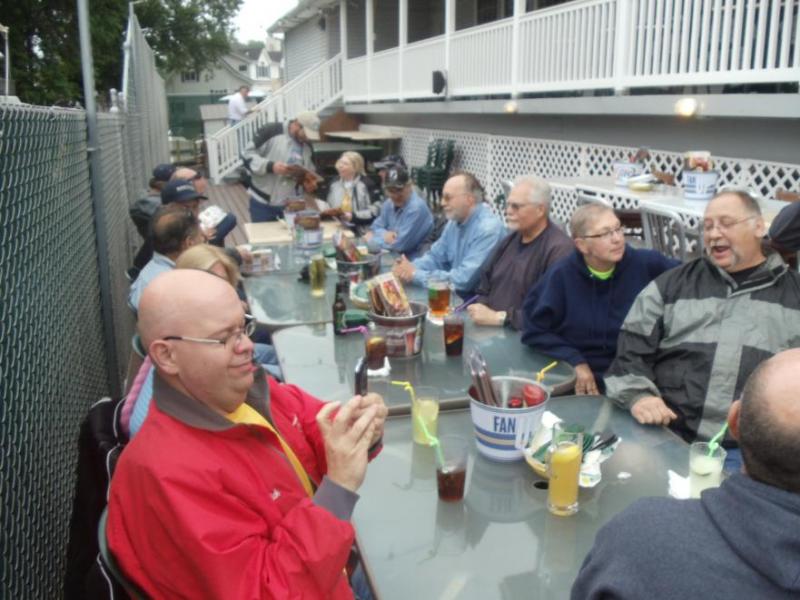
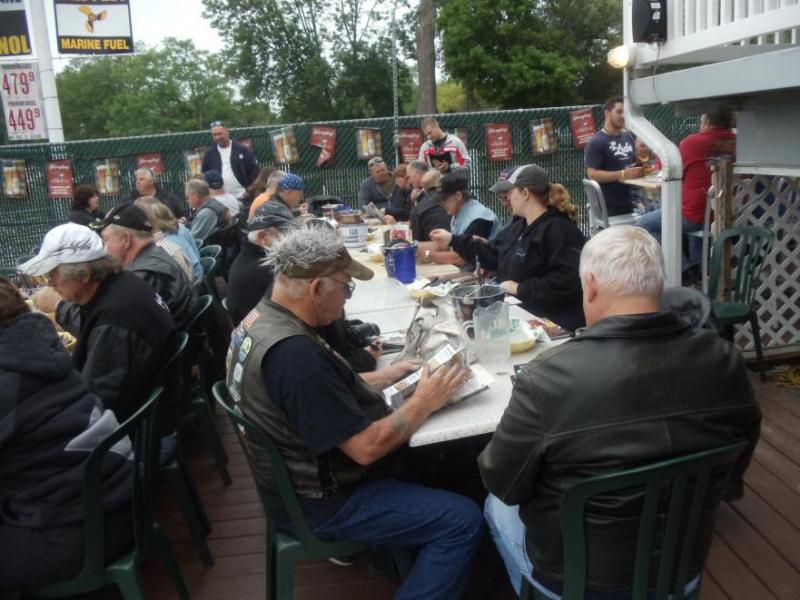
I have talked to the Quaker Steak & Lube in Vermillion. They are expecting us Friday night, May 29th. This is the night before the annual Oberlin festivities. They have 28 tables on the dock balcony. We will need to use the tables to the maximum capacity, but we are all friends here. They just reopened after remodeling the facility. That's the reason I have taken longer to get this set up this year. This is not a catered event, everyone is responsible for their own dinner & refreshments. About a 20 mile ride. Previous years people left in small groups to go to QSL. But I would say plan on around 5:00~6:00 time at restaurant. Link to Vermillion site: http://quakersteakandlube.com/Vermilion_OH/ Menu link. http://thelube.com/category/menu/ I am putting an event on the calender for this. Map from Don's to QSL link below. http://g.co/maps/75rae Please let me know an approximate head count by signing up for calender event. Added calender link below. Calender Link Gary
-

Pins for Ingtech TCI ??
dingy replied to jdog910's topic in Venture and Venture Royale Tech Talk ('83 - '93)
Send me an address and I will mail you some connectors that are attached to terminals already. I buy extra wires from Ignitech when I buy TCI's that I sell. I have Green, Blue, Gray, White with Red tracer and White with Blue tracer. The terminals are fussy about needing proper crimp tool being used. Fitment into 20 pin connector is tight. Or I can send you a few bare terminals, your choice. Gary -

Stuck Pilot Screw, Got any Ideas?
dingy replied to Chaharly's topic in Venture and Venture Royale Tech Talk ('83 - '93)
How have you came to the conclusion that the threaded part is gone? Is there any of the needle protruding into the bore of carb? If there is needle protruding, and you are sure threaded portion is missing, then needle should push back, there is an O-ring and washer at bottom of hole also. I find the assumption that threaded portion is missing somewhat implausible though. Do you have a set of calipers that are capable of a depth reading. If you can post how far into needle bore you can probe, I can measure same with carbs I have, and get an idea of what is left in hole. If your caliper doesn't have depth capability, insert something in hole, like a drill bit and measure how far it can go in, need a somewhat accurate measurement, using a tape measure is at low end of 'accurate' for stuff like this, but if is what you have, use it. Measuring bare carb body I have, threads start at 1.010" below face. Which carb is it that is fubar'd. I may have a spare. Gary -
If it were used on 1st gen it would be NO SPST SPR RTN. 2nd gen uses a brake relay, then a NC SPST SPR RTN. (Normally Closed, Single Pole, Single Throw, Spring Return.) But a Venture with cruise needs 2nd set of contacts for cruise cancel. Gary
-
That would be a Normally Open, Single Pole, Single Throw, Spring Return. NO SPST SPR RTN (not positive about spring return abbreviation ) http://en.wikipedia.org/wiki/Switch This type of switch arrangement is very common. Gary
-

Stuck Pilot Screw, Got any Ideas?
dingy replied to Chaharly's topic in Venture and Venture Royale Tech Talk ('83 - '93)
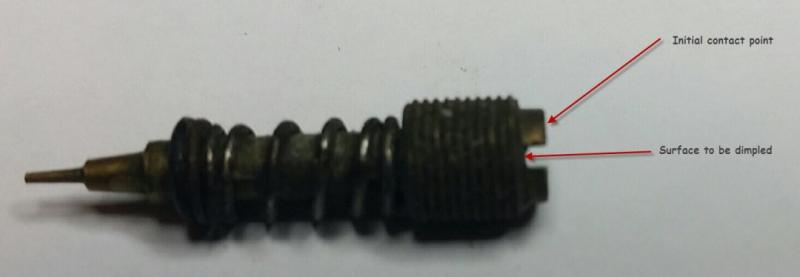
I just checked a bare carb body, and the largest bit that will fit in hole is a 1/4". This is taking into account the fractional, letter & numeral size drills. Very common size. This is one needed to make initial dimple in stuck screw. Once drill bit contacts top of screw, you need to drill initial 'dimple' hole about a 1/16th of an inch (0.062) deeper. This is so drill point reaches past screwdriver slot in screw and can contact center of screw body below screwdriver slot. If you look down screw hole with light after drilling, you should see shiny brass at center of screw. If not, smaller drill bit for secondary cuts will not have the needed dimple in center and will drift off center. Body of screw head is slightly over 1/4" long. Gary


