.jpg.50e9c476fb784c488e61ea19b72587c9.jpg)
bryan52577
-
Posts
936 -
Joined
-
Last visited
Content Type
Profiles
Forums
Gallery
Events
Store
Everything posted by bryan52577
-
At Wally World 5 min ago Oskaloosa, Iowa $2.05 So who will be first UNDER $2.00????
-
.thumb.jpg.0def0cd11f551e85e5aebca6947d2cdb.jpg)
Question for all the electronic Gurus
bryan52577 replied to dragerman's topic in Poor Man Tips and Fixes
Will this help? [ATTACH]23273[/ATTACH] -
Car tire on Venture
bryan52577 replied to Studhauler's topic in Venture and Venture Royale Tech Talk ('83 - '93)
Here is one of many posts for the CT subject you are looking for. Hope it helps. Bryan http://www.venturerider.org/forum/showthread.php?t=20695&highlight=car+tire -
Faring disassembly.
bryan52577 replied to timgray's topic in Venture and Venture Royale Tech Talk ('83 - '93)
Hi Timgray, Here is a link that you just put in year make & model and then you can chose what schematics you want to see. has about anything you may need hope it helps. Bryan http://www.yamaha-motor.com/sport/parts/home.aspx -
YUK! SORRY! I know, my time will be coming soon. Went for ride today but wind is 40 mph + called it quits........Wind don't look so bad now? Bryan
-
This is a GREAT site. My thanks to Freebird for starting it and to all the Moderators and member who keep it that way! Bryan
-
Hey Bill, I was looking on the VR Rallies page and for the St. Charles meet & Eat and Ride it shows "May 9th & 10th 2009". (That would be a Saturday & Sunday.) Which is the RIGHT date? As this may be my first "Venture Riders" event to can come to and I would hate to miss half of it. Just cause I got the date wrong. Or did I just miss a post some where? Thanks, Bryan
-
This is a picture of my bike I have both. No problems. Mine has the LED brake light in it also.
-
Have a good trip RR. Hope the weather holds out for you. I had the pleasure of spending 2 weeks down there an had a BALL! Ride safe! Bryan
-
Has anyone else noticed or is it just me
bryan52577 replied to Dragonslayer's topic in Watering Hole
All is well here in Iowa.....Except it's cold and rainy. But I get that problem about this time every year. So I've just learn to live with it. -
sorry to hear about your loss. I fully understand the loss of a loved one like this. My prays are with you & your family.
-
Very nice Grandfather! Wish I had one but I bought the Venture this year instead. Very happy with it, maybe next year on the Grandfather?
-
We were just there on the 4th of October. Place was so packed we didn't even get in. That's a shame! Bryan
-
CH - 09 Emergency CH - 19 Truckers ( find most people here for info & such) Rest are pretty much whatever / whoever is on
-
6420 on Honda 1100 shadow Got RSV in July and got another 3876 on it. 10296 for a total so far, rained today didn't ride. As good as the RSV rides I will be putting on more next year!
-
Welcome aboard! Scary at first, but most of them don't bite ,,,,,to hard.
-
You can do it from whatever forum page you go to. Like at the top of the page when you come into wateringhole it's at the top on the left. Below which you see all the threads that have been posted. There's only this way that I know of. You have to be in the section you want to make the new thread in. Margaret Well DUH, I never new that. I always go to "New Posts" and my Firefox just keeps refreshing the page every minuet while I am on another tab. Didn't know you could go to "Watering Hole" anytime you want. Got use to just going like I do. Thanks Margaret!
-
No that is that Florida flag.
-
Some times I hit "New posts" and it comes up with choices I can do and also which posts I have answered or posted to. Kind of COOL I like it! Can I keep it?
-
Ok, here I thought I was doing good? What page? Where? I can't find anything that says "NEW THREAD"? I have to do like "Tom" says and go to the "Forum" page. Is there a quicker way?
-
All I can say is THANK YOU ALL!! :301:JOB WELL DONE!!
-
Not sure who the author is? I used it to do mine and it worked great! Had it off and put on visor on head light and replaced fairing in 36 minutes, with out a sweat! And still had time to look around in there to see what was going on . Fairing Removal Instructions http://www.venturers.org/NextGenTech/2ndGen/images/fairing1.gif Place the motorcycle securely on the side stand. Protect the front fender with a blanket or other covering. Remove the chrome front cowling cover by first removing its two mounting screws. Lift up each end of the cover, then push the center of the cover in and carefully lift the entire cover upward. The cover has tabs that insert into slots in the fairing. Do not use excessive force or the tabs can be broken. See Figure 1. Remove the six screws now exposed along the bottom of the windshield. Lift the windshield upward and remove it. See Figure 2. Remove the screw at the bottom of the chrome headlight ring and also the six screws which hold on the front of the fairing. Lift the front of the fairing off. If you already have the passing lamp kit installed, you will have to loosen the two screws holding the mounting bar to the lower triple clamp or there won't be enough clearance. This is where a 6 mm ball end allen screw driver comes in real handy. http://www.venturers.org/NextGenTech/2ndGen/images/fairing2.gif Following are the steps I took when I split my fairing along with some pictures that may help. You will need the following tools: http://www.venturers.org/Tech_Library/attachments/faring1.jpg Remove the plastic cover from the light bar. It simply snaps on and off: http://www.venturers.org/Tech_Library/attachments/faring2.jpg Next, if you have installed the Yamaha Passing Light Kit, then you will also have to loosen the two 6mm bolts that hold the light bar on. You DO NOT need to remove these bolts. Simply loosen them as much as possible without removing them. I usually loosen each side a bit at a time. http://www.venturers.org/Tech_Library/attachments/faring3.jpg Using a 3mm ballend or allen wrench, remove the four screws from the back side of the fairing on each side as shown below: http://www.venturers.org/Tech_Library/attachments/faring4.jpg Now, carefully remove the chrome windshield trim. Lift from each end simultaneously and carefully work towards the center kind of lifting up and back towards the windshield. When putting the chrome trim back on, start in the middle and then work to the outsides evenly. http://www.venturers.org/Tech_Library/attachments/faring10.jpg Below are some pictures showing the fragile tabs and where they align. It may help to see what these look like to better understand how to remove the trim. http://www.venturers.org/Tech_Library/attachments/faring11.jpg http://www.venturers.org/Tech_Library/attachments/faring12.jpg Now, remove the six windshield screws using a 3mm ballend or allen wrench. These screws also hold on the windshield so be careful. A second person to hold the windshield until all screws are out may be wise. After all six screws have been removed, carefully remove the windshield by gently lifting it straight up. On Yamaha windshields, most of the mounting holes are slots. The third hole from right (see photo) is an actual hole. By removing the third hole from right last it will help prevent the windshield from sliding out while you are working. This is true for the Yamaha windshields. It is uncertain which if any of the aftermarket windshields are the same. http://www.venturers.org/Tech_Library/attachments/faring6.jpg http://www.venturers.org/Tech_Library/attachments/faring9.jpg Remove the screw at the bottom of the headlight trim using a 4mm ballend or allen wrench. This is the last screw holding your fairing front on so be ready to support the fairing until you are ready to lift it out. http://www.venturers.org/Tech_Library/attachments/faring7.jpg You are now ready to remove the fairing front. Some members have said they can not remove the fairing front without removing the lightbar. I find it comes off quite easily if done right. You must pull out gently, then rotate the fairing front right as you continue to pull it out. I have the Yamaha Light Kit with standard bolts as well as the headlight visor and can get this off with no trouble. Here is a digital video clip of me removing my fairing front: http://www.venturers.org/Tech_Library/attachments/faring.avi about 2.5mb On my bike shown in this demonstration, I have removed the fork wind deflectors and do not use them. You may find it necessary to remove these in order to get enough tilt on the lightbar. Another option of course is to remove the lightbar bolts and gently set the lightbar on top of your blanket covered fender. If you do this, it would be advisable to secure the lightbar with some string to prevent it from sliding off the fender. Be careful not to pinch or stretch the lightbar wiring harness if you use this method. Finally, you can now get to work on whatever it is you needed to split the fairing for. Below is a picture of the fairing insides. http://www.venturers.org/Tech_Library/attachments/faring8.jpg To re-install, simply follow these procedures in reverse. No torque specifications are listed in my shop manual for any of these screws or bolts. Most of these screws are M5 which uses a general torque specification of 35 in. lbs. The screw in the headlight trim is a M6 screw and the general torque specification for that size is 80 in. lbs.
-
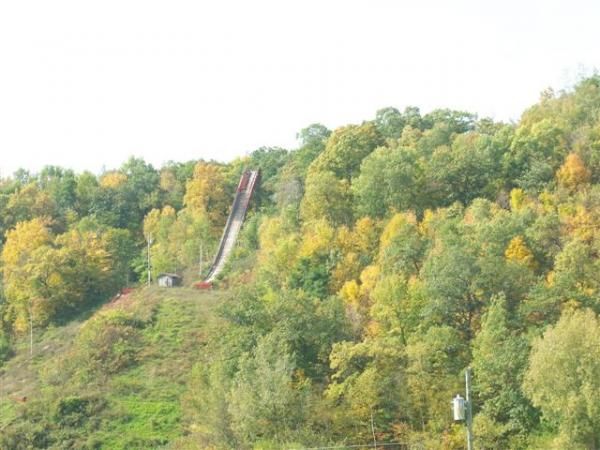
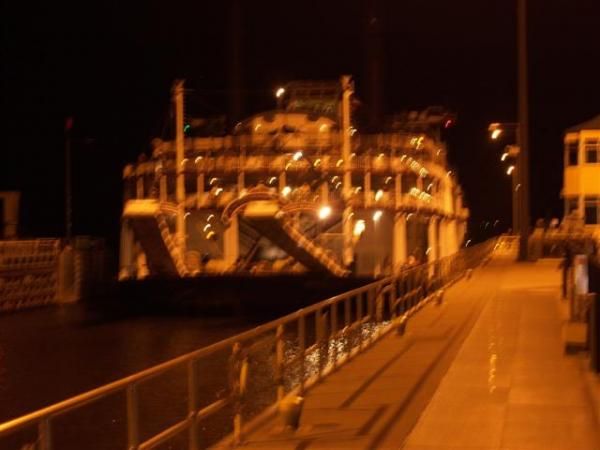
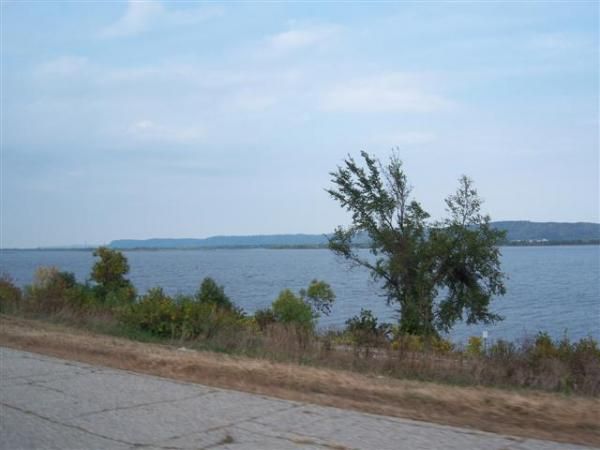
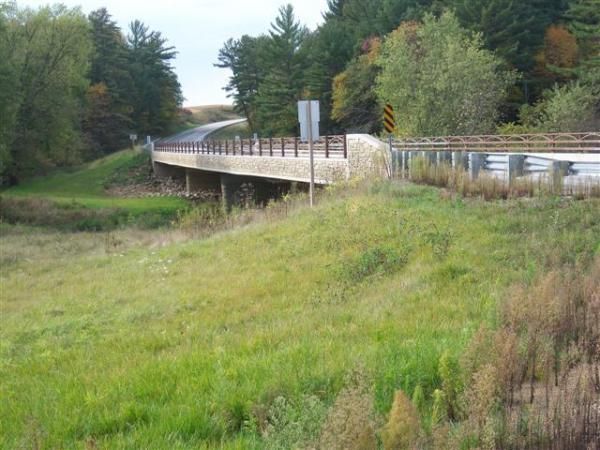
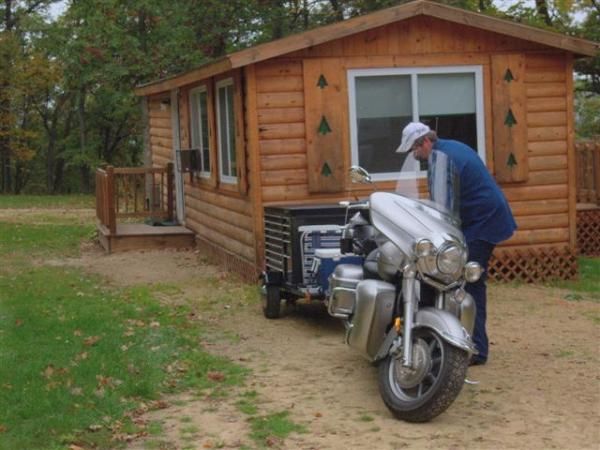
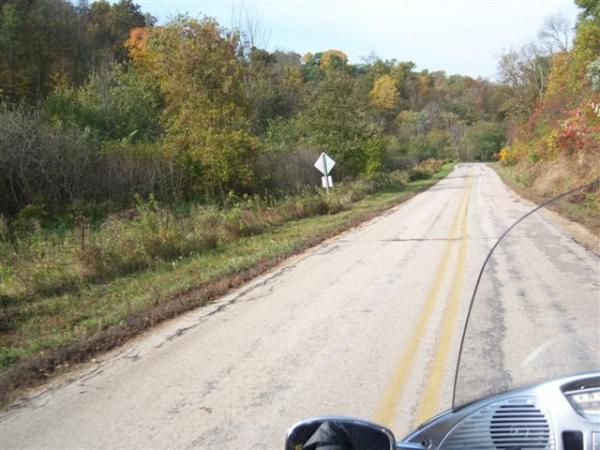
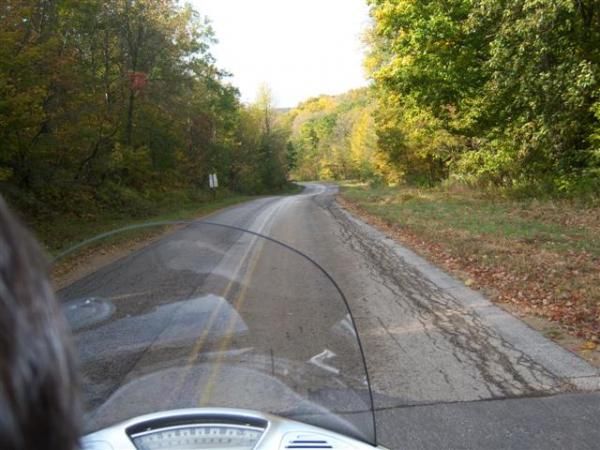
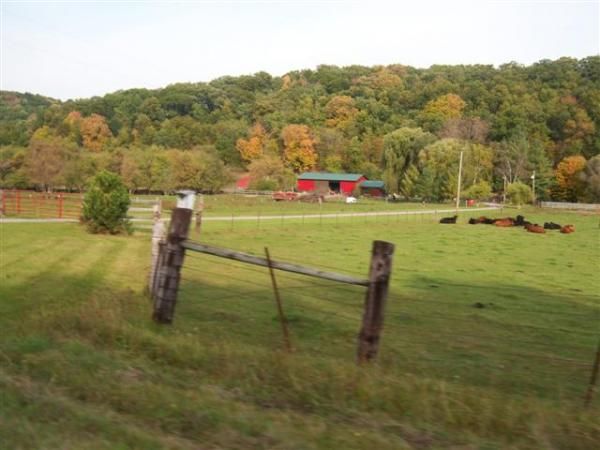
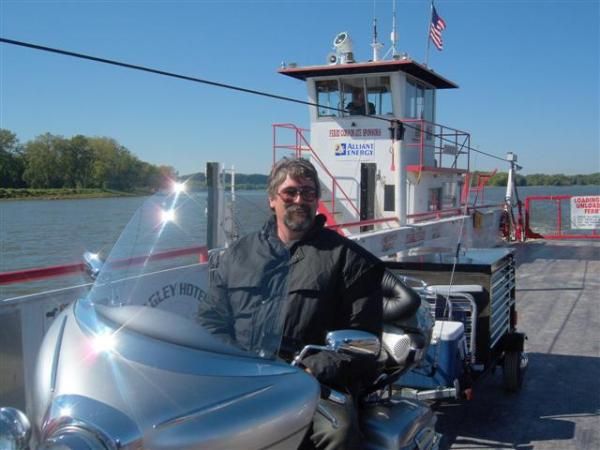
Wil, The "Ferry" was a good ride the ferry operator talked to us on the load speaker as we road asking about the trailer & where we were heading. About a mile + of gravel on the Iowa side but easy drive. I kept saying we got the wrong road, looked like someones corn field road. But the wife kept saying "no" just keep going it has got to be down here, happily she was right again. LOL As for the ski jumps they were on WI "P" just north of Westby, WI at (Snowflake ski & gulf). Eagleeye told me about the road, (what a great road "P" is can't wait to go back and see more of it! As for having the next " Venture Rider International in this area" I think everyone would love it! There is something for everyone here! Fishing, canoeing, "Wisconsin Dells" and the roads are awesome! We stayed one night at "Chaparral Campground & Resort S320 Hwy 33 Wonewoc, WI 53968" I reserved the cheapest cabin for the night a week ahead of time. Well due to my mothers surgery we had to ride pretty hard to get there or loose my money and when we got there they said it was late no one was going to rent the big cabin and we had been riding all day so take it at no extra charge! The next morning the owner came to the cabin as we were getting ready to leave, it was starting to rain and he told us we could stay all day if we wanted to cause it was raining. NICE BIKER FRIENDLY CAMP GROUND! So if you want me to help in anyway to get the next rally or even a "Midwest rally" in this area, YOU GOT IT! You can get hold of me anytime. Thanks for your comments, Bryan
-
If I did it right, this should get you there? http://www.venturerider.org/forum/album.php?albumid=164
-
-