-
Posts
1,651 -
Joined
-
Last visited
Content Type
Profiles
Forums
Gallery
Events
Store
Everything posted by FuzzyRSTD
-
Glad you made it with out some kind of terrible injury. Hope you recover soon. Fuzzy
-
Gas tank Logo
FuzzyRSTD replied to ronjolly's topic in Royal Star and Royal Star Tour Deluxe Tech Talk
Ron, Do not know what your riding/yr ? RSTD I suppose. It is a good idea to put your bike model/color and yr in your signature or with your profile picture or avatar. That way there is no question to what bike you have, no matter what you post or start a thread with. Just trying to help. I was wondering what yr your bike was, for the logo to just come off that way. Sorry can not help you there. I am sure there is someone to help. Some body just about a week ago was going to part a bike out on e-bay. Fuzzy -
I also have the exact same problems tingling/numbness. Like you I believe it is the bars. I also have the back rest and also the throttle rocker. It is not the throttle rocker. I used mine on a different bike and it did not bother me at all. The bars are to far away. Unlike you, I still am waiting until the right money situation comes for me to do this. :mo money:How much where you out total and where did you get everything, if you do not mind? There is a good post here to help you. http://www.venturerider.org/forum/showthread.php?t=37770 Perhaps you could also do a how to of your own, with plenty of pictures. Remember we do have rules here, there must be pictures. Fuzzy
-
:thumbsup2::confused24:
-
Patriot Guard Riders are going to be in a big demand now
FuzzyRSTD replied to polecat54's topic in Watering Hole
Just joined myself, proud member of the Kentucky chapter. Very respectful group. Thanks to VentureRider.Org I found all the information I have been wondering about. Thanks to the Polkat54 whom started this thread. Fuzzy PTR -
You need the RoadHouse pipes. Check for prices, but I think around $280.00. They sound great. I think I got them,,,, do not remember. I love mine and a lot of people like them. Someone said it sounds like a corvette on steroids. [ame=http://www.youtube.com/watch?v=J0w2QNs7ebw]YouTube - '08 RSTD Roadhouse moto classic[/ame]There are more on Youtube somewhere. Fuzzy
-
Thank you very much. I just did a write up with pictures for rear brakes, like you, I have a new respect for those who do this with the pictures and all. Tough and time consuming, thanks to all for the help. I am going to have to have bars or something, my bars are to far away from me. I am reaching to the middle of my fingers to feel relaxed. If I need the full grip on bars, I have to lean forward. Fuzzy
-
I think I spelled bare (bear) wrong anyway. Mmmmm brake fluid change. Now how often should this be done ? 13,800 on bike, will have to check into this now. I did notice this a while back in something I read here. I think I checked the sight class and brake fluid color was clear,not milky looking, but not sure now. Memory loss,lose,lost,forgotten ..... :confused24: James (AKA Fuzzy)
-
Thanks SilverT. I wish I would have talked to you first. I will pull them back off later and do that. Fuzzy
-
I checked them the other day when checking rear. They looked fine, more than an 1/8". So probably another 4000 mile or so. Fuzzy
-
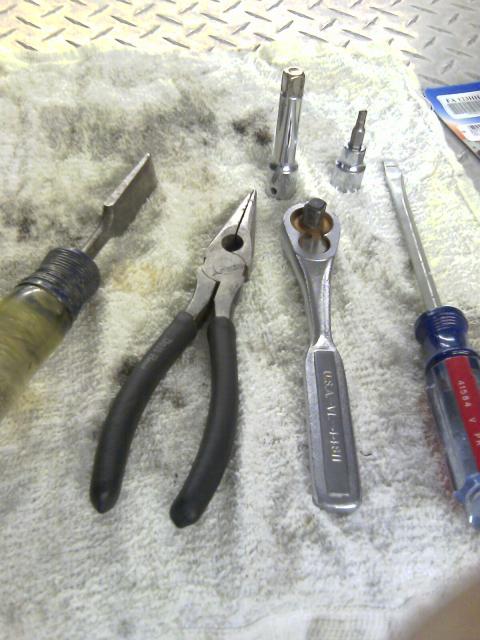
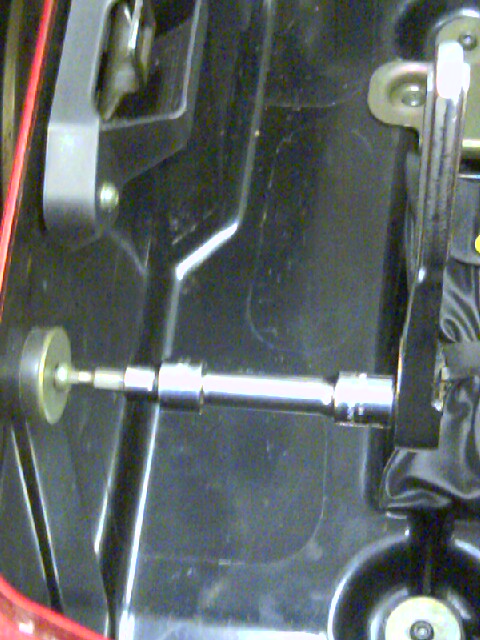
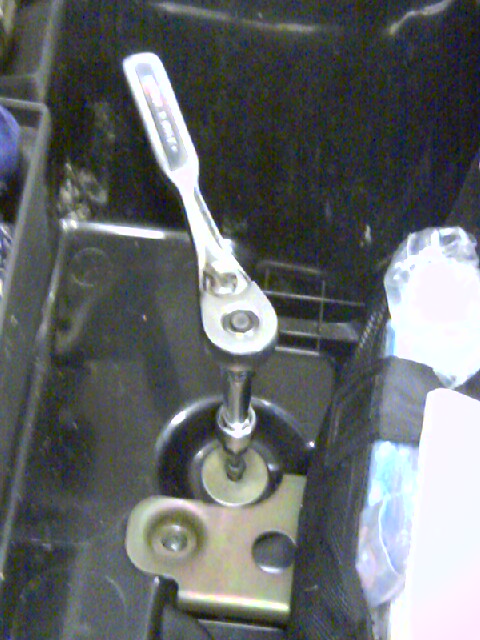
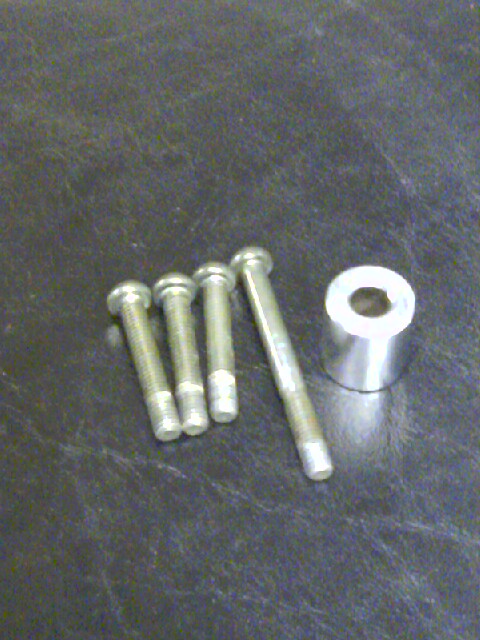
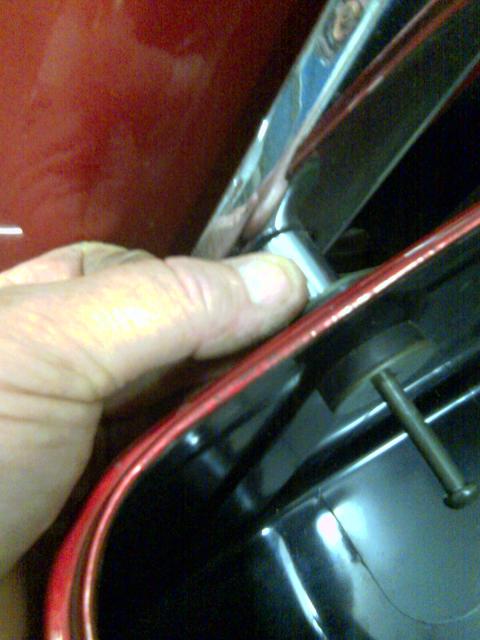
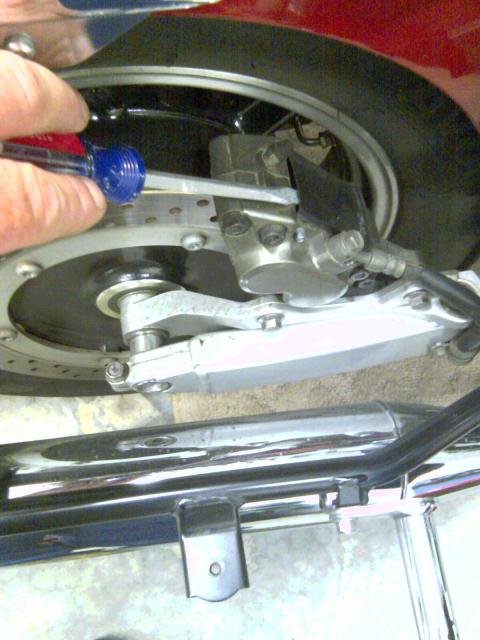
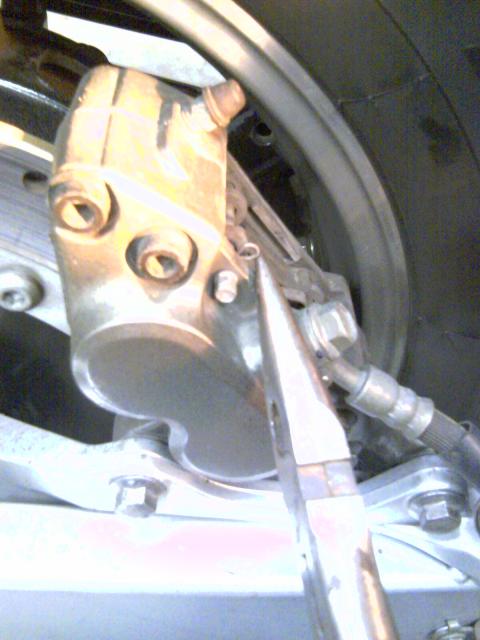
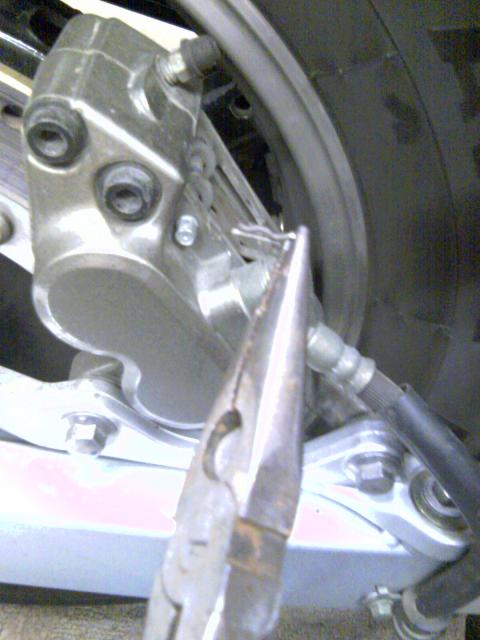
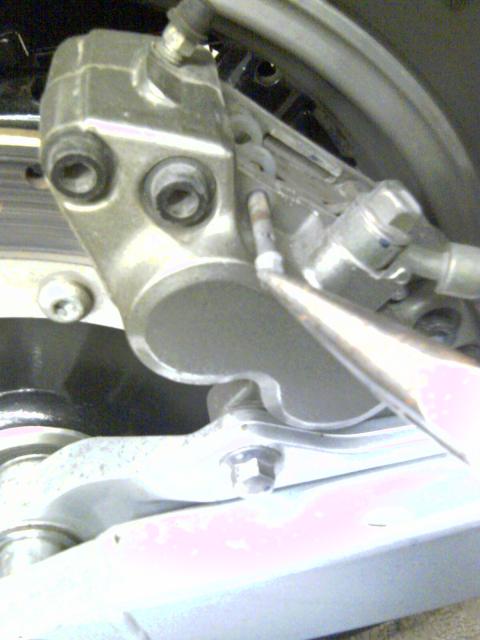
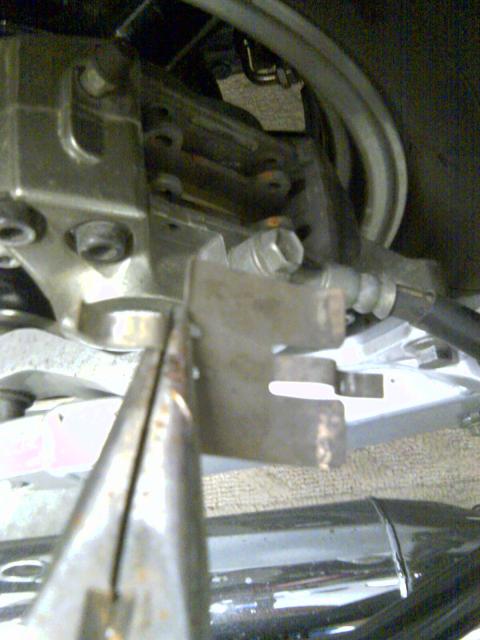
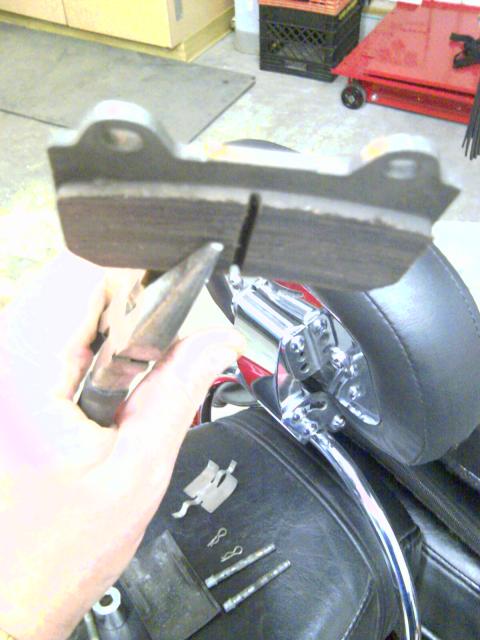
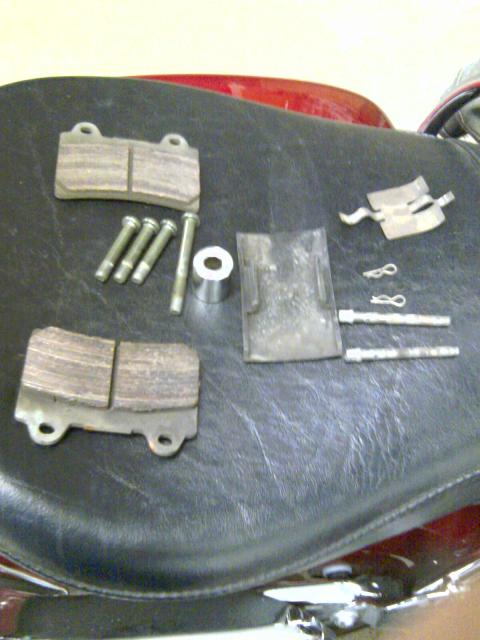
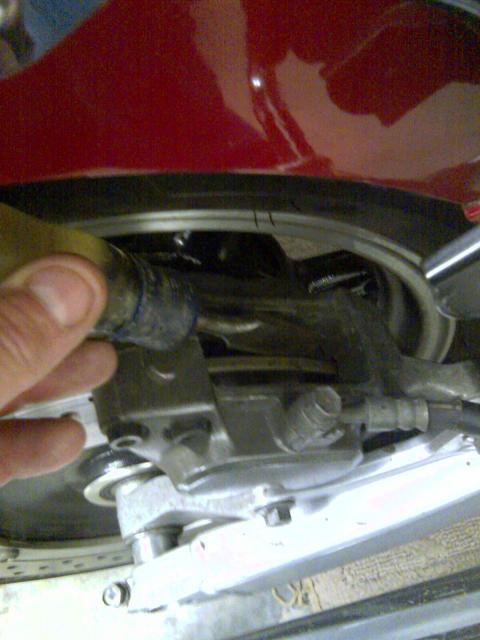
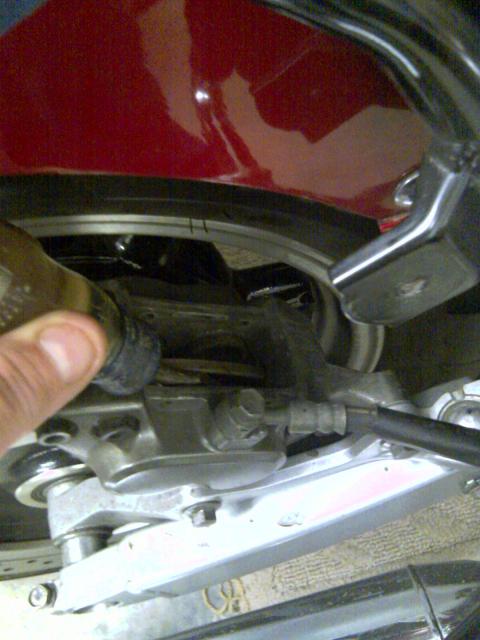
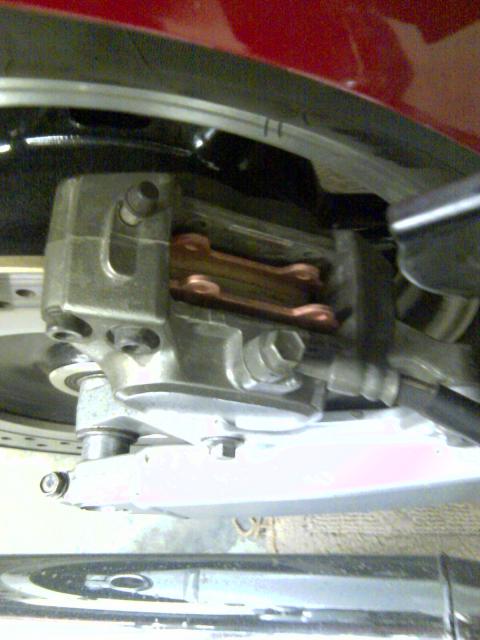
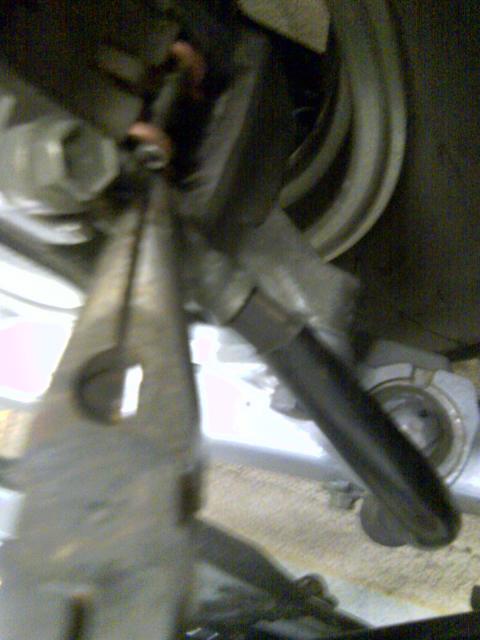
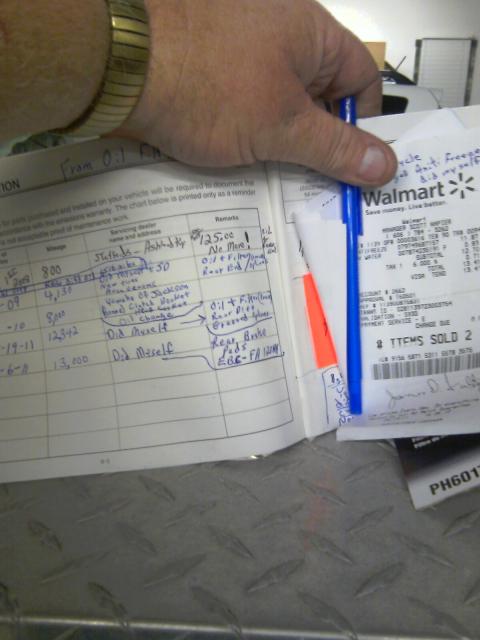
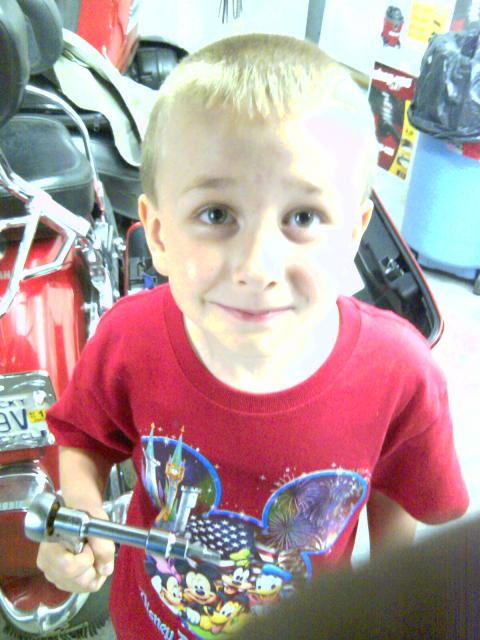
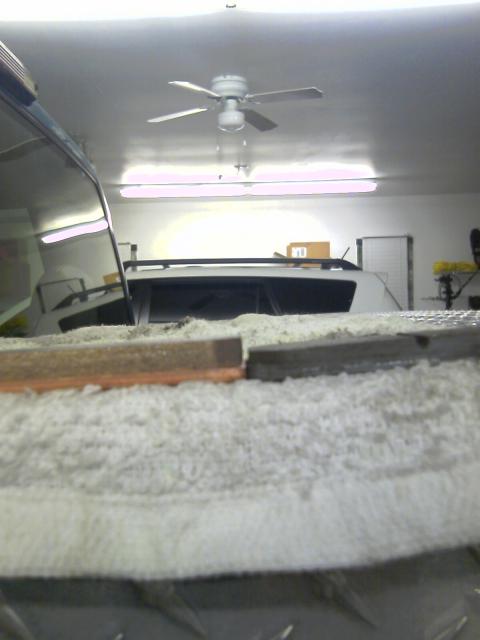
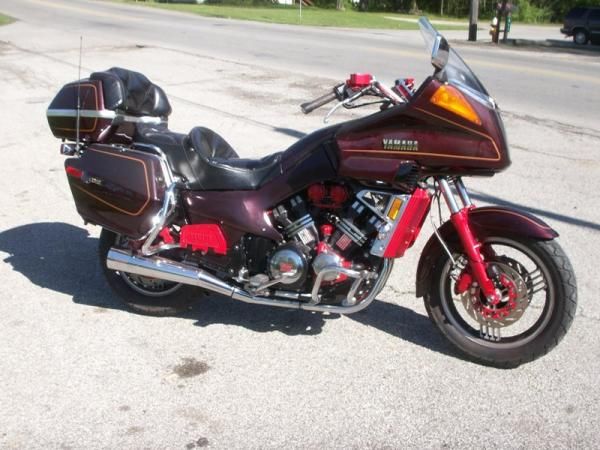
First of all, if anyone has anything to add, please do. I am a shade tree mechanic. These things are nice to have to do this in hot weather; A garage, a fan, an air conditioner. I am blessed to have these, so I took the time to take some pictures as I did this. Hope it helps someone else. Time frame; 45 minutes to complete. Tools needed; A 4 mm allen head socket or allen wrench. A short 3" extension. A ratchet. A flat screw driver. A pair of needle nose pliers. A 3/4 " wide wood chisel or some tool of this nature to pry with. #1 . Remove the right side hard bag using the ratchet and extension and 4 mm allen head socket. There are 4 allen head bolts that hold this. There is one that is longer than the others and has a chrome spacer between the mount and hard bag. #2 . Remove the plastic cover from the top of the brake caliper with the flat screw driver. It just pops right off. #3 . Locate and remove the small clips that are through the pins in the caliper and brake pads. Rotate them around to face up and carefully pull them right out with the needle nose pliers. #4 . Next remove the two pins with the needle nose pliers, ( twist them as you pull them out). Remove one and then the other being careful of the flat spring type holder thingy. #5 . Remove the flat spring keeper thingy from atop the brake pads. Pay attention as to how it comes off and lay it aside that way. #6 . Using the needle nose pliers, remove the old pads and look closely at the inside (wheel side pad). If it is less than 1/8" replace pads. Some pads are wore more on the rear end of the pad (thinner).You can switch the inside pad to the out side and get 2000 to 3000 more miles out of them if you have 1/8 " left. My bike had 13,800 mile and where less than 1/8 " material left on inside pad, so new pads where installed. Outside pad compared to new> Inside pad compared to new> #7 . If you are replacing the pads, you will need to pry the brake piston back in to allow room for the new pads ( I used - EBC brand FA-123HH brake pads ). I used the 3/4" wood chisel to pry the pistons in because it has a short handle and was wide and easy to get into the area. Per SilverT; Clean the pins before you replace them, they may require a bit of "buffing up" with either emery paper or a buffing wheel on your drill. Clean the " thingy" before you replace it. Coat the pins with brake lubricant before you replace them. Coat the back side of the pads and the outer edges where they will rub against the caliper and other stationary metal parts with brake lubricant. Per RSTDdog; In addition to the lubricating tips (lightly) I am of the "clean the exposed part of the piston before pushing it back in" school of thought. Of course to do this properly you need to take the caliper loose which adds a few steps. Now is also a good time to change that brake fluid. Someone said that it is possible to clean the piston with a Q-tip and some break fluid before pushing back. Also it has been mentioned that a 42 thousand washer be placed between the frame and caliper to line the caliper up to equalize/a-line the inside pad wear. I have not researched this and I am only mentioning here for someone else to search. #8 . Using the needle nose pliers, put the new pads in place with the pin holes up. Being careful to put them in with the wear material toward the rotor. There is no difference in the two pads,they are the same. #9 . Replace one pin through the break pads and into the rotor. Now put the spring type holder thingy in under the one pin. Now the tricky part. Put the second pin through the break pads and through the spring type holder thingy and into the rotor, all at the same. Easy though... #1 0. Now replace the small clips into and through the small holes in the pins as before. I turned the small clips up and to the left and right. Make sure you get these in correctly (half way point). You would not want these coming out. #1 1. Now work the rear brakes and get the pads kinda seated into place. Will feel kinda spongy at first pump or two. I made sure my rear breaks worked and released by pushing bike forward and back a couple times. #1 2. Replace/snap plastic cover back into place. #1 3. Replace the hard bag with the four 4 mm allen head bolts. Remember the long one goes into the rear and side next to wheel and through the chrome spacer. Also make sure the rubber bushings and washers are on the hard bag (bottom and side). Most of the time they will stay in place if you are careful. #1 4. Make notes of your mileage and date in your owners manual and also keep your receipts to proof any warranty issues. Also for a reference/reminder as to when you need to replace again and what type/brand to use. Helpers are good and I had my little boys help. Fuzzy
-
Center stand and side stand mod.
FuzzyRSTD replied to FuzzyRSTD's topic in Royal Star and Royal Star Tour Deluxe Tech Talk
Here are the after wards pictures I said that I would get 1joeranger. The side stand has been ground off and you really can not see it. The center stand is no longer hitting my left side pipe. I put my rear brake pads on this evening and I am going to try to do a thread on that with several photos, maybe it will help someone. I started it tonight and worked on it for two hours and hit the wrong key some how and lost it all. So I am not sitting up any longer tonight. -
Good for you Condor. Soooooo 50 yrs plus 16 - 18 yrs old working two jobs. That puts you around the 70 yr old mark. Glad you found yourself a nice firearm. Being I love them and own several and hunt with them. I appreciate the bow and arrow and love to bow-hunt deer and turkey. I also have my conceal to carry and believe everyone should have them and carry. What caliber is this rifle ? My last rifle purchase was a 17 caliber (Chez). I use it to squirrel hunt with. My last pistol was a Ruger SR 9 ... Fuzzy
-
Just received my rear pads today from Pioneer Sports. Will be going down to the garage to take off the right hard bag and removing the old pads to get a better look. Since I now have the new ones to kinda compare, then I will either rotate the old ones or replace.
-
-
Need Ride height measurements.
FuzzyRSTD replied to Flyinfool's topic in Venture and Venture Royale Tech Talk ('83 - '93)
Jeff will go measure my second gen if you you want me too. Sounds like someone has put the wrong side stand on that bike or something has messed up with it holding it up prior to the position it should be in. I know that could really be aggravating. Will watch to see what you come up with. Oh, ya, what is this CLASS suspension thingy you all mention ? Fuzzy -
Finally happening this week end and she !!!!
FuzzyRSTD replied to FuzzyRSTD's topic in Watering Hole
I checked out the new dealer Saturday evening around 4:00 pm. I talked with several and met the manager Jason Foxworthy from Flemingsburg, Ky. He wanted me to make sure that I let him know when I visited this week end, since we had kinda met through some e-mails. He took me around the shop and introduced me to everyone. I met the service manager, Huel Johson. Everyone seemed to have the right attitude and told me that they had an open door policy to everyone and that you could watch them work on your bike if you wanted. I looked around a bit and they have a long way to go to get everything stocked to capacity. They are said to eventually have one of/if not, the largest stocked parts and accessory dealers in Ky. So we will see. Does anyone here know the service manager Huel Johnson ? I am going to drop back in there and talk to him. Fuzzy -
Had to do a search for "oil filter" to come up with this in the tech library. Hope it helps. Found it here> http://www.venturerider.org/forum/attachment.php?attachmentid=2149&d=1158543569 I would go with a motorcycle oil filter for sure. There is a difference in the automobile and motorcycle filters, even though some might work. I would use the Yamaha oil myself. Fuzzy
-
Thanks Goose. I did a search in the tech library under engine and somewhere else. Did not do search under the body/paint section. I think I need to go to school on the searching for things here on the sight. I did look also through several thread areas there in the library and had no luck. I checked this out and will be doing this sometime shortly. Fuzzy
-
Ya, I was wondering how you folks did this. Have read a lot about it. I will see if I can find in the tech library. If for no other reason, I would like to fill almost completely with out the gas bubbling/popping back out onto my tank and bib. Don't mean to rob the thread here, but seems no one is going to give up the information with out asking. Wax paper and a sharp punch, is that all ? Originally Posted by ken OMG!!!!!!!!!!!!!!!NOW I FEEL REALLY STUPID!! Sorry to here Ken, but do not feel bad. You are not the only one that has posted some kinda stupid things here. I found out that I do not know as much about the tires than I thought (bias/radial). Fuzzy
-
Hope everyone a nice and safe 4th of July. The birthday of the land of the free. Thanks to all whom help to preserve this wonderful country we live in. Glad/proud to be an AMERICAN..... :325::325::325::325::325: Fuzzy
-
Here is a map for you. Just wanted to try and help. I would call Carl and see if he has the tire you need, he might have to get one. Highly recommend his help. [ame=http://maps.google.com/maps?f=d&source=s_q&hl=en&geocode=%3BCXCtISEYhW8cFfishgIdx4kG-yEIvYHkmDb0cg&q=thunder+valley+powersports+plymouth+michigan&sll=37.0]thunder valley powersports plymouth michigan - Google Maps[/ame] Fuzzy


