Paul Martin
-
Posts
77 -
Joined
-
Last visited
-
Days Won
3
Recent Profile Visitors
9,944 profile views


.thumb.jpg.bf82ce75721b193880368d3ccb1ca2d0.jpg)

-
Carbon 1 lift adapter
Paul Martin replied to ozarks2up's topic in Links to Classifieds, Craigslist, Ebay, Sales, Etc.
It's not too difficult to make an adapter to fit most motorcycle lifts.
-
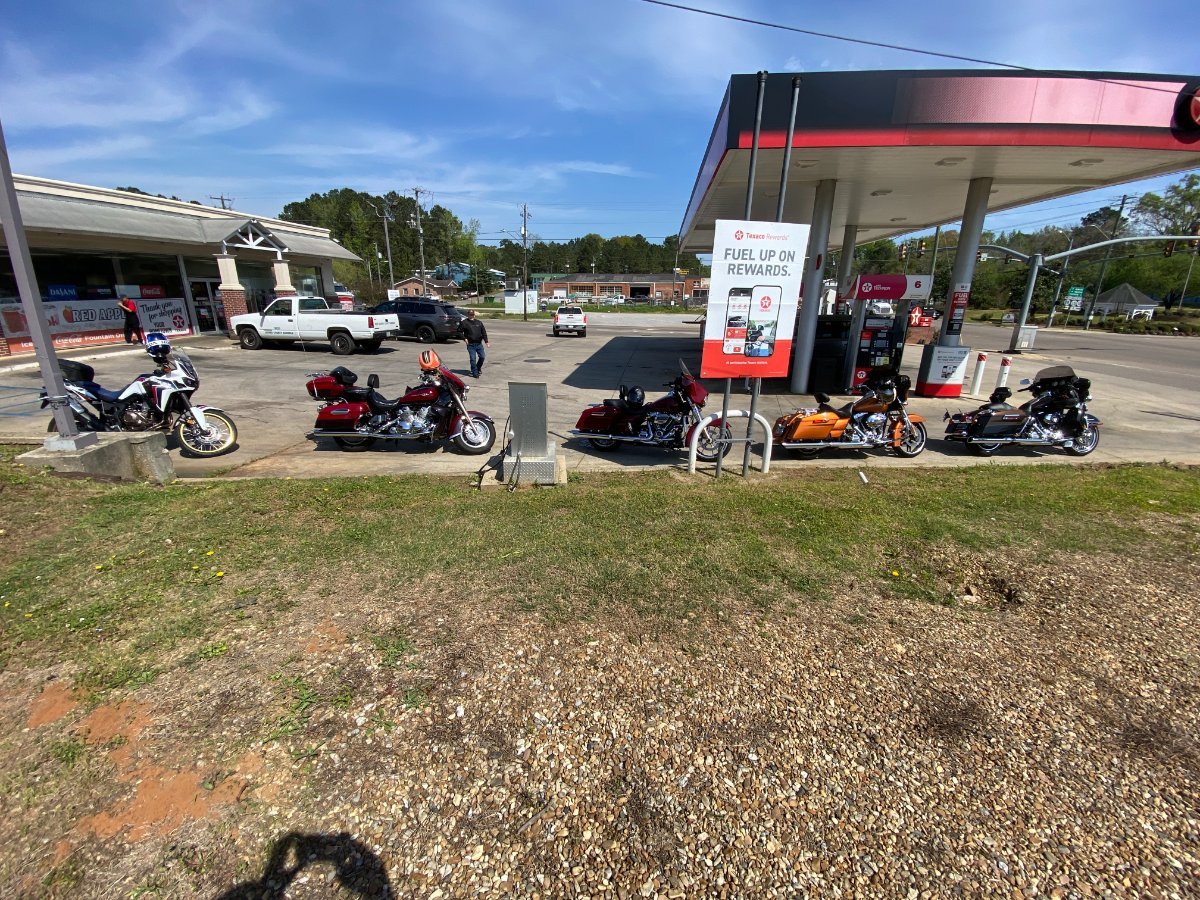
So looks like in the very back a GoldWing and what is the bike next to it?
-
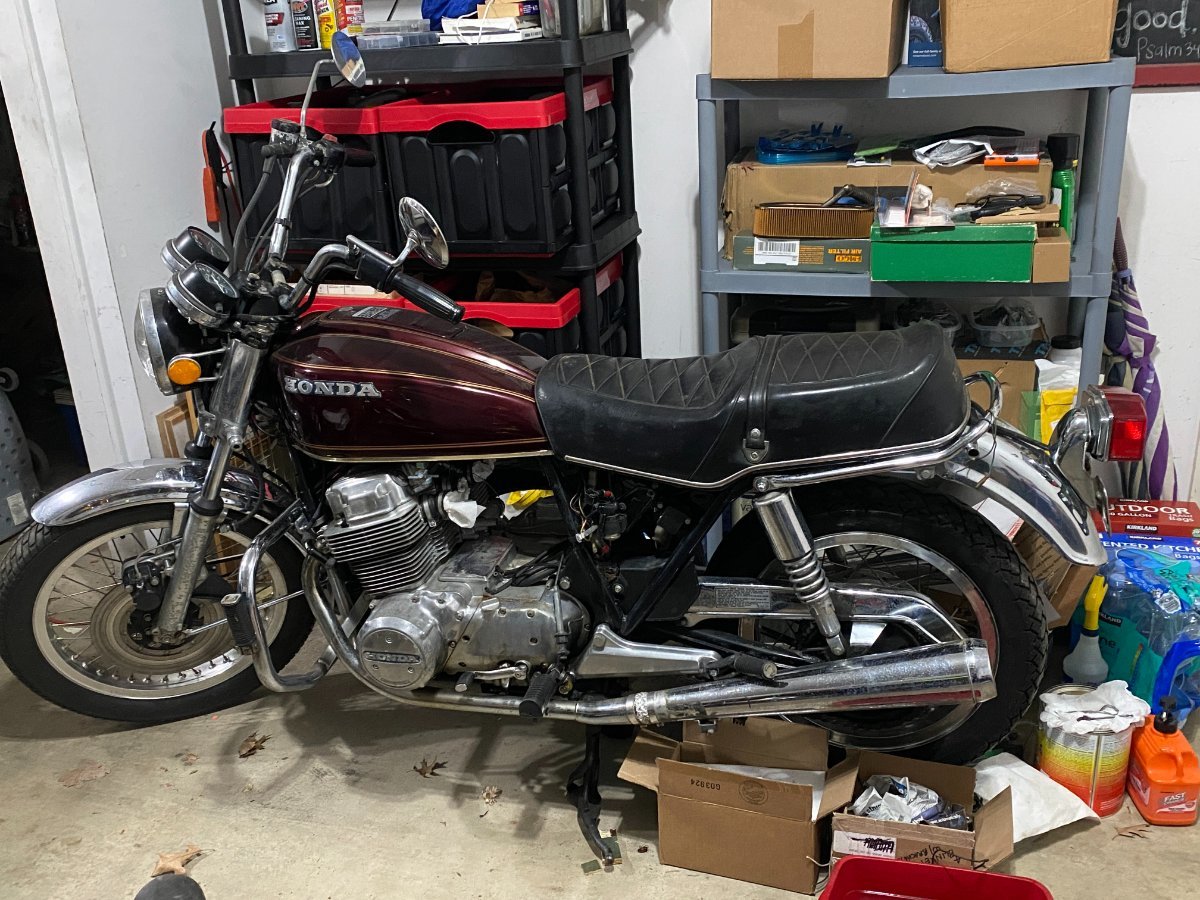
Nice one Freebird! Here is my latest acquisition. 77 750 Hondamatic. Carb work in progress. Brake work is next.
-
Fuel pump question
Paul Martin replied to mike042's topic in Royal Star Venture Tech Talk ('99 - '13)
https://www.venturerider.org/forum/forums/topic/58615-what-did-you-do-to-your-venture-today/page/58/#findComment-819668 Check this out. I've driven just over 1300 miles since removing the fuel pump from my 2001 RSV. No issues. -
'01 RSV (the one with the orange helmet) Still ride this one too...'82 Yamaha XV920 (didn't sell it) And just picked up this lil project - hasn't been cranked since 2008...carbs are a mess. '77 CB750A Hondamatic So haven't actually ridden it yet.. But 3 bikes - that makes me officially a collector now, right?
-
Sounds like a great deal for someone needing to spruce up their ride!
-
Please help!!!
Paul Martin replied to made2care's topic in Venture and Venture Royale Tech Talk ('83 - '93)
The PO of my bike used SuperTech 20W-50 Full Synthetic Oil for years and I've continued using it (available at WalMart). Shifts are smooth. You might also check your linkage to make sure it moves freely. -
Fuel pump point set
Paul Martin replied to lomax's topic in Royal Star Venture Tech Talk ('99 - '13)
I just used the fuel line segment that came from the petcock and looped it back into the fuel inlet at the back of the carbs. Removed the rest of the fuel line and the pump. When I get a chance, I'll take and post pictures. -
Fuel pump point set
Paul Martin replied to lomax's topic in Royal Star Venture Tech Talk ('99 - '13)
https://www.venturerider.org/forum/forums/topic/58615-what-did-you-do-to-your-venture-today/page/58/#findComment-819668 Check this out. I've driven just over 1100 miles since removing the fuel pump from my 2001 RSV. No issues. -
I bought this set of 4 intake boots off an eBay seller earlier this year (Chinese knock-offs). . They are supposed to fit 1999 - 2004 Yamaha XVZ1300 Royal Star. But they are a slightly smaller size than the boots on my 2001 RSV. Below are some pics. I am thinking these may fit the 1200 but do not know for sure. I put the dimensions below each pic. If you want the set, you pay the shipping, you can have them. PM me if you want them and include your address so I can figure out the shipping from 39110. I'll update here once they are taken. PM Studs center-to-center appx. 59mm Carb side OD appx 45mm Carb side ID appx 31mm
-
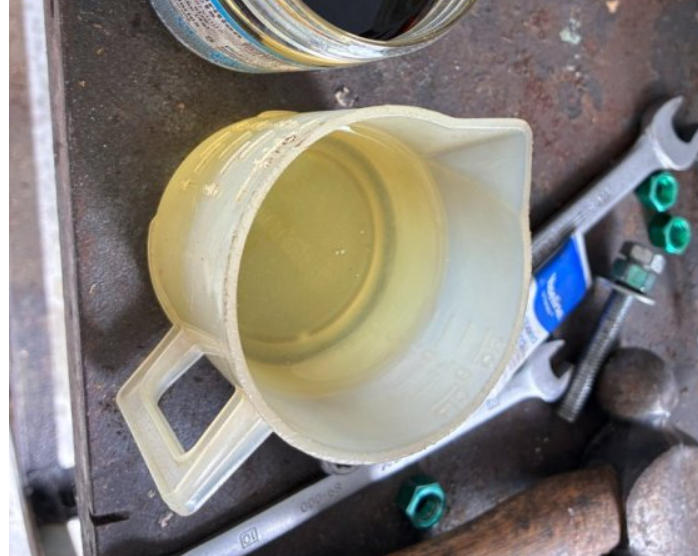
Still puzzling about the yellow oil patch. If you are in the habit of filling the oil up near the top of the sight glass it tends to blow out the crankcase and back into the air intake, then out the tubes. If there's more oil in the crankcase than you thought and it smells like gasoline you may have a stuck carb float letting gas into the engine and down into the crank. A lot of the guys on this site and the owners manual says to shut the petcock off between runs to avoid that problem. Hopefully that's not what you have going on.
-
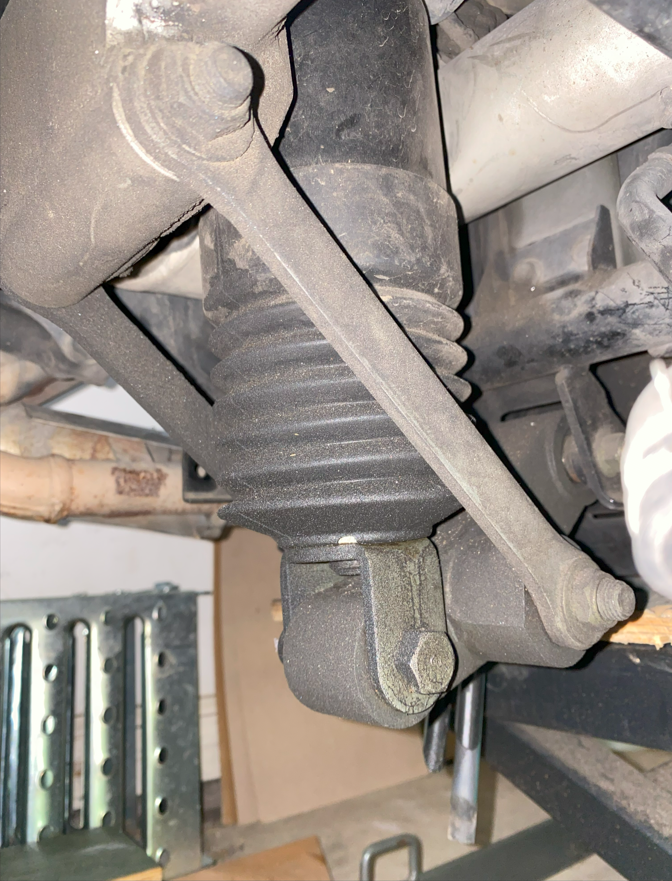
Ok now where did that plastic cup of clean oil come from? Is that your new shock oil that you put into the shock, or is that the mystery oil that came from somewhere else on your bike? If that isn't new shock oil, then the first thing I would suspect is crankcase oil blowing out breather tubes that come out down near where the lower shock mount is. But I'm at a loss as to what caused it to leak out if you didn't run the engine when you washed the bike. But also, your profile says this is a 2010 RSV trike. Never seen one up close. Does the trike setup have any additional oil reservoirs down under? Happy belated birthday by the way!
-
Share some pics when you can! Here's mine just now - dry 950 miles later. And if yours was low on shock fluid and was pogo sticking, you will be amazed at how much better the ride is when you get it fixed.
-
Steve, if you're mechanically inclined and wanted to try and tackle it yourself, see this writeup:
-
Great bike!