-
Posts
2,282 -
Joined
-
Last visited
-
Days Won
41
Content Type
Profiles
Forums
Gallery
Events
Store
Everything posted by skydoc_17
-

89 Front Fork question
skydoc_17 replied to videoarizona's topic in Venture and Venture Royale Tech Talk ('83 - '93)
Hey David, In an effort to answer your original question, It is NOT just your bike, and it is done to keep the forks from bottoming out due to the lack of air pressure and your 32 year old fork springs. The stock springs were not designed to run with zero air pressure, so the computer won't let you run zero air pressure. You will need to crack a connector to bleed the fork system of all air pressure, and it is suggested that you do so. I hope this helps, Earl -
Gee Scott, I am very glad that you can through this unscaved! Your ingenuity in a crisis situation was commendable. I am with Cowpuc on how important it is to change your valve stem EVERY time you mount your new tire! Because I work on more bikes than many, I have seen valve stem failure more than most. I fully understand that it is an extra expense, and in the case of a tire mounted at home, might be some added work, BUT I can not stress enough how important it is to replace that valve stem when you change that tire, EVERY TIME! Scott, you are a very lucky person, no doubt in part to your expert handling of your bike at a crucial moment in time. My hats off to you brother, I am not sure I would have been able to get my bike to the side of the road safely! Lets hope that this is as exciting as it gets for you for the rest of the riding season. Ride Safe seems like a forgone conclusion, but ride safe none the less! Earl and Jean.
-
Hey Ben, Thanks for the props!! Now Jacob, It would be easy to tell you that the Friction Discs on Ebay were made in China, but the more important point is the fact that new friction discs are NOT going to address the failed part in your clutch which is the Clutch Diaphragm Spring! There are two ways to go here, Switch to the Barnett Clutch System, (don't get me started on putting a 70's era clutch on a 21st century motorcycle!) or go with a heavy duty clutch diaphragm spring and upgrade the 1/2 friction disc in the rear of the clutch pac with a FULL disc. I offer a kit that provides the second option. That kit is in the Member Vendor's section of this forum. If you want to hear the "Long Version" of the pros and cons of the Barnett Clutch System ask, and I will explain it to you. Otherwise, check out the Member Vendor section of the forum and I will get that kit right out to you. I also wanted to mention that 50 new clutches are NOT going to solve a leaking Clutch Master Cylinder or Slave Cylinder! I would wait and see if the clutch fluid disappears from the master before I go spending a bunch of money on a new clutch. But that's just me. Good luck with this project Jacob. This is an easily repairable issue that almost everyone with a First or Second Gen. has had to deal with. If you are handy with tools, it can be done in a weekend. Keep asking questions, and we will help you get this sorted out. Earl
-
ALL GOOD THINGS MUST COME TO AN END! (Or so they say!)I am officially back to work at my "Day Job" starting Monday, March 15th, 2021! All of my kits I offer, as well as the Shim Kit Loan are being offered again. The only exception to this would be the Block Off Plates. My wife has eased up a bit about letting me out in the shop, FOR NOW! I have been warned that if I come in from the shop "all beat up", that will be the end of that, so to speak. I can't tell you how grateful I am to be sitting here still on this planet, and chatting with this wonderful group of people! So, if anyone needs the Shim Kit, or anything else for that matter, just let me know! Also Thank you EVERYONE for the support during this trying time! Stay safe! Earl
-
Hey Dion, The issue was about the fact that USPS wanted to take possession of ALL of the remaining Shims, the Bucket Tool, and the rest of the tools in the kit and THEN pay me the #200.00. The contents of the kit that made it back to me were worth WELL over the $200.00 offered. I declined to accept that pultry offer, and opted to keep everything that made the trip, and rebuild from there. I hope this clears this up a little better for you.
-
I thought I would add some additional info on the use of VMAX parts on a Second Gen. The First Gen. VMAX Heads are NOT useable on the Second Gens. The Second Gen. heads have a set of mounting holes that connect the top of the engine directly to the frame, unlike the MKI and MKII First Gens. which have an extra set of frame mounting points on the engine block. The VMAX Cams are a direct bolt on fit in the Second Gen. cylinder heads. There is enough "meat" in the heads to machine for the larger Intake Valves. The First Gen: Second Gen: and VMAX Exhaust Valves are the same size. With the taller tranny gears in the Second Gen. Final Drive, the VMAX Final Drive Swap is an excellent upgrade, and is one of the best "Bang for the Buck" upgrades that can be done to a Second Gen. for performance gains. Along with going fast, you will want to be able to STOP your bike as well. The addition of a set of R1/R6 front brake calipers is also a great idea. The late model VMAX front brake calipers are identical to the R1 calipers, just not as flashy. Both the R1/R6 and VMAX front brake calipers are a direct bolt on fit on the Second Gens. I hope this info helps, Earl
-
Happy Birthday Don, from Jean and myself! I always said, "your the friskiest old guy I know", and I mean it! I hope you have many more, my friend! Earl and Jean.
-
Hey Everyone, This will be my final update on the Shim Kit Saga. I received word from USPS saying they were NOT going to honor the Insurance Claim because they were used parts, and I wanted to keep the shims that actually made it all the way home! In other words, they would take possession of 55 shims, the Bucket Tool, Feeler Gauges, and the busted up case, and give me $200.00. I said, "No Thanks"! So in the future, I won't be wasting my money on USPS Insurance! On another note, The "New" Shim Kit is all back together, with about 90 shims in it, and all of the tools you will need to complete this service. At this point, I want to thank EVERYONE that has kicked in to help me replace the shims. I want to assure you that I spent every penny on new shims for the kit. And lastly, I am not back to work at my "Day Job" yet from my recent surgery, but I am on the mend and getting around pretty good these days. All of my kits I offer, as well as the Shim Kit Loan are being offered again. The only exception to this would be the Block Off Plates. I haven't been allowed to fire up the milling machine yet by my wife. If everything goes well at my next doctor's visit, I should be back to work mid March. I can't tell you how grateful I am to be sitting here still on this planet, and chatting with this wonderful group of people! So, if anyone needs the Shim Kit, or anything else for that matter, just let me know! Also Thank you EVERYONE for the support during this trying time! Earl
-

‘83 brake question
skydoc_17 replied to Venturezach's topic in Venture and Venture Royale Tech Talk ('83 - '93)
Hey Zach, Hey Ben, Thanks for the mention! Saddlebum is correct I offer a kit that De-links the front and rear brakes and replaces every rubber brake and clutch line on your motorcycle with Kevlar lined, S.S. covered material. It also uses a modified VMAX front brake splitter. The MKI VR's (1983 to 1985) had the two piston front and rear calipers with the 80MM spread on the front caliper brackets. The MKII VR's had the four piston front and rear calipers with the 100MM spread on the front caliper mounting brackets. Since the early R1 and R6 Calipers all have the 100MM caliper mounting brackets, you would need to change out your front forks to the MKII forks to be able to put the R1/R6 calipers on your bike. This is a direct bolt on swap, and I have a set of forks if you are interested as well as the De-Link Kit. You can also install a four piston rear caliper on your bike if you swap out the caliper mounting bracket, I have this bracket and a freshly rebuilt 4 piston rear caliper if you are interested. If you have other questions about upgrading your brakes, please feel free to contact me at: skydoc17@gmail.com Good luck with your project! Earl -
Hey Tyler, Welcome to the VR.ORG Forum! I recently had a triple bypass surgery, but am feeling much better now. If you would contact me at: skydoc17@gmail.com we can chat about what year your bike is, and what I can offer you.
I apologize again for the delay in getting back to you,
Earl (skydoc_17)
-
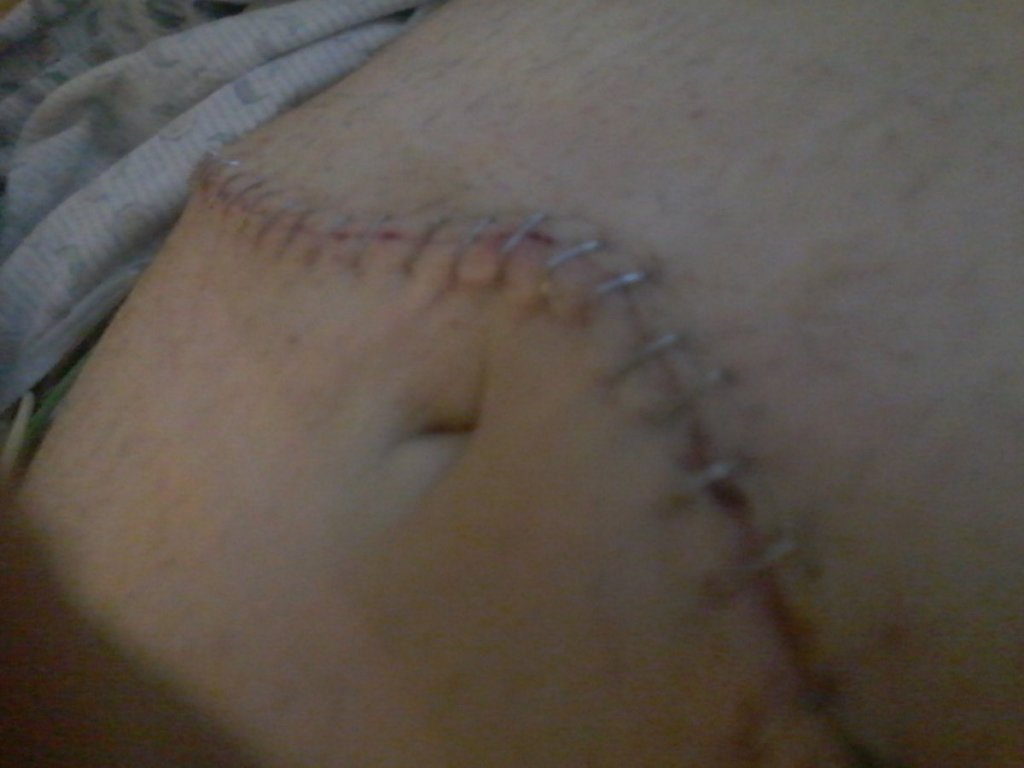
The PTSD of having 75 staples removed has finally passed, so I thought I would share how it went at the surgeon's office last Monday to have my staples removed. The doc came in, saw that everything was good, and left me to his Physicians Assistant. (I don't think he can stand the sight of blood!) She smiled at me the same way my wife smiles at me when I need to take out the trash, or work on her car! I knew I was in trouble. She leaned in, and said "Mr. Harrell, we usually only remove about 35 to 40 staples at one time due to the fact that the pain and bleeding becomes so great that you run the risk of passing out!" I told her flat out that if we start this, and I walk out of here with half of those staples in me, I will go to my grave with them still there because you will NEVER get me back in here! She took a step back and said, "Okee Dokee!" She prepared a tray with the items to remove the staples and I could feel sweat dripping from my forehead! The last thing she opened was a sterilized package with the "Staple Removal Tool" in it. I swear to God that tool looked like a pair of 3 foot long branch loppers! (Only from MY perspective) I gasped, and my wife, (a retired nurse) started to chuckle! When she crunched down on that first staple, I thought she was cutting 1/4" bolts in two! (Only from MY perspective) That first staple was about an inch from "Mr. Winkey", and I was beginning to feel like a gelding on an episode of Dr. POL. (The Vet Show) She plucked the first 10 staples out with deft precision, and looked up at my face to see how I was doing. By then the blood was flowing pretty freely, (I'm not bothered by the sight of blood) and other than a death grip on the gurney, I was still OK. When she got up around the belly button area, she was having to use a twisting motion to remove the staples! I NEVER made a sound! But I did feel the tubing of the gurney start to give due to my death grip! (Only from MY perspective) I was starting to breathe pretty heavy now, and I was only 20 staples in! After she passed the Belly Button area, the next 20 staples went like the first 10. Painful, but relatively quickly. After number 40 was removed she mopped up the blood, and announced "This is where I usually stop Mr. Harrell." And through clinched teeth and labored breath I blurted out, "I'm fine, lets keep going!" She looked at my wife, she shrugged, and she once again said, "Okee Dokee!" When she got back into it, I closed my eyes, and at that point the next 20 staples were a blur. I thought it would be a good idea to open my eyes as we passed staple number 60. This was a mistake! I began to develop tunnel vision, and I could hear the sounds of people talking, but I couldn't make out what they were saying! After what seemed like for ever, she took her gloved hand, dripping with MY blood, firmly lifted my chin, looked me in the eyes with a different smile, (I have NO idea what I was looking at before she did this) and said, "OK, we're all done!" I made a noise, but it wasn't a word, and I nodded. She looked at my wife and said, "Nobody's ever lasted that long before in this office!" She leaned in on me again, and placed a cookie in my hand and whispered, "eat this quick, so you don't pass out on the way to your car in front of your wife!" I deftly pushed the cookie into my mouth, but did not chew it. (My wife later told me I looked like a chipmunk) After a few minutes, it was clear that I was not going to be allowed to leave until I swallowed that cookie! Shortly after eating the cookie, I felt much better. My wife never said a word on the ride home. And that my friends, is what the removal of 75 staples sounds like! (Only from MY perspective) Earl
-
Interesting write up Larry! My first thought would be to weld the joints, but I can see how that would cause distortion. I just wanted to mention that if you wanted to extend the swingarm on the First Gen, or Second Gen. Venture, the driveshaft on the FJR 1300 is about 3 inches longer, and fits perfectly in the tranny gearbox and final drive of the Ventures. I have never tried to see if the swingarm would switch over to the Venture BUT they are both Mono-Shock units, and this would also allow you to run a wider tire on the rear of the venture. It would be interesting to see if it would be possible! Just an FYI. Earl
-
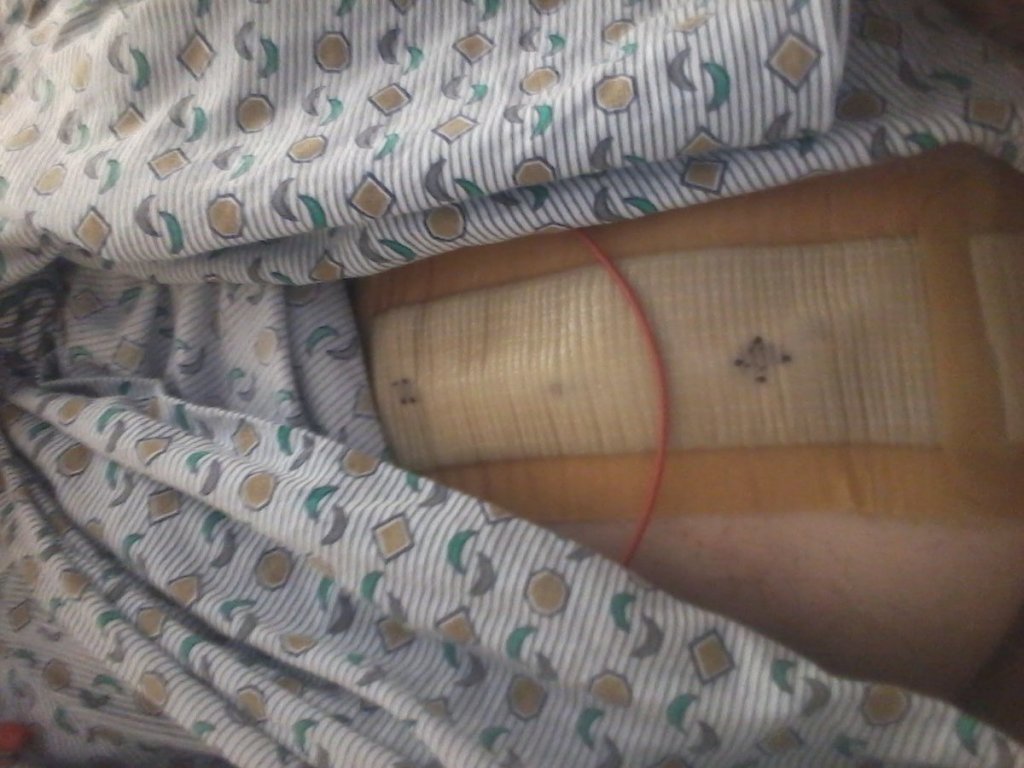
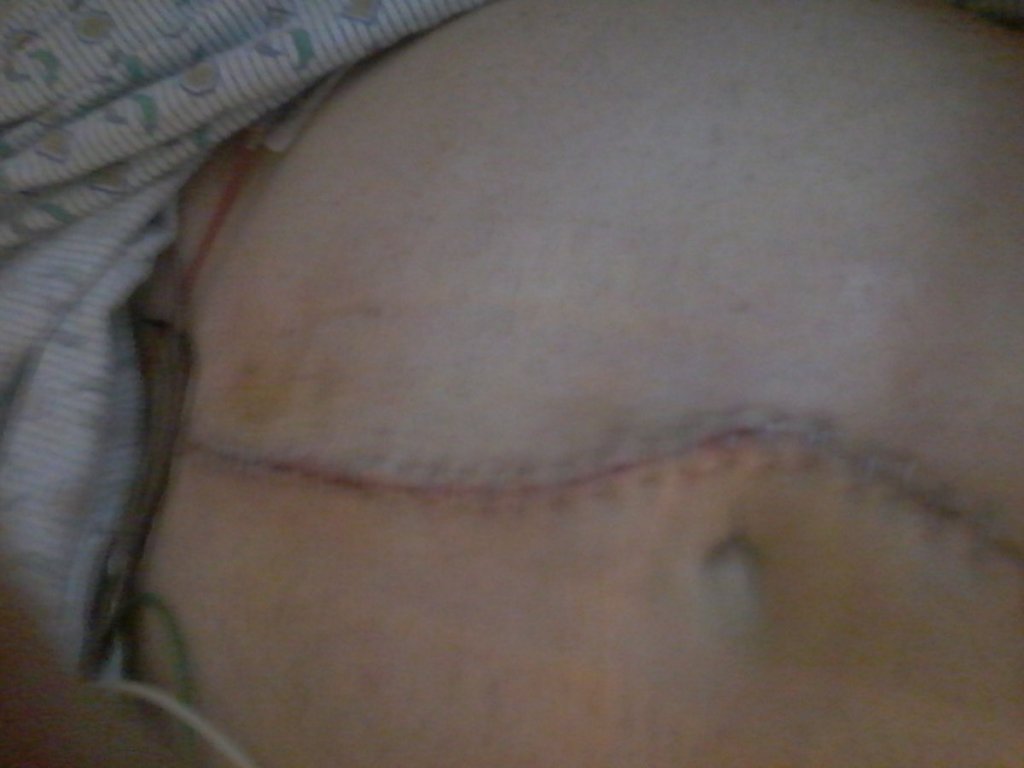
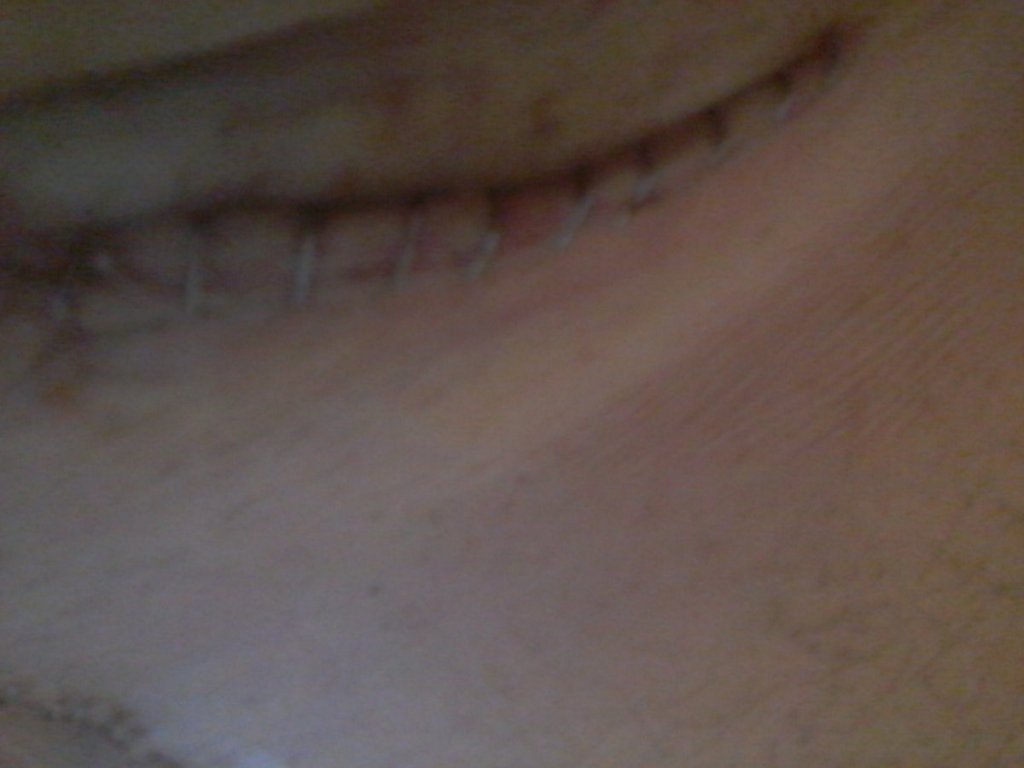
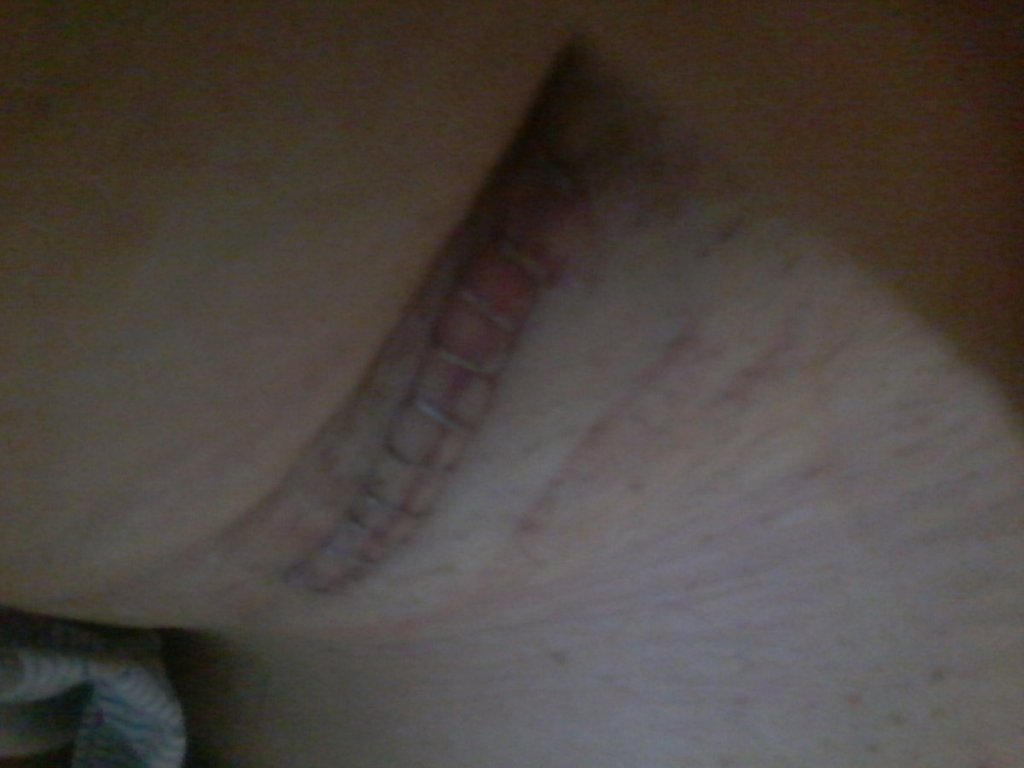
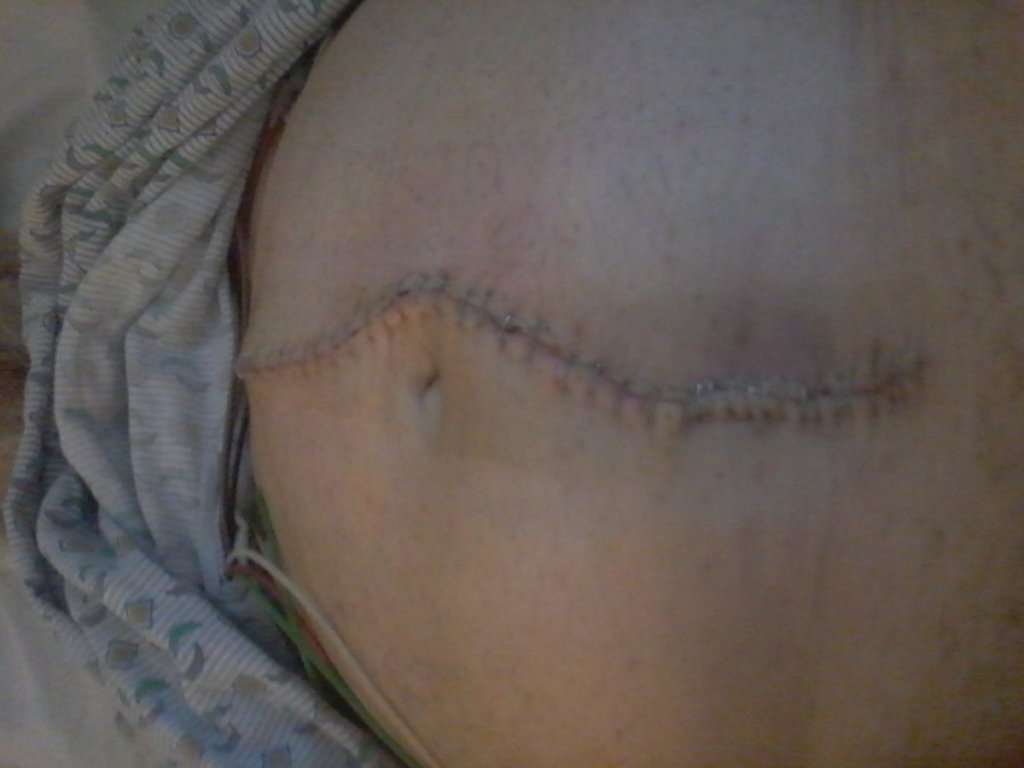
First off, I wanted to thank each and everyone for your prayers and well wishes for both Jean and myself. I can't tell you how much it meant to us, especially right after the surgery when it was touch and go there for a while. The next thing I wanted to say is I am VERY grateful to be ALIVE today! This all started on December the 6th of last year. My left leg had been going numb off and on over the last year and it had finally gotten to the point where one day it went numb, and the feeling never returned. I thought I was looking at a hip replacement, my doctor was skeptical. He sent me for an MRI anyway. The report came back that afternoon and my hip joint was in excellent condition, but the doctor found a rather large aneurysm at the base of my Aorta, and I had zero blood flow to my left leg, and only 40% blood flow to my right leg. I was called at work the next morning, and was TOLD that I needed to get to the hospital for a CT Scan ASAP! At that point, this stopped sounding like a hip replacement, and more like something much worse! I left work at 10am, got the CT Scan and met with the best Cardiac Surgeon in the area. He gave me two options, pop a couple stents in the Femoral Leg Arteries and hope the aneurysm doesn't explode for like the rest of my life, or sigh up for a legit Triple Bypass. Now overall, I'm in pretty decent health. NO heart disease, I'm not Diabetic, and I stopped smoking about 10 years ago. If I address this issue in a timely manner, I could have another 20 years left in me, maybe more. The lure of the stents was a very quick recovery. I talked it over with Jean, and decided to go for the Triple Bypass. I have attached some pics below. I haven't really been out to the shop since I have been home. Jean, of course has been watching me like a hawk. I am currently receiving at home PT, and am working on the going to the bathroom issue. It seems like my stomach has forgotten where my butt is for the time being! LOL!! On a brighter note, the feeling in my left leg is about 90% restored. I am now able to walk farther than I have been able to in over a year which is wonderful news! Thank you again for the prayers and well wishes, It meant a lot to me! Earl and Jean.
-
Good Morning Everyone, This is Jean, Earl's wife, (skydoc_17) Earl was taken to the UPMC Medical Center early this morning with an Aortic Aneurysm. He will be having a Full Lower Aortic Bypass in about an hour. Please take a moment and wish him the best of luck during his surgery. This forum means so much to him. I will have more details as this story unfolds . Earl and Jean Harrell (skydoc_17)
-
Ah Pucster, Thank you brother! Like you said, with my head laying sideways on the puter desk that pic looked quite normal to me ! (Actually, I tried to rotate that pic several times, with NO luck!) Jean said she used the Pork Chops in light oil heat treat method which never fails to render me horizontal on the computer desk! In the case of your Magus Cranium Brainium, we could be talking something in the 50 cal. weight to get thru that kanoggin' of yours! Just sayin'!! Thanks again, my friend! Earl
-
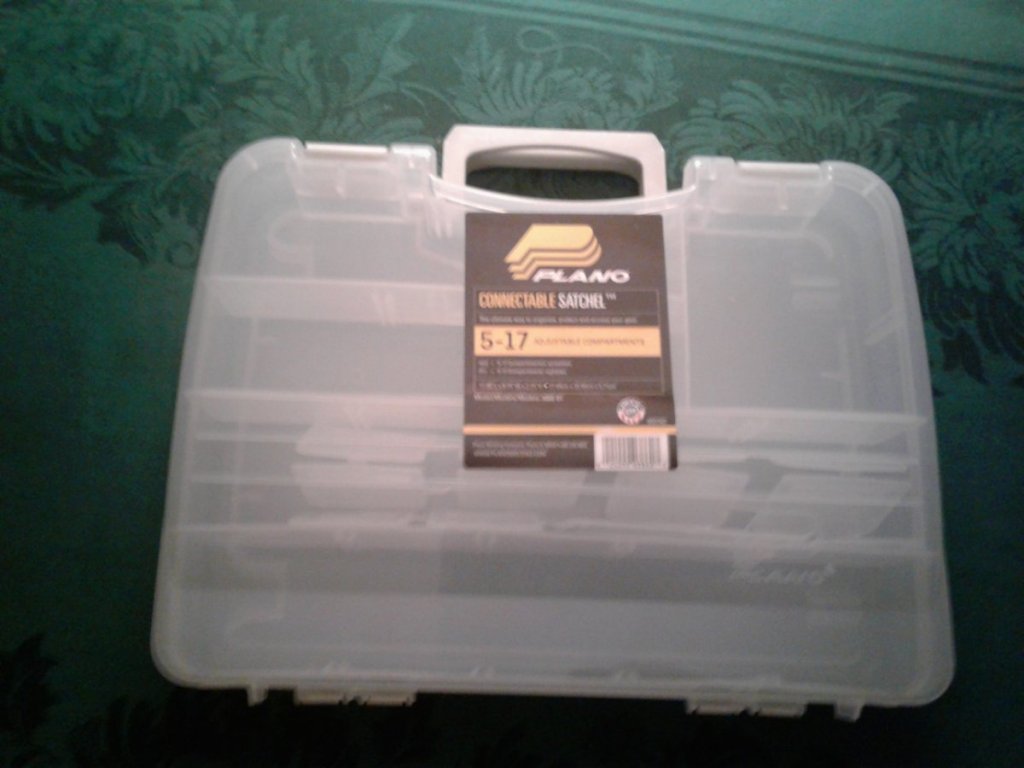
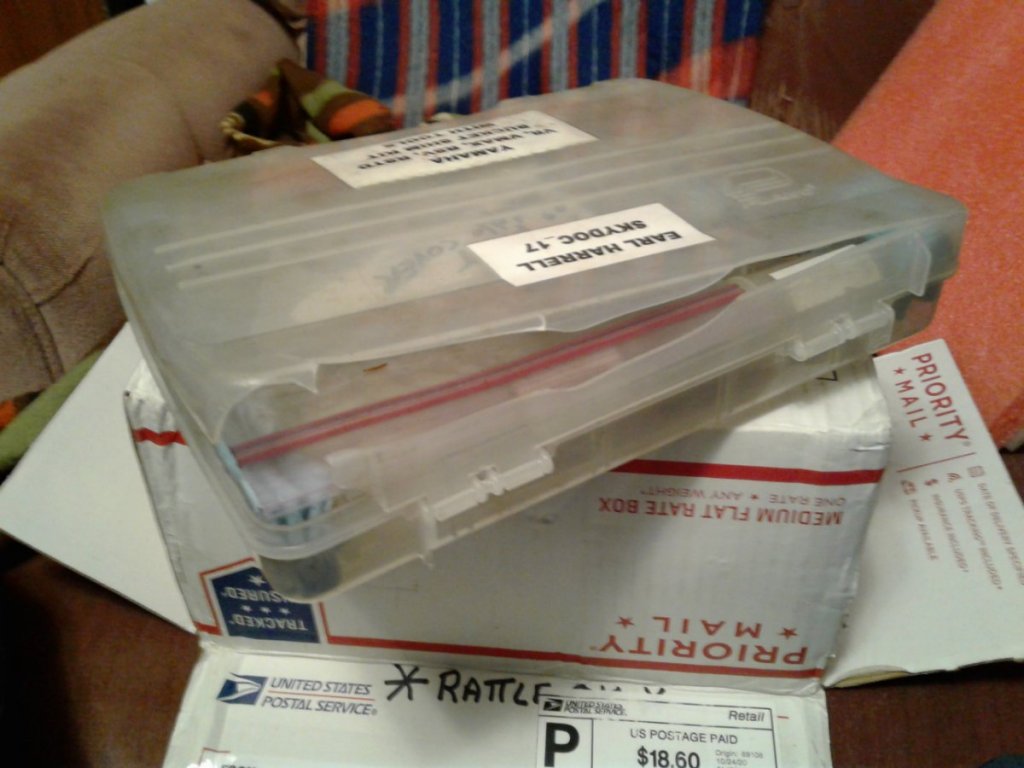
With the outpouring of support, I wanted to give you an update on where we are with the rebuilding of the Shim Kit. I purchased a new Plano tackle box to replace the broken one from Dick's Sporting Goods. It arrived today, and I have attached a pic. The reason I chose this particular tackle box is because it would fit in a USPS Medium Flat Rate Shipping Box. With the shipping and Insurance running around $18.00 each way, I didn't want to go to a larger box because of the increased shipping costs. It's a tight fit, but I am able to get around 120 shims and all of the tools I send with the kit so that the inspection/install can be done. I have brokered a deal with Jason M. (a VR.ORG Member) who has very generously sold me shims to add to the new kit at a fraction of the cost of new! I spent the entire weekend tearing down two motors I had to harvest the shims. Today, I received a "Mystery Package" from an unknown VR.ORG member with 20 shims in it. Whoever you are, Thank You Very Much! The VR.ORG Club made a very generous donation to the rebuild of the Shim Kit, I think we ALL know who to Thank for that! For ALL of the members who donated to the Rebuild of the Shim Kit, I Thank each and every one of you Very Much. With the arrival of the shims from Jason M. I think the Shim Kit will be back in business. Because of the way our engines "Mature", the valves sink deeper into the cylinder head, decreasing the amount of clearance between the top of the valve stem, and the bucket that contacts the cam lobe. When there is NO more clearance, the cam lobe will bend the valve stem OR the valve will rip the camshaft out of the cam tower. Either way, the result will be that the head will need to be rebuilt or replaced which means the engine will need to be removed from the frame. Both of these projects are very costly to say the least. The checking of the valve clearance, and replacement of the bucket shims can be done without removing the engine. It is also a great time to replace those leaking Valve Cover Gaskets. I'll let everyone know as soon as Jason M's shims arrive. Thanks again for everyone's help, I'll keep you posted, Earl
-
Thank you everyone! I am a bit embarrassed and humbled at the offer. It was NOT my intension to ask for money for the replacement of the shims, but merely to vent my frustration with the loss of the Shim Kit that I have been adding to for the last 12 years! LUVMY40, I have received your donation, and I thank you very much! Jason, I am willing to buy your shims to replace the lost ones as well as pay for the shipping. my friend! RDawson, my dear friend, it was MY pleasure to loan you the kit. I just wanted to ad that the reason I started loaning the Shim Kit was to give my fellow VR.ORG Members the COURAGE to do this Service themselves instead of taking it to a dealer where you have NO idea the quality of work that is being done to your scoot. Not to mention that the price for this service at a dealer is a rip off! To everyone that has borrowed the Shim Kit, my hat's off to you for being brave enough to do this service yourself. I believe that projects like this service allow us to "Bond" with our bikes, and allow each one of us to take PRIDE in the fact that we are maintaining these special motorcycles ourselves. The Shim Kit comes with EVERY tool you need for the service, and I even include a set of Genuine Yamaha Valve Cover Gaskets when I ship the kit. This Shim Kit will perform the Valve Adjustment Service for both First and Second Gens. My Paypal email address is: earlfharrell@atlanticbb.net and I assure you that any money or shims donated will be used to make my loaner shim kit even better than it was before! Thank you everyone for your support, as I said earlier, I am Humbled to be a part of such a wonderful "Family" and the owner of such a great machine that brings me so much pride and pleasure! Earl
-
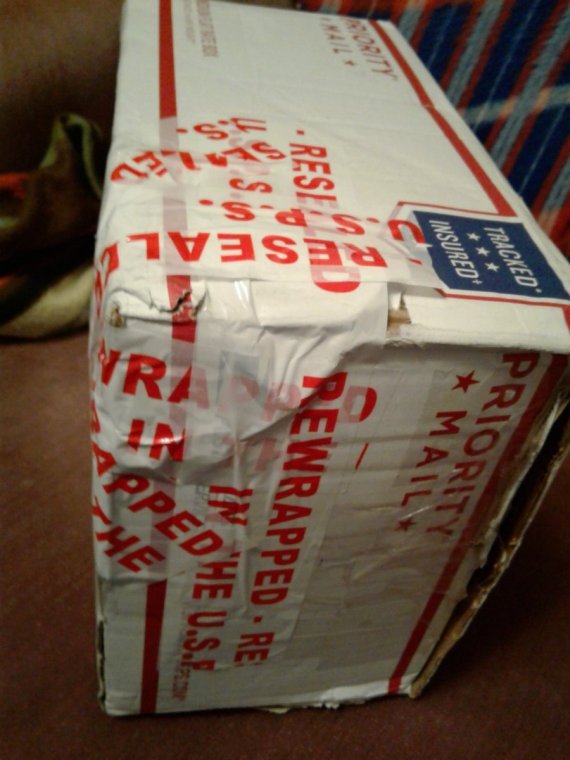
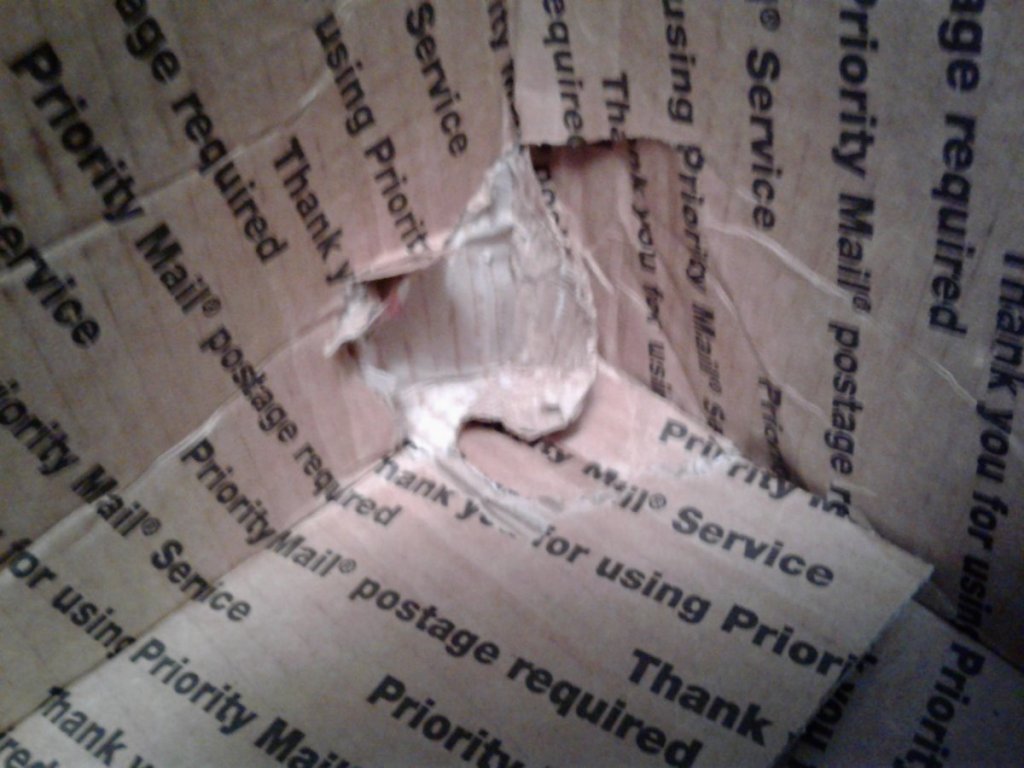
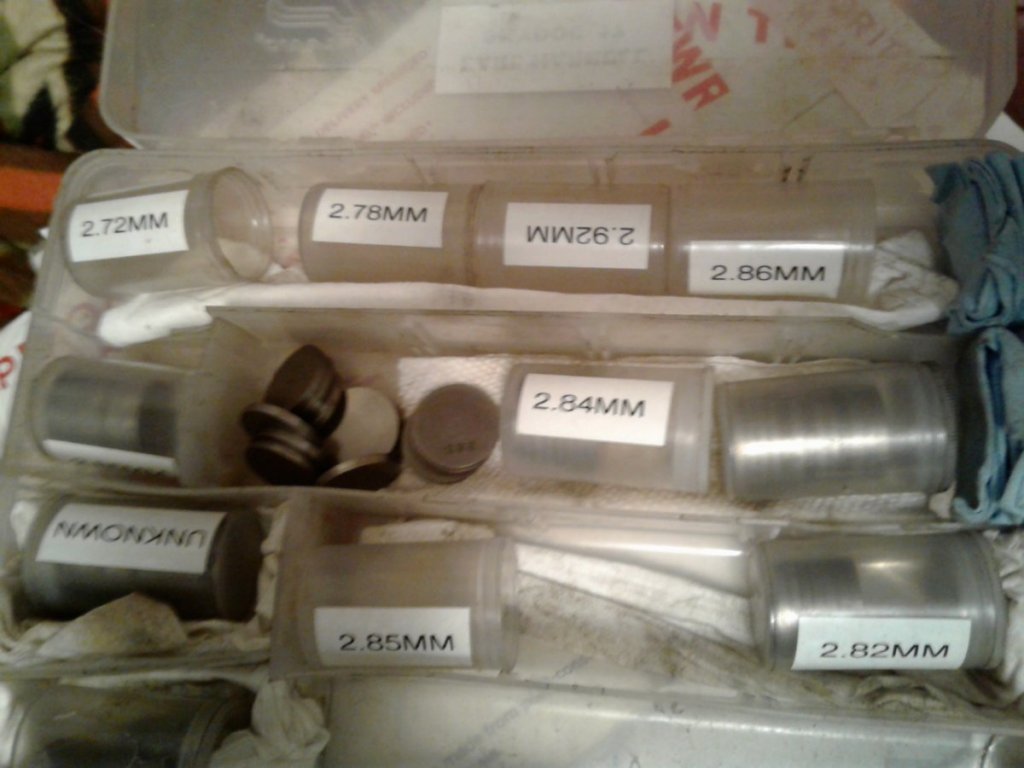
Two weeks ago, I sent out my shop Shim Kit with a set of new gaskets, like I always do. On the weekend of the 24th of October it was returned to me in a timely manner. Only this time, there was white and RED USPS Tape all over one corner of the box. I was immediately worried as I have NEVER had the Shim Kit Box returned to me with any trouble what so ever. When I opened the box, to my horror I saw that the outer case that the shims were in was crushed! Even worse, when I opened the outer case, there were a half dozen canisters that would normally be filled with shims EMPTY!!, and a large hole in the bottom corner of the box. (Where the USPS Tape was on the outside. Luckily, the Bucket Tool was still in the case but it looks like between 35 and 55 shims were lost in transit! The Forum Member who returned the Shim Kit to me filed a claim with USPS as soon as I contacted them. To his credit he has been all over USPS and I was contacted to bring the Shim Kit with all of the packaging to my local Post Office for inspection. Which I did. The Post Master and I have been doing business with each other for the 12 years I have been a member of this forum so he made short work of the Inspection and the forms that needed to be filled out. My standard procedure was to insure the kit for $200.00 and request that the kit be insured when it was returned. After over 100 trips back and forth across the country, the Insurance finally paid off. The claim was approved, and I should be receiving a check in the next week to ten days. I am now in the process of replacing the outer case, and tearing down a few motors I have here at the shop to harvest the shims from. The supposed cause of the damage was the Priority Mail Box got caught in the "Barcode Reader Machine" and was destroyed during the scan of the Barcode. I can only imagine 55 Valve Shims raining down like ping pong balls, and rolling across the floor! They will be skidding on those puppies for the next five years,,,,,I hope! I have attached a few pics, because as we all know... It didn't happen if you have NO pics. Enjoy. Earl
-
Thank you very much Don, for ALL of your hard work to keep this forum functional! You sure do go to a lot of trouble just so a bunch of "Old Guys" (and Gals) can complain about their motorcycles! I still don't fully understand what you get out of all of this trouble you go to, (other than a headache!) but I for one am very grateful that you do what you do! You Sir, are MY hero!! Thanks again, Earl
-
I have often joked with my wife saying, "If I would have known I was going to live this long, I would have taken better care of myself"! Dale was one of the kindest, smartest people I have ever met. His creative ability was unmatched. In his mind, he could see things three dimensionally. To some degree, I also enjoy this gift, but nowhere near the level this man could. I personally have been dealing with some physical limitations as I have gotten older, but I don't know if I could handle loosing my ability to think and remember. why is it that the kindest, most gentile, and intelligent people on this planet are usually the ones that are taken from us before their time. Dale was one of these people. Both Jean and I express our deepest symphony to Dale's wife and family. I have come to realize that I will never fully understand why complicated, intelligent men like Dale choose to do what they do, but I take solace in the face that they are finally at peace and whatever was hounding his every minute of his life here on earth is no longer an issue. This is a sad day, and this was very sad news indeed.Rest in Peace Dale, You will be missed.Earl and Jean.
-
Hey Terry, Try these two links to solve your slipping clutch issue. https://www.venturerider.org/forum/showthread.php?144048-FIRST-GEN-MKI-(83%92-to-85%92)-HEAVY-DUTY-CLUTCH-SPRINGS-UPGRADE-KIT! https://www.venturerider.org/forum/showthread.php?139138-First-and-Second-Gen-7-New-Genuine-Yamaha-Clutch-Friction-Discs! I hope this helps! Earl
-
Hey Terry, Welcome to the Forum! What a beautiful Bike! Looks like you have a gem there. You didn't mention the mileage, but In the following order I would address the following things. Coolant, and quite frankly, ALL fluids Flush. Brake Fluid Bleed, Clutch Fluid Bleed, and Engine Coolant Flush. The next thing would be to check to see if the Radiator Fan is coming on. If not, then you will need to address this issue If this doesn't help, then I would look at replacing the thermostat, thermostat housing cover, (this cover is plastic and warps with time) and the O'Ring on the drain plug, as well as the radiator cap. I would also take a Very Close Look at the "Elbow" that goes from the thermostat housing to the water pump. Many times a bumping of the crash bar on the water pump side of the engine will cause the crash bar to cut a gash in the water pump elbow, (It's made out of PVC Plastic) look for that. If this doesn't cure your ills then it will be time to rebuild or replace the water pump. I personally like to do all of the fluids on ANY "New To Me" motorcycle, just because I have a baseline for future fluid changes. The rest of the above items are done on an "As Needed" basis. Good luck with your "New To You" scoot, and keep us posted on what you find out as you go through the above list. And again, welcome to the Forum! Earl
-
Hey Todd, Welcome to the forum! Now, about those brakes. Check the Master Cylinder for the Right Front Brake. It's on the Right Side Handel Bar. If there is very little fluid in the master, then the right front caliper is leaking. The rear master cylinder is located under the small black cover close to the passenger foot peg. I would bet it is the left front leaking. That's why the rear brake gave out, low fluid. As was said, the left front caliper has a set of smaller pistons than the right front. The rebuild kits for the right front and the rear are the same. The left front is different. The other thing you want to make sure of is the fluid on the ground is actually brake fluid and NOT fork oil from a leaking fork seal. With the bike on the side stand, it might be a bit tricky to tell where the fluid is coming from because of the lean. Try to get the bike on the center stand. That's a better place to work on this bike anyway. If the leak continues, and the fluid doesn't go down in the front master, then it's the left front caliper. Now, about those Carbs! I wrote a little blurb about cleaning the First Gen. Carbs. on the bike a while back, here it is: CleaningFirst Gen. Carbs. On The Bike I use this cleaningmethod to unstick a float needle that is causing the gas tank todrain when the bike is parked, or for a Carb. That is passing raw gasout of the overflow tube when the bike is running. This on bikecleaning DOES NOT address the issue of a Carb. Set needing a completerebuild, (off the bike) and does not address the issue of AIRPASSAGES being blocked, and causing poor performance. These twoissues require the Carbs. be removed from the bike. With the bike on thecenter stand, and the engine off, I select the first Carb. I want toclean. You will be looking for the Black Plastic Carb. Drain Tube,and the screw that opens that drain. (Phillips Head Screw) You willneed a small coffee can, or a coke can with the top cut off, (NOplastic containers) to catch the gas that will come out when you openthe drain screw. Allow all of the gas to drain from the Carb. andhave a look in the can for “floaters”. (Solid particles) With anew can of Carb. Cleaner, insert the red straw in the end of thedrain tube. I wrap the junction of the red straw, and the drain tubewith a small piece of shop towel to slow the blow by. Press thebutton on the top of the can of Carb. Cleaner, and count to 3. Removethe red straw and let the cleaner fluid run into the coffee can. Moveto the next Carb. and repeat. When you do Carb. #4, start over again,and do them again. I use up one can of Carb. Cleaner on the fourCarbs. When the can of Carb. Cleaner is gone, retighten all fourdrain tube screws, (CAUTION DO NOTOVERTIGHTEN THE DRAIN SCREWS) Turn on the ignition switch, (do notstart bike) listen for the fuel pump to fill the Carb. Bowles andstop pumping, check the drain tubes and the overflow tubes (down infront of rear tire) for fuel leakage, move the can with the Carb.Cleaner/Gas mixture away from the bike, (or better yet, roll the bikeout of the garage) and start the bike. (It may take a few shortbursts on the starter motor, and you may need to choke it as well) Gofor a ride and “blow the cobwebs out” (my personal FAV part) ifthis doesn’t solve your problem, then a “Carbs. Off Rebuild”may be in order. On a side note, I run 3 ounces of Seafoam in everytank of gas I put in my 87’and 89’VR because of the negativeeffects of the Ethanol in the fuel these days. Because of my shophere in South Central PA. I buy OEM parts direct from Yamaha, andshare my discount with the VR.ORG members. It would be my pleasure tohelp you with any project you have in mind for your First Gen. VR.Earl (skydoc_17) For the cost of a can of Carb. Cleaner, it would be worth a shot. Earl
- 4 replies
-
- 1987 venture
- brakes
-
(and 2 more)
Tagged with:
-
Hey Mark, I just Google Mapped Buckingham, I am about 4 hrs. West of him. I'd be glad to help if I can! Earl


