ecbaatz
Expired Membership-
Posts
112 -
Joined
-
Last visited
Content Type
Profiles
Forums
Gallery
Events
Store
Everything posted by ecbaatz
-
-
100,000 mile review 2018 TC
ecbaatz replied to PGR's topic in Star Venture and Eluder Tech Talk ( '18 - Present)
and Canada and I have seen riders post in Europe so I don't think your comment is correct. -
It takes two to have a chase. If either would have stopped, no chase. Both can be blamed, however, we pay police to enforce our laws. So I put more of the blame on the cyclist for not stopping.
-
I recently added the Backoff Brake Light module to my SVTC. Since I wanted to minimize cutting wires I added it to the trunk light only. Two reasons for this. 1) it kept the fender brake light stock, so hopefully no tickets for a flashing brake light. 2) the cutting was done in the trunk so no exposure to weather. The installation was not to bad. 1) remove the liner from the rear of the trunk. 2) remove the black plastic piece from the rear of the trunk. Note: 4 Phillips screws on top, 2 10mm bolts on the bottom. The 8 mm bolts hold the locking mechanism to the plastic piece, no need to loosen them. Found out after I did. 3) remove the wiring harness from the holders. There is a small connector you disconnect. you can then remove the trim from around the light and then the light or work in place. I removed the trim and light. 4) cut the YELLOW (brake) wire and install the Backoff Module per the instructions. 5) attach the black wire from the Backoff Module to the black/white wire going to the tail/brake light. I did this on the downstream side of the connector so worst case I could buy a new light and plug it into the factory connector. I also used spade connectors on the wiring. This allows me to 1) remove the Backoff Module and return the light to factory configuration but more important 2) it allows me to select from one of two lighting configurations without having to recut wires. The module I have is 1) 4 quick flashes and then solid until you release the brake light or 2) 4 flashes then solid for about 4 seconds and then repeats for as long as you hold the brake. This is the option I chose since the brake light on the fender is still solid. I have a video of the results and once I figure out how to post it I will add it. https://photos.google.com/photo/AF1QipPFAX2ISejtF-yuZI07AlU_LhNZYHj1WSFLlePk
-
I gave up on windows and went to Apple, best decision I made. Yes I have a few programs that I still need windows but I don’t use them that often and can boot into windows if I need to use them.
-
no, just 1-3 leds. Don’t want to over power but would like to be seen from the side without light being on you.
-
Knew I should not have ordered black!
-
Has anyone thought and or attempted to put an led light on the saddle bag and fork reflectors? I know some have added lights to the interior of the saddlebags and trunk. The forks might be more difficult due to routing the wires. I am thinking it might be a nice winter project. Eric
-
First Venture TC sighting in the wilds of Maryland
ecbaatz replied to DanielM's topic in Watering Hole
You thought it was the slower red but it was faster moving away from you. After all, you know red adds another 25 horsepower easy! -
No Electric or the bike is not waking up?
ecbaatz replied to Gundriver24's topic in GPS, Audio, Electronics
Is the fob turned on? You can turn it off and on. Here is another tip many don't know about, the key fob if you push and hold the unlock button on the key fob until you see the small red light on the front of the key fob come on then let go of the unlock button that turns off the key fob. To turn the key fob back on just hold down the unlock button on the key fob until the small red light on the front of the key fob comes on then let go of the unlock button and the key fob will be back on again. So if for some reason you can't get the ignition switch to work on the bike check to make sure the key fob is turned on. -
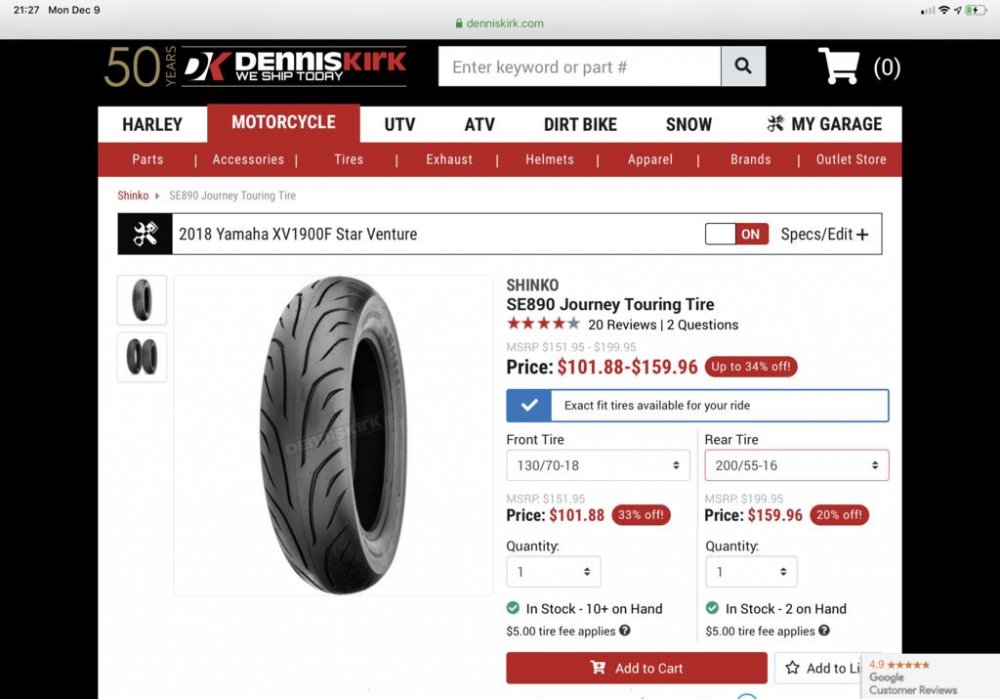
Rear tire for Eluder
ecbaatz replied to hunter 1500's topic in Star Venture and Eluder Tech Talk ( '18 - Present)
I have not tried this model, but have used the 230 series on my 96 Suzuki VS1400 Intruder. Got about 9,000 miles on the rear. -
Rear tire for Eluder
ecbaatz replied to hunter 1500's topic in Star Venture and Eluder Tech Talk ( '18 - Present)
-
Any updates?
-
Today I adjusted the controls after a 305 mile ride yesterday to check out the heel-toe shifter (note to self, ensure you tighten the bolt holding the shift arm on the transmission. Next time you might not have an ACE hardware parking lot to pull into when you notice the shift arm is off, ask me how I know.) It worked out pretty good, but fined tuned it today. As well as the handlebars and controls. Now to check it out tomorrow and get as close to 600 miles as possible so I can do my first oil change. Have 535 on it right now. Eric
-
Not sure I can answer all the questions, but I did have a problem with charging my iPhone X. It would play the music but not charge. Ended up it was due to an aftermarket cable. When I switched to an apple cable it works fine. Eric
-
Screw driver head/handle is there, next to the wrench. Difficult to see. No spark plug removal tool. But than, Yamaha may not consider that something to do along side the road. Remember the price of the tool kit is only $8-$12 so do not really expect a lot.
-
I put my heel-toe shifter on. Now if I could just try it out. I will be ready when the weather breaks.
-
Well it was last night, but I put a battery tender lead on the battery. Put the billeted brake cover on and adjusted the position. Which also resulted in me having to adjust the brake light switch. Next is the heel-toe shifter. And pray for some clear roads to ride.
-
I am trying to find out what exactly comes in the stock tool kit for a 2018 SVTC. I looked at mine and it seems pretty sparse. Especially for the size of the bag the tools come in. See pic below to see what I am talking about. Pliers, combo wrench, two allen wrenches, double screwdriver w/ handle. Just want to know if that is all there is.
-
Adjusting the rear bake pedal
ecbaatz replied to ecbaatz's topic in Star Venture and Eluder Tech Talk ( '18 - Present)
Thanks, will check it out. -
Adjusting the rear bake pedal
ecbaatz replied to ecbaatz's topic in Star Venture and Eluder Tech Talk ( '18 - Present)
That may be true only have ridden it about 125 miles. Getting use to the floorboards as well. I have never had them before. -
I am trying to figure out how to adjust the rear brake pedal. It is too upright for my comfort. I would like to move it forward, especially as I am adding the billeted cover. Looking at the parts drawing it appears that the floorboard is held on by two bolts (see second Drawing). Removing that should get me access to the brake lever. Then, I assume removing the clinch bolt (7 in the first drawing)and adjusting the Has anyone adjusted their brake lever and have any insight on the best way to go about it. I don't have the service manual yet, however, I do intend to get the specific manual for the 2018 star venture. Also any recommendations on where to get the manual? I would like something that will last. Thanks again in advance for all your help. Eric Attached Thumbnails
-


