-
Posts
6,432 -
Joined
-
Last visited
Content Type
Profiles
Forums
Gallery
Events
Store
Everything posted by Eck
-
You will find the RSV is very top heavy with two up riding. I strongly recommend that you and your other half take a few short rides so that YOU know how to handle the bike with the extra weight. (trailer or spouse). Get into a parking lot (Wal-mart) and make sure YOU know how to make slow turns before adding that extra weight. Then do it again with the extra weight..Do this BEOFRE you head out on a trip... YOU must know how to handle the bike "before" you take the better half for a ride....
-
-
Wife and I stopped at a thrift store yesterday and as I was walking around, I came upon (2) like new GL1800 foot rests with their mounting bracket and a Kury "chrome" rear brake arm. I paid $12 bucks for the two Foot rests and this included the (2) mounting brackets. Then I found a Kury Chrome rear brake arm, which I paid a whopping $4.00 (Sorry Sleeperhawk, I was wrong when I told you I paid $6 bucks for the Kury brake arm). I couldn't believe I found these parts in a thrift / salvation army store, and then, as I looked more, I also found a like new replacement rubber shifter boot for the GW shifter lever. It didnt have a price on it. When I checked out, the check out lady said I could just have it since it didn't have a price on it. SO then when I got home I decided to price these same parts using the Honda OEM parts list (except for the Kury rear brake arm). Foot rest mounting bracket = $15.44 ea x two brackets = $30.88 Rubber foot pads that mount to these above brackets (including springs) = $8.18 ea x 2 pads = $16.36 Shifter rubber boot = $2.95 Kury Brake arm = $72.98 Total would have cost me $126.22 I paid was $16.00 for everything...not a bad day for me!!! Thanks Santa!!!!!!!!!!!!
-
The ever changing twists and turns of life with Tippy..
Eck replied to cowpuc's topic in Watering Hole
Wow, what a story to wake up to Puc. I am SOOOooooo glad the DR. found out what was ailing Tippy. Such great news!! I'm glad she doesn't have COPD / Emphysema. (I hate having it). Tippy, I wish you well honey. Get well and back on your feet soon. Best wishes for a speedy recovery sent your way! I know Puc will be at your side to take care of you. -
-
There isn't enough bandwidth here to accommodate all the stupid things I have ever done.
-
More gas and motel money for me and my Goldwing.............
-
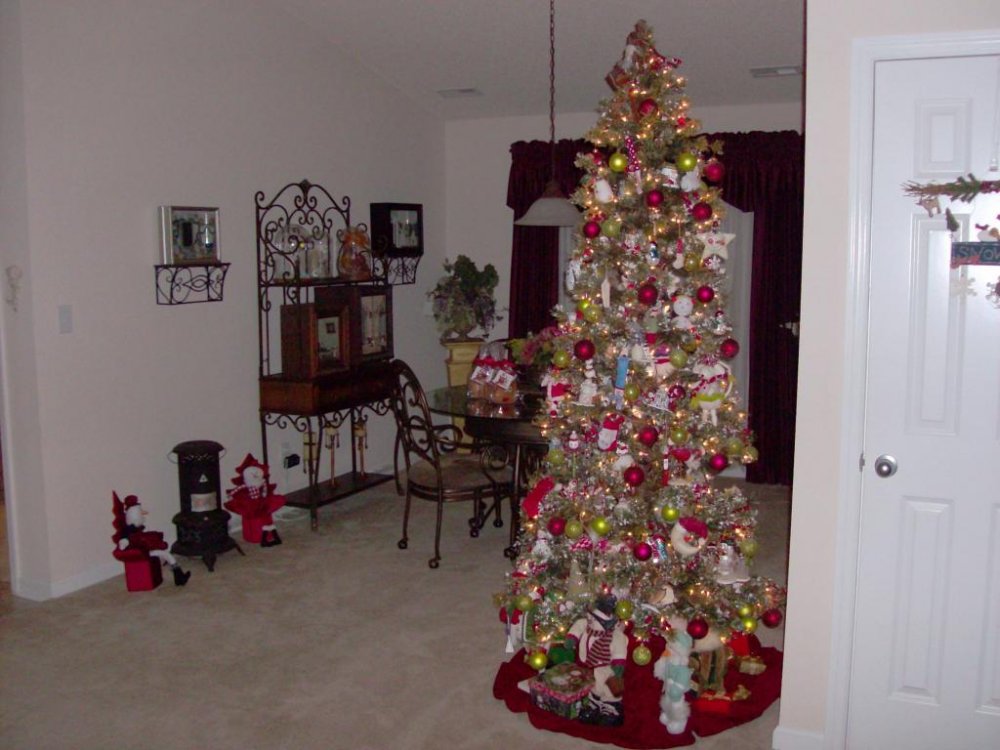
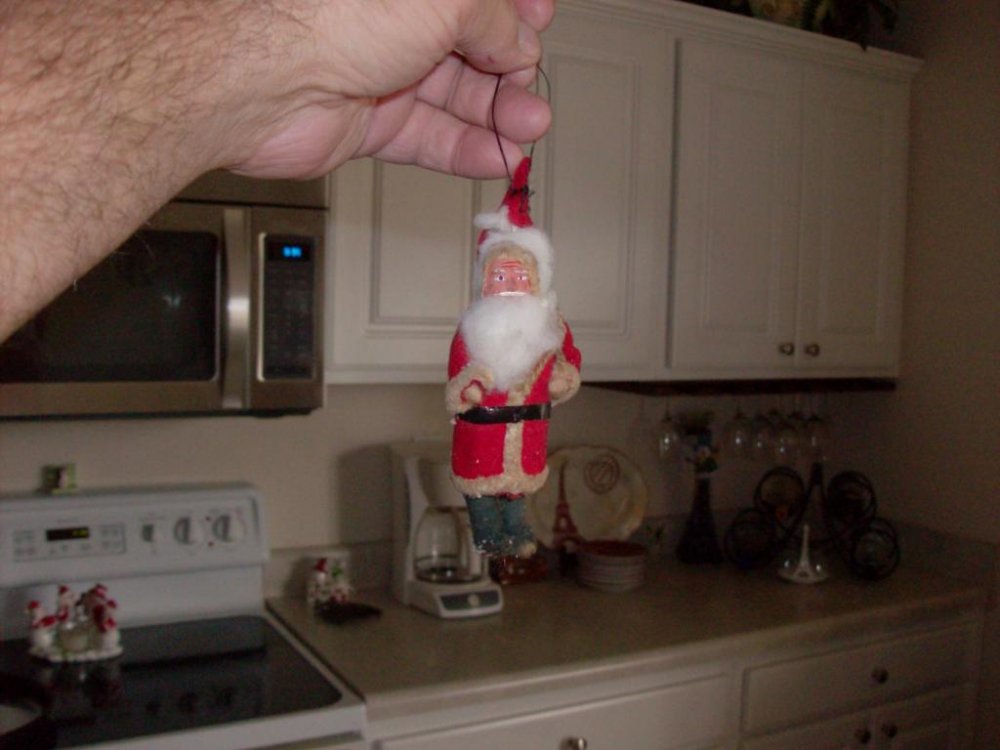
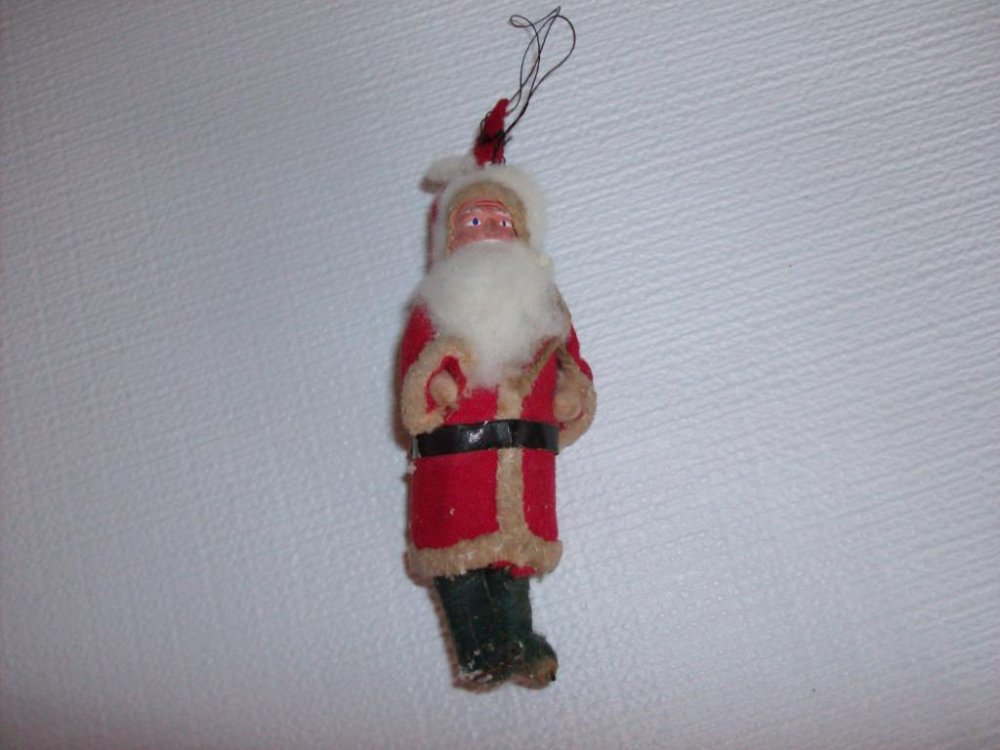
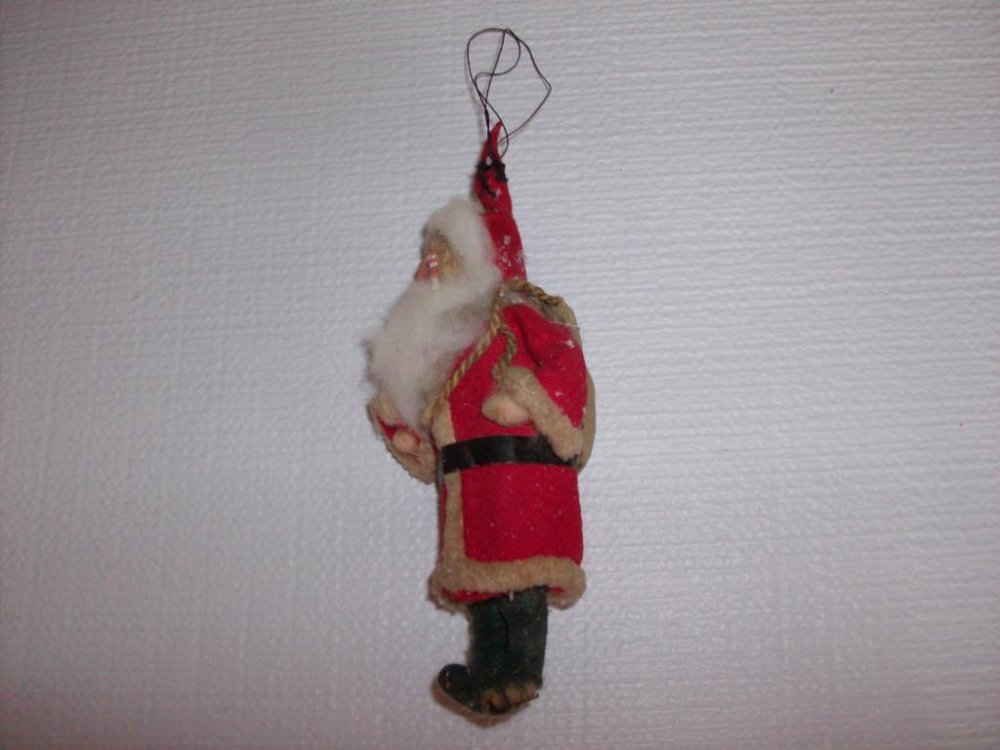
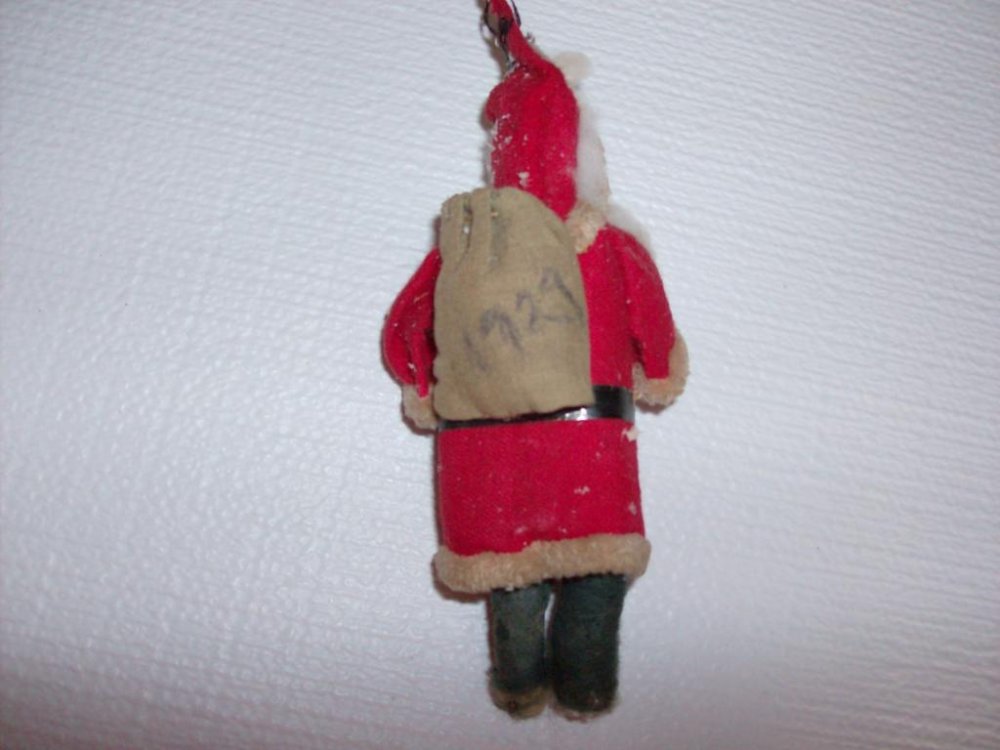
Here is the oldest ornament in our family. This ornament has been in our family for generations. My Grandmother had it on her tree, my Dad had it on his trees as he grew up, then I had it on my Christmas trees as I grew up and then I put it on every Christmas tree for my son Jason as he grew up. This will be the last Christmas I will have it on a tree in my home. After this Christmas, I will be sending it to Australia so my son can have it to hold on to. Notice the date on the back...1929
-
Well I wont be able to make it until sometime after mid January / Feb time frame. But if this one doesn't work out, I will post wen I am heading to Sarasota and we can have another one some place else.
-
They open at 11am. It would be 1.5hr ride fro me if I was at my mom's in Sarasota. Just need a firm date as to when this M&E will take place.
-
Heck, I might be interested in this too. I could ride down to Sarasota and see my mom, then ride east (with Barrycuda) to the east coast for the M&E, then ride back part way towards the west coast with Barrycuda, and head north for Alabama. Keep me posted on the date if this M&E happens.!
-
Well, I am in need of a front axle and locking nut.. I damaged mine so bad that it can not be repair. I can not find the correct size tap so I ground the end of the axle down about .030 to remove the damaged threads and then ground the tip of the shank of the locking bolt down to be funnel shaped, added a grove so it would act like a TAP, and tried to get eh bolt in the end of the axle. The threads will nto start..SO I used a funnel shaped sanding stone and "carefully" went into the end of the axle to "clean up" the first line of threads in hopes that would work. Nope it just wont get it. I said the heck with it and will replace the axle and locking nut so that I am certain it is correct. SOOOOooooo... anyone out there happen to have an extra GL1800 axle and locking nut laying around? ..Yea right..
-
Patent is still pending.... The so called extra battery on the back is actually a COOLER...!!!!!!!! It is NOT a spare battery and when I first saw it I thought the same as you did. So I bought it and just about everyone thinks it is a battery.
-
Hey my friend, If "YOU" can have them (like on your brakes) ... I surely can............ha....!! Man what a nightmare this turned out to be, but I sure learned a lot from taking it on. I just noticed that I forgot to install the dang inner sleeve...I fit checked it to the axle, then I set it on the bench. I never installed it and just went ahead and installed the bearings.. Now I have to remove one side of bearings just so I can install that darn sleeve.. What a dummy...and I did all this without even having a beer. Just coffee..maybe that was the problem...
-
Is there an easy way to drain the fuel tank?
Eck replied to camos's topic in Venture and Venture Royale Tech Talk ('83 - '93)
How about possibly Syphoning out all you can to get most of it out into a storage container, then remove the tank and roll the tank upside down and pour out the remaining fuel using a funnel into same storage container. You could use the 5-65 method... Five counties at 65 MPH........ ... -
Just want to share some lessons I learned today so that those of you who own Goldwing's... do not do what I did. It all started the other day when I put a new sneaker on the front wheel. The new front wheel bearings that I ordered finally came in yesterday, so I figured I would install the new bearings today and get the front wheel back on my bike. Yea, sounds like a plan don't it? This so called 30 minute job has become and all day event. I started at 9:30am to install the bearings I removed the "frozen" bearings from the freezer and took them to my work bench. The front wheel was all cleaned up and ready for the bearings. The Goldwing 1800 has (4) wheel bearings in the front wheel. (2) bearings on each side. I started with just a little spray lube on one side of the front wheel (does not matter which side you start on). I installed one bearing at a time using a large 1/2 inch drive socket that was the same diameter as the outer race of the bearing. NOTE: Never pound on the inside race of a bearing when seating a bearing. Both bearings went in fine, and then I lubed up and installed the dust seal. Turn wheel over. There is a "center sleeve" that MUST be installed next. It just slides into the center of the wheel. Next, a little spray lube on the wheel and again, one bearing at a time using the 1/2 inch large socket and a hammer to tap them in. Now install another new dust seal on this side of the wheel. CHECK for wheel bearing freeness...Slide your finger in the bearing and turn it back and forth to see if the bearing turns smoothly and freely, no binding or grinding. ALL good, lets get that wheel re-installed on the bike now. This is where I made a mistake. I was in such a rush to get the wheel back on the bike, I never stopped once to check the alignment / freeness of the axle. Guess what.. my axle wont go through the front wheel. What did I do wrong? SO ...Lets start over doing this the "right way". Start by spraying just a little spray lube on one side of the front wheel (does not matter which side you start on). Install the first bearing which is the "inner bearing". Seat it using a large 1/2 inch drive socket that is the same diameter as the outer race of the bearing. AGAIN NOTE: Never pound on the inside race of a bearing when seating a bearing. OK, using the front axle, slip it through that bearing and rotate it. Does the axle slide through the bearing freely? It should!! Install the second bearing (the outer bearing) again using the 1/2 inch drive socket. Seat it against the inner bearing. USING the axle, again insert the axle through BOTH bearings. Does the axle slip through both bearings freely. It should Lube up and install the dust seal. Don't force it. I lubed my dust seal up and used only my fingers and thumb and I was able to get it 90% pushed in with out using a tool. I then used another 1/2 inch socket that was same as the OD of the seal to seat it. OK turn wheel over Stop here.. Grab that front axle and the center sleeve. DOES the axle slip through the center sleeve with no binding or gawling? It should!! Providing the axle slips through the inner sleeve lets install that inner bearing. Spray a little spray lube on the wheel and again, install one "inner" bearing using the 1/2 inch large socket and a hammer to tap it in. Stop - USING the axle, make sure the axle slips through the inner bearing you just installed, through the inner sleeve and out the other two bearings. Can you slip the axle in and out freely? No binding, galling? You should be able to slip it though easily. If so lets continue. Now install the last outer bearing using the 1/2 inch socket and seat it against the inner bearing. STOP - USEING the axle, check again. Does the axle slip through all (4) bearings and the inner sleeve? If so, lets install that last new dust seal using a little lube and only your fingers and thumb, then finish seating it with the correct size socket to tap on. Using your finger now, check all four wheel bearings for freeness of rotation. Slide a finger in the bearings and turn them back and forth to see if the bearing turns smoothly and freely, no binding or grinding. ALL good, now you can install the wheel back on the bike. I never checked the axle to slip through the bearings as I installed after I installed a bearing. I never checked the axle to slip through the inner sleeve "BEFORE" I installed the sleeve. This is where I would have caught the binding / galling but I didn't. I never checked the axle to slip through all (4) bearings and the inner sleeve before I carried the wheel over to my bike to install it. If I would have I would have found out I had a problem and would have saved myself a half day of head aches. As I was installing the front wheel, I used a "plastic head hammer" and tapped the axle firmly inward trying to get it to come out the other side of the wheel. NEVER DO THIS!! lesson learned here. The more I tapped it the more I got it bound up in the wheel. Now I'm stuck. For the life of me I could NOT get that axle back out. I used a small diameter socket on an extension, and pushed it through the wheel and hit the extension with a real hammer in an effort to tap the axle back out. I ended up BEATING the end of a large punch through the front wheel to get the axle to come back out. The axle was binding (galling bad) in the "center sleeve" that is between the two inner wheel bearings. As I was hammering the axle out, the darn dust seal and outer bearing came out. All of this is while the wheel is hanging on the bike. The wheel is now bound up, twisted off center alignment making it even harder to get the axle out. After much pounding I finally got the axle out and the wheel back off the bike. (4 hours later) I then carefully removed the remaining new wheel bearings to get the damaged inner sleeve out. I then polished the ID of the inner sleeve and the OD of the axle to remove all scalding marks on both items. So here I go again, I'm off re-installing the new wheel bearings in the front wheel, but THIS time I am checking fitment and alignment using the axle as I go.. I get wheel over to the bike, pick it up and hand insert the axle through the (4) bearings and I am ready to install the one locking bolt that screws into the end of the axle shaft. AND HERE I NOW REALIZE...that the locking bolt (which holds the axle in the bike), will not go into (thread into) the end of the axle because of all the pounding I did with the punch. The pounding beaned over the steel edge around the bolt hole. I damaged the threads around the opening of the axle shaft end. Now Im stuck again. I do not have a tap the size I need so I am now a stopping point until tomorrow when I can go get a metric tap big enough to chase the darn threads in the axle that I damaged. Lessons learned. Check that axle alignment as you go. When you install one part/ pice just STOP, and check that axle alignment and freeness. Man I sure wish I would have.. Bet I do next time!!! ....
-
Sorry Puc my friend, but on this visit, I felt it was his place to post the first pics of his new toy, not me, so I didn't take any photos. Oh, and he did leave with all his quarters this time since he didn't have but an hour to visit. Next time I will try to get a few though...
-
I would never stop over the TOP of a hill for anything. I would however (if possible) stop at the TOP of the hill, but once over it, I would NOT stop due for my own safety reasons, which is not a lack of respect for the deceased or the family. Safety always comes first in my book..then respect, in this case. On an interstate, going same direction, I would "assume" they would be in the slower (right lane)...If so, I would pass slowly in the left lane. I would NOT just ride behind them just because it is a funeral. I really don't think the "deceased" would object either way.. and I could care less what the family would think of me by passing, since they don't know me, and I probably would never see them again anyway. If it was me in the back of the Hurst I really don't think I would give a rats behind whether anyone passed or not..
-
(Quote) Edbo: I bet Eck knows where this place is. Yea man.. been there twice. Purchased a Dr. pepper both times. Their primary business is just a basic convenience store. Neat old place.
-
Spent a little time with Sleeperhawk and his new ride at my house. Sure was nice seeing him again, yacking and laughing enjoying the friendship together. Many thanks for stopping in and going out of your way to stop in and visit my friend. If you have any questions about your ride don't hesitate...call me.. Please be safe as you ride back home tomorrow buddy. If my bike was assembled, I would ride part way back with you but I have to get my wheel bearings installed and front wheel back on the bike which I hope to do tomorrow. I was hoping I could get my bike back together today to meet a few other guys at Wally world for a bike ride to Chattanooga tomorrow but I cant get it done right now. You take care George!! See you at Christmas!!!!!!!!!!!! ), OH...and don't forget to bring lots of quarters cause your gonna loose in playing pool.........!!!
-
My wife and I might be on our trip out west in July, and if so, we wont be able to make it then.
-
I just watched it a minute ago on the other site...pretty funny!!
-
Randy, His last visit to the site was not that long ago (11-12-2015), so he is still here, but laying low for the time being. His last post was on 10-04-2015 We miss you Dingy!!!!!!!!!!
-
Oh, for just 3 more inches!!!
Eck replied to Beau-Kat's topic in Royal Star Venture Tech Talk ('99 - '13)
I knew she wasn't speaking of me.....


