-
Posts
1,555 -
Joined
-
Last visited
Content Type
Profiles
Forums
Gallery
Events
Store
Everything posted by CaseyJ955
-
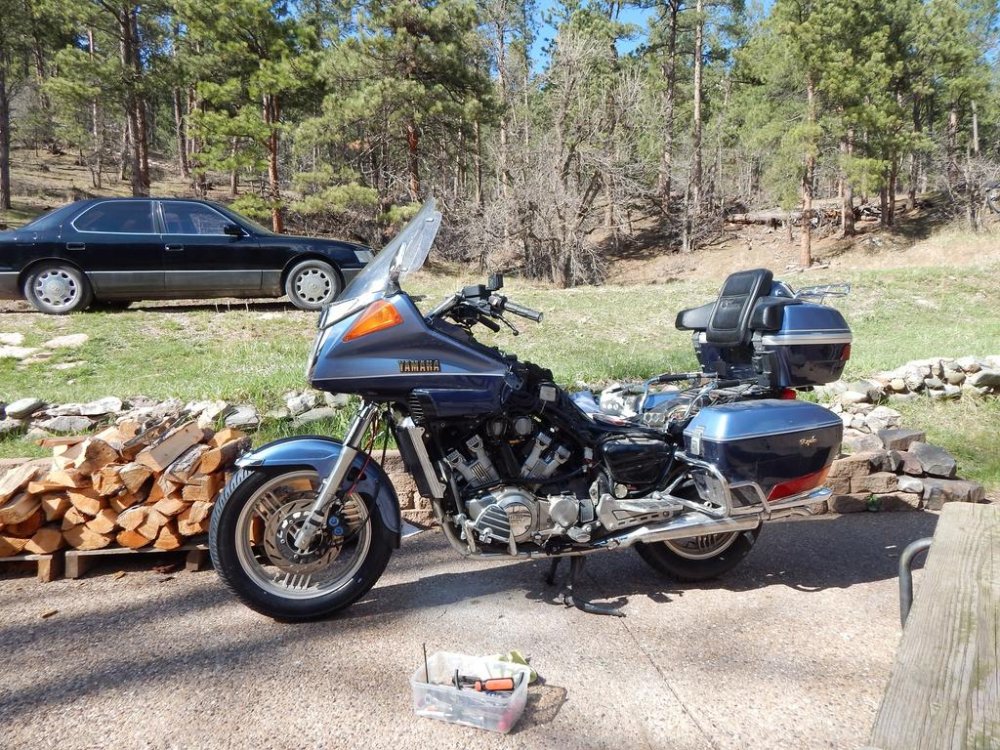
That is my understanding, also the OEM uses vacuum to control advance, if I understand it correctly. So for other units like Synpers, is the advance handled with straight up software or is it designed to use the factory advance setup? I gotta say I'm really liking the Ignitek and I'm semi-techy, I like to learn what I can and do all my own work. I have to say though that when I got the laptop plugged into the Ignitek I was overwhelmed by what I saw. You can literally change everything, plus impose a rev limit. That alone is worth the price of admission on the Vmax too. Without a dyno I didnt eff with spark curve and all that, I know Gary has it mapped out well and honestly without his help and spoon feeding me information I'm not sure how long it would have taken to get this sorted out. I added the Ignitek and COPs at the same time. One of the perks with an Ignitek is when you add cops you need no resistors, unlike some of the other units that can be damaged by lower primary resistance coils drawing more current than the TCI can handle. I'm not sure what made it start and run so damn well, cops or the Ignitek, or the fact that unlike the PO I actually have the ability to fully seat the carb rack into the intake boots. Probably a combo but it's killing me to wait for the brake pads so I can try all this out. A MAP sensor is a good thing, this bike has been updated in several areas with tech not available when it was manufactured in 1989 so I'm looking to reap some of the rewards of this. This is yesterday, almost done, anticipation is burning me up. A couple hours of cleaning out calipers and installing the HH brake pads and I'll be ready to roll. It's 77 degrees today so I'll have to wake wifey out on the VMax but I cant wait to get this thing on the road and see if it runs on the road as well as it does on the center stand. Also here is a voltage adjustment write-up and screen shot to pull it together for interested readers. In the screen shot you can see where the MAP voltages lay, those voltages are adjusted and results read in the lower left bar graph under the idle speed bar graph. The idle has to be adjusted down until it just barely dissapears, and a WOT whack should drive the black bar almost all the way to the right. The docs and info came from Gary Change RPM in TCI.pdf Setting MAP sensor voltages.pdf
-
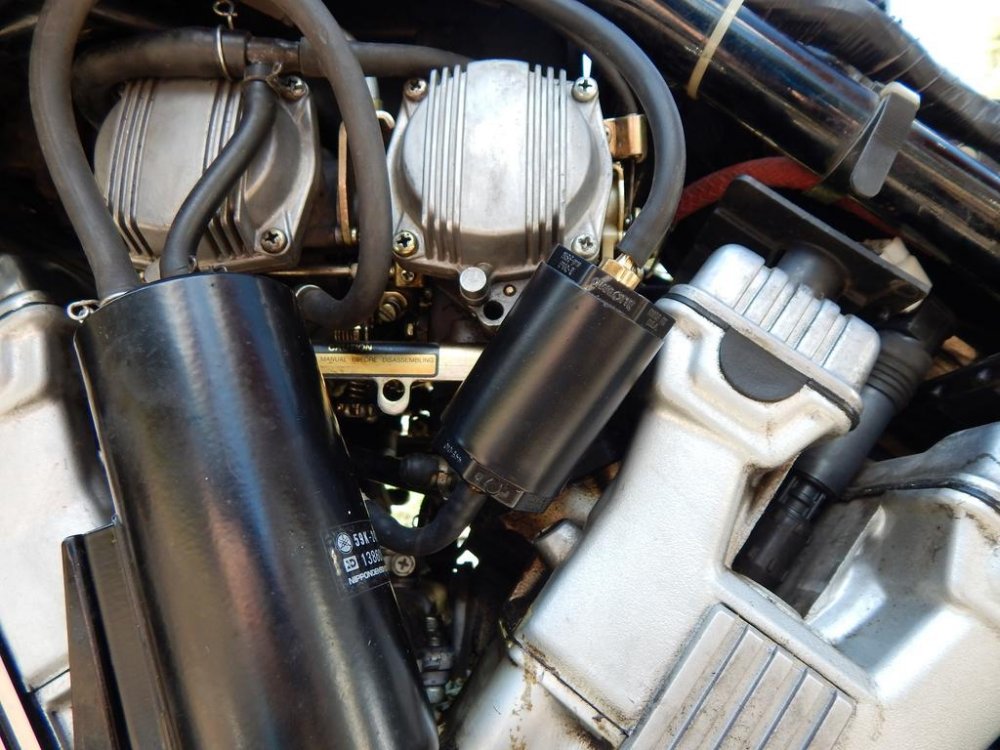
I'm not one to explain exactly how the factory one works but there is an OEM vacuum advance unit that works with the stock TCI. With the Ignitek the stock vac advance unit is not used, it goes away with the stock TCI. The ignitek has a pigtail that plugs into a MAP sensor, and manifold vacuum runs to that MAP sensor. Once the Ignitek is plugged into a laptop via USB cable those voltages have to be tweaked within the Ignitek software for correct behavior. So map voltage for idle and WOT are adjusted. I was unable to adjust it because the vacuum pulses were causing the voltage to go crazy, using a vacuum buffer smoothed it out. I could have gone a little bigger but it was good enough for me to get it adjusted. I also used the restricter orifice that was inline to the factory advance. Venture Ignitech TCI Installation Instructions.pdf
-
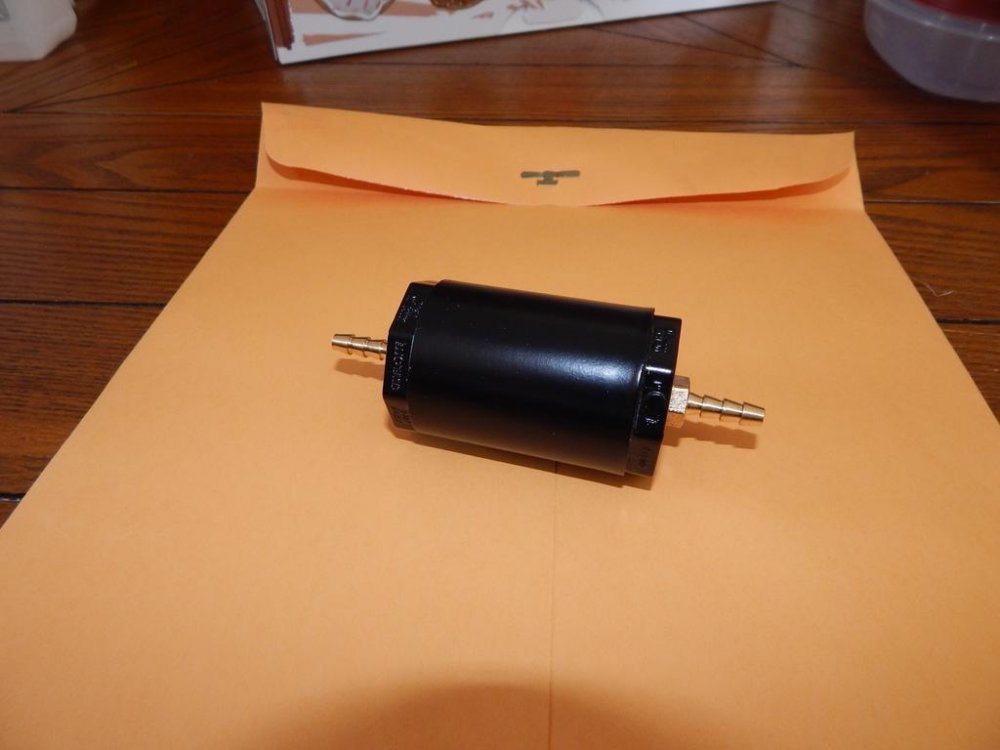
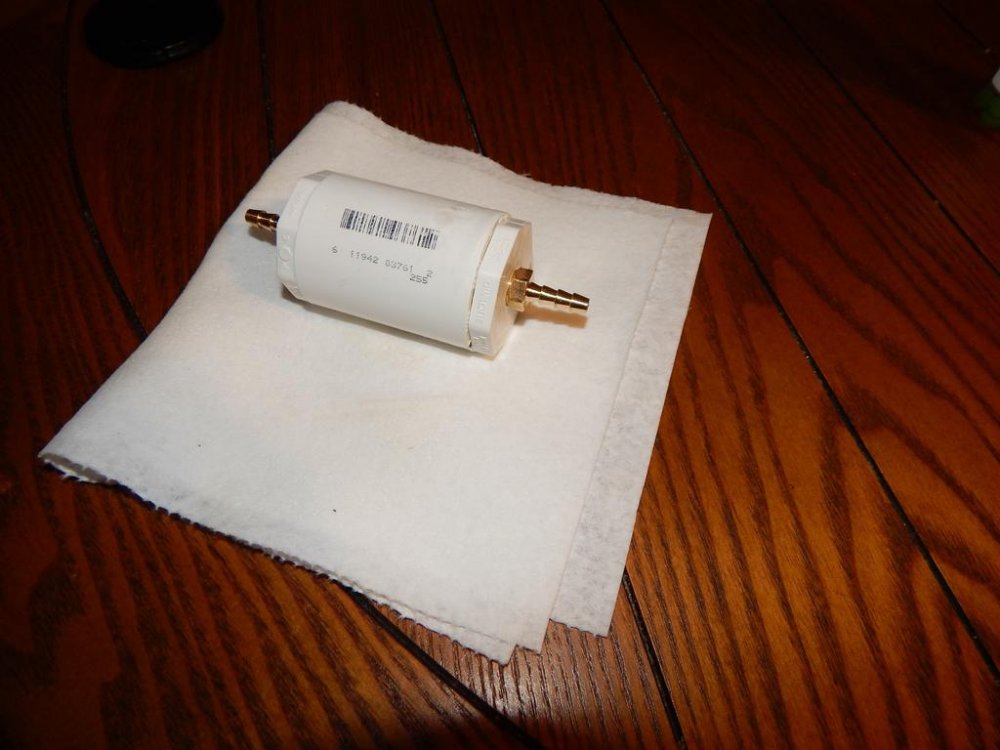
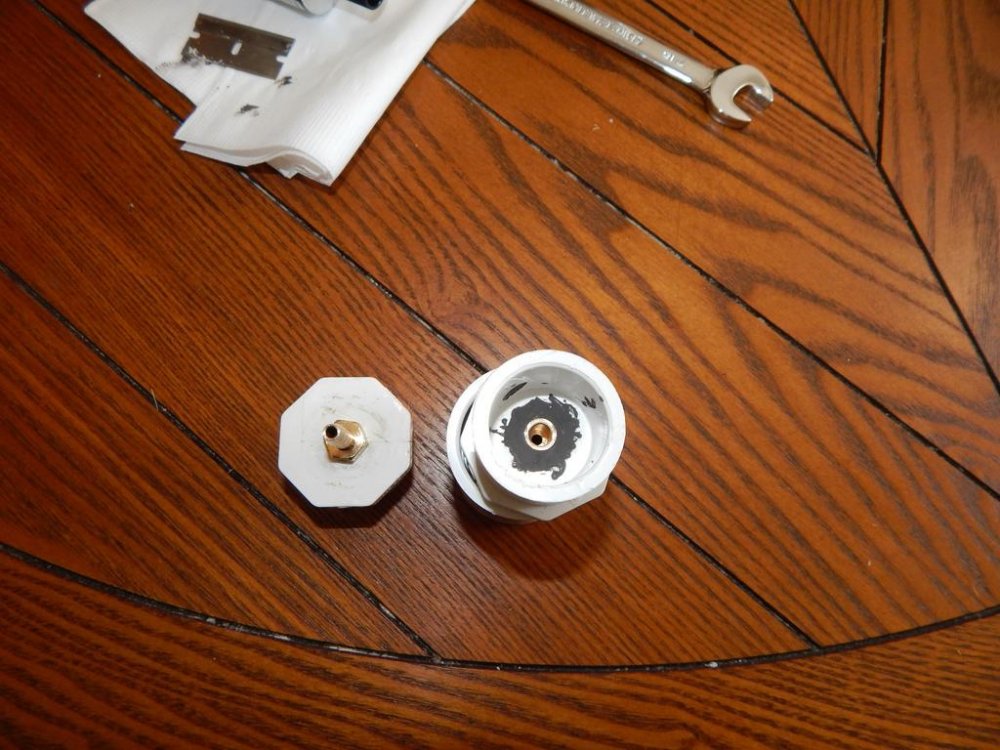
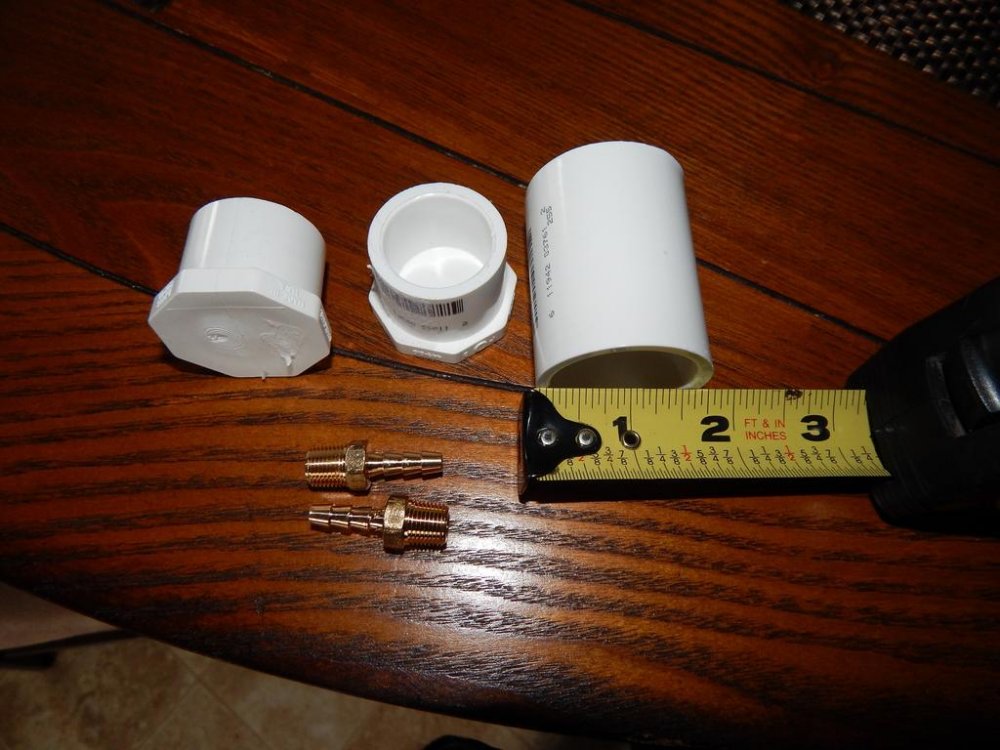
I just installed the Ignitek and got a crash course on setting up the MAP voltages. Originally the idle voltage was fluctuating wildly. Gary gave me some information on a Vacuum reservior to smooth it out a little so I made one in the approximate size his ended up. He said if they are to big they can introduce a lag so I kept it small. Idle voltages still fluctuate but it tamed it down to where I could reasonably dial in the map. Just thought I would throw the pics of what I got in case it might be helpful to any other Ignitek users. Again, Gary Dinges deserves the credit for coming up with the information, I sort of coasted on his trials, which he was kind enough to share with me. Here is what I came up with after standing in the PVC isle at ACE for a while. I drilled the holes in the end caps just big enough that I could not stuff the copper barbs through it, then I threaded (forced) them in with a wrench. I used JB weld along the inside to insure a vacuum tight seal without having JB weld visible outside. I slid the end caps into the coupler with a light film of black RTV for good measure. Leftover paint, leftover clear coat and install along with the OEM restrictor. Once I ditch the charcoal canister it will be mounted right there in it's place but one project at a time now. I'm a set of brake pads away from crossing some state lines! All these glorious modifications with 0 miles on them is about to come to an end.
-
I'm waiting for my brake parts too, thats all thats keeping me off the road right now. Once the pads arrive I will remove, clean out and reassemble the calipers and go for a test ride. I just got the MAP voltages dialed in on the Ignitek (Thanks Gary D!). IMHO your way further ahead to have a parts rack or two, then if you need something you have OEM quality stuff.
-
It's hard to even get full coverage on older vehicles in some states, there are special insurance companies for customs and hotrods but aside from that they cant force him to turn over the truck unless he signed it away to them. Never ever sign something you dont understand without sliding it in front of your lawayer, if they are insisting and cant be reasoned with then his lawyer needs to take over from here.
-
I didnt realize they were anodized. Love is when you have to replace a carb body AND a slide instead of just a slide. I think I would opt to buy a rack of junk carbs for the $100 ish they appear for and have spare slides and lots of other parts. Putting a new diaphragm on an old slide is not a big deal but by the same rational that Flyinfool used I would replace all four, in fact I think they only come in a set and it is really no big deal to put new diaphragms on an old slide.
-
The price looks right. I wonder where they are made, the OEM slides are getting tough to find I hear. If all thats needed is diaphragms this would be another cheap route. Assuming the existing slide is serviceable. http://www.ebay.com/itm/281761118300?_trksid=p2057872.m2749.l2649&ssPageName=STRK%3AMEBIDX%3AIT these are out of the UK, not Chinese made. I just installed a set on my Venture and so far so good, quality is decent and they got stateside pretty quick. Although I have yet to pile some miles on them they felt pretty nice.
-
Looking for an Opinion
CaseyJ955 replied to Chaharly's topic in Venture and Venture Royale Tech Talk ('83 - '93)
My front calipers are early 2000s R6, different lines needed. My rear caliper is a Front Right off an 08-ish R6S. It was one that would allow me to bleed the brakes without pulling the caliper. I was able to use the OEM line there. I didnt worry much about the rear being braided but at some point I'll probably throw one on if I need to. My front brakes were a dumpster fire before all this so braided lines were a given there. -
should I rejet? Maintenance Day?
CaseyJ955 replied to baaloo.phd's topic in Royal Star Venture Tech Talk ('99 - '13)
If your at elevation or ride at elevation that might require some rejetting, but probably not. CV carbs are pretty good at adapting to altitude. I agree with all of the above, stored with ethanol for any length of time can do bad things to carbs. Sounds like blocked jets, not so much incorrect jetting. I found out the hard way that to store one it should have a full tank of pure gasoline/no ethanol and a couple oz of Seafoam or Stabil run long enough to get through the carbs. When ethanol sits you get corn squeezings blocking everything up, if a Shotgun failed to work than those carbs are coming off. On the upside it's not a terrible job to do. -
Brakes act like no pad
CaseyJ955 replied to snyper316's topic in Venture and Venture Royale Tech Talk ('83 - '93)
I would urge you to be careful not to traipse into the Chinese aftermarket, it's easy when we watch what we spend. Some of the Chinese rotors rust, not all but many. None of that stuff is as good as Yamaha OEM. I would imagine if you find something as good/better than OEM it will cost a chunk. If your rotors are still serviceable maybe you can reuse them andhave the calipers done by an independent, then get some EBC pads or something else that will improve brake performance. I've been going over options for brake pads and talking to others on the Vmax site to see if I want to run sintered HH pads, I guess they significantly improve brake performance. Something to think about anyway. -
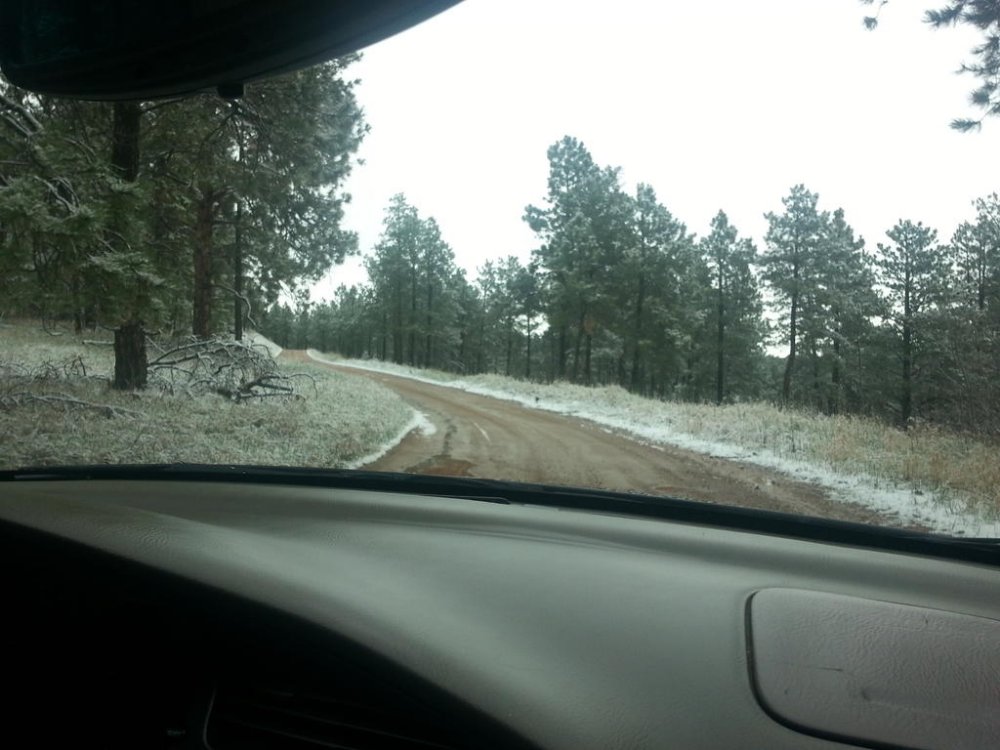
We've had a great week, and next week is nice too but this was my driveway this morning. The hills can be unpredictable this time of year.
-
Brakes act like no pad
CaseyJ955 replied to snyper316's topic in Venture and Venture Royale Tech Talk ('83 - '93)
69 Monterey, when a Mercury was a Mercury!! Sweet car. These calipers are no more complicated than an old school wheel cyl. A chunk of cast Fe with a pistons and seals. Rebuild or replace sort of rests on what the ID looks like after you clean it up. To just replace you could find the best prices on reman calipers and see what sounds best. Let us know what you find. -
Brakes act like no pad
CaseyJ955 replied to snyper316's topic in Venture and Venture Royale Tech Talk ('83 - '93)
It's strange to have a bike this old not need some brake help. I was not at all surprised to see that I had a few pistons sticking on my 89. It was cheaper to hang R6 calipers on it than rebuild the OEM calipers. Come to find out the R6 calipers are dragging a little so back off they come for a good internal cleaning and some new Volar HH pads, which I should have done before hanging them on the bike in the first place. Brake fluid is supposed to be changed/flushed about every 2 years, but I really doubt it gets done on most vehicles. Aside from DOT absorbing moisture from the atmosphere it breaks down from the heat and age leaving deposits and moisture down in the caliper bores causing the pistons to stick and sometimes seize altogether. There isnt any real force pulling the piston back after the brakes are released. At least with old school drum brakes you have the shoe springs pulling the shoes back to their resting position, forcing the piston back into the wheel cyl. With calipers there is no such spring, if the pistons are retracting as they should it's around 0.004" feeler gauge that can be slipped between the pad and rotor (IIRC). The easiest judge of that is when you release the brake the wheel should spin freely a few revolutions before slowing to a stop, it's normal to hear the pads contact the rotors ever so slightly during a free spin as long as it's not dragging on the wheel. The only thing allowing the piston to back up is the piston seal, it not quite an O ring but has a sort of lip or ridge that sort of pulls it back. When the brake is released there is only an absence of hydraulic pressure, no vacuum, so it wont take much muck in the caliper to interfere with correct operation of the caliper/correct brake pad wear. The pistons should come out so that you can clean between the piston and bore. If the moisture and deposits have pitted the ID of the bore you will be better off replacing the caliper. I'm pleased to hear that often a person can get away with disassembly, cleaning and reassembly without needing new seals. I'm hoping for such luck because I have never done that before. -
Looking for an Opinion
CaseyJ955 replied to Chaharly's topic in Venture and Venture Royale Tech Talk ('83 - '93)
BlueSKy is right. I used R6 calipers but I think the R1s are the same story. You will need brake lines when you do the R calipers. I think I got a pair of R6 calipers for $45 shipped and they had a bunch of SS line with them. As it happens now I'm going to remove those calipers and clean them out as I should have done before putting them on. Some of the Vmax guys like the Volar HH sintered pads so I'll give those a shot at the same time. The angle and position of the inlet where the banjo meets the caliper is different. I got my R6 calipers with some aftermarket braided lines on them and adapted those to work with the Venture by using a splitter off a Vmax and a homemade aluminum mounting plate. The OEM lines are a no go with the R calipers. The reason the pistons are difference sizes is to keep the brake pads wearing even. The further away from the inlet the piston is the slower it will react to brake actuation so they are a different DIA to compensate for that and keep the pad wearing nice and flat. Thats how it was explained to me anyway. -
Usually it tops out around 90 for a couple weeks but rarely do we break 100. Most of the riding season is very pleasant. The older I get the less I like sweltering heat or extreme cold. If it gets 95 here I'll jump on the scoot and go over there and hog up all your nice weather. Our winters begin and end sporadically and at random times so I may be good to go to an October rally or I may be under 18" snow. Now that I'm home from work after 7 insanely nice days its cold and overcast today. Might snow in the upper elevations, I'm only at 3100' but my day rides get me over 6000'. Living in South Dakota the tables often turn, like today. I'm not as cocky as I was yesterday:snow: But all of next week... Actually I cant believe there is no Black Hills rally. The roads and scenery here guys/glas is really off the charts! Oh, I remember, I'm the ONLY ONE here!
-
83 venture vs royal
CaseyJ955 replied to Matt_P's topic in Venture and Venture Royale Tech Talk ('83 - '93)
Dont brake the break line -
I have experienced high erratic idle with carbs way out of synch but 4500 is quite a reach. Throttle barrel and cables/linkage free, opens and snaps shut free and easy? Routing of throttle cable correct? Choke linkage operating properly. Air filter clean? Slides open and slide shut again. Not real fmiliar with that model, just trying to throw a bone from general experience until a real pro steps in.
-
83 venture vs royal
CaseyJ955 replied to Matt_P's topic in Venture and Venture Royale Tech Talk ('83 - '93)
Now we all have blood on our hands, we need to work together to get this cleaned up, get the body burried and never speak of this again! -
Lake Snowden OHIO Camp Out - Oct - 13 thru 16 2016
CaseyJ955 replied to dave_wells's topic in VentureRider Campers
Is this fall campout thing happening in 2017? Is it an open function? Im always trying to get the last days out of the season... -
That looks fantastic. Sunny, green and rural, its perfect! If I were ankle deep in snow right now I would have to interpret this pic as a cruel form of gloating, but it was 79 yesterday in the hills so I will instead gloat right along with you:biker:
-
83 venture vs royal
CaseyJ955 replied to Matt_P's topic in Venture and Venture Royale Tech Talk ('83 - '93)
I guess we did jack this one . You police hijacking and Ill sort anyone that says " I seen", "irregardless" or "these ones". -
Great looking bike! Theres something nice about a steed that can gobble up the miles, especially after you make it your own.
-
Maybe if it does it again do a key off/on, sounds like she probably was pissed about something. You have to buy them stuff now and again or face terrible tantrums.
-
Looking for an Opinion
CaseyJ955 replied to Chaharly's topic in Venture and Venture Royale Tech Talk ('83 - '93)
When you get the slave off and broken down hit it with the stones before opening the rebuild kit, if the ID wont clean up with the stones you could still have a weeping slave cyl when its all done. I really wouldnt sweat the hoses if they work now they will almost certainly work when it goes back together and for the foreseeable future. I have cheated a couple times and wrapped 400 grit around my finger and wet sanded a very light crosshatch into the ID under the kitchen faucet just to break the glaze inside the bore. It often works where the stones fail, but not always. Unless the bike has been terribly neglected my guess it will be fine with a hone and seals. If you are bike camping with no cage/RV there is room to pitch a tent here, roughin' it style of course. I usually work the first several days a month, other than that my schedule is pretty open. Good luck on the rebuild!


