CaseyJ955
-
Posts
1,555 -
Joined
-
Last visited
Content Type
Profiles
Forums
Gallery
Events
Store
Everything posted by CaseyJ955
-

Antenna issue
CaseyJ955 replied to CaseyJ955's topic in Venture and Venture Royale Tech Talk ('83 - '93)
If one antenna does both and does it well then I'll fix the mast and leave it alone. I hear the CB is useful in group rides anyway. I dont think there is an aftermarket mobile CB antenna that is more expensive than a replacement for the factory. How would a Venture look with twin 102" steel whips:rotf: I guess I'm fishing for the best idea, maybe fixing the existing antenna and leaving it along or if I can get significantly better performance by changing things up some. I thought of dual firesticks but not sure how a firestick would work with terrestrial radio. -
89 Royale with CB and stereo, I only have one antenna on the right, arent there supposed to be two? So the one that I have seems to be stripped, there is a threaded collar that I would unscrew and lift to allow the antenna to fold forward and this is the part that is stripped. It does not look stripped but it wont thread, almost like it's one size too big. So aside from the issue with the existing antenna doesnt the CB get it's own antenna? I would probably just do what I have seen in other threads and use a firestick for the CB if thats the one on the right. I am not opposed to dual antennas and not opposed to them not being an exact match. AM/FM should work only for getting local weather while in the saddle but most probably because of my 0 tolerance advertising policy I will never use the AM/FM, but I'm OCD enough to want it to work as well as it can. So I guess what I'm looking for is the normal and ideal configuration of CB and stereo antennas, does one antenna do both and do them well?
-
I have healthcare coverage from a previous contract, will probably have it for many years to come but if I didnt the cost of it for my wife and I is cost prohibitive, when you count the deductible and copays we would have the better part of $8000 into doctor visits before the ACA even kicked in a penny. It's cheaper for me to go to the doctor and just pay outright for the services, even MRIs and such fall considerably cheaper than ACA at the end of the year. Imagine how bad it would be if Obama wanted to make it free instead of just really super expensive/cost prohibitive for most working Americans. Freebirds story is one I have heard WAY to often, I see it coming myself. I know a lot more people that fly without because they got dropped or just cant afford it. One positive about the American healthcare system is that if you have the scratch you can still get quality healthcare, it is available to those who can afford it.
-
83 venture vs royal
CaseyJ955 replied to Matt_P's topic in Venture and Venture Royale Tech Talk ('83 - '93)
I'm coming up with a blank there, I wonder if Progressive themselves wouldnt be able to answer this question. -
Just got the front HH pads so pulled off the front calipers, disassembled, cleaned, reassembled and replaced them one at a time with the new pads. The fronts were much cleaner than the rear inside, better condition but still small pockets of water contaminated DOT3 inside so glad they came apart. Also on assembly the pistons wiggled back into the caliper easier than on the rear caliper, I'm almost afraid the rear may end up coming off for a full kit and new pistons at some point. It took me all of 90 minutes to do it all including bleeding. You really gotta bleed these good to firm up that lever. With the R6 calipers and OEM MKII MC it's full brake force at around half lever and feels mighty fine. Its raining today so I didnt take it for a ride, the tires are new and have not yet been scrubbed in so when it's dry I'll get out there and see how it goes.
-
carb, plugs, gas, exhaust issues?
CaseyJ955 replied to tntviper1's topic in Venture and Venture Royale Tech Talk ('83 - '93)
Ok, before you do this let me throw out another option. I put these on my own scoot, they come from the UK but the arrive quickly. Why buy one when the rest are just as old and probably not far behind. A set of all 4 are about half price of one and there is an easy way to put them on. http://www.ebay.com/itm/Set-of-4-Pcs-Carburetor-Diaphragm-Yamaha-XVZ13-XVZ1300-Venture-Royal-1986-1993-/281761118300?hash=item419a45785c:g:3c4AAOSwrklVXmxv&vxp=mtr If your considering having someone else do the carbs have a chat with this guy here http://www.vmaxforum.net/brc.jpg He does the carbs for a lot of the Vmax crowd, and we Vmax guys are VERY picky about how stuff runs, if your going to drop coin on refurb carbs at least get them from someone that understands the art of not only CV carbs the art of tuning for a Yamaha V4. he's straight up and knows his stuff. If your going to go this yourself do some reading up and understand that if your replacing parts K&L kits are Japanese made and known good quality. Those budget kits on Ebay are Chinese knock-offs and known garbage. Of course boats.net can get you individual parts but OEM Yamaha, while awesome, is not cheap as you found out with the diaphragm price. Here is a link to how to dry set the floats. http://www.factorypro.com/Prod_Pages/prody11.html and that alone makes a decent difference. I encourage you to contact Danny and he can probably tell you about what it would cost and what you might be looking at vs doing it yourself depending on your comfort level. I hope you find a good option and it works out. -
It took me less than a handful of miles on my new Venture before I realized that the brakes would need some improvement, by the time I had ridden the nearly 300 mi home after buying it I had a whole list of things, brakes being at the top. My stopping power was underwhelming, the lever was soft and inconsistent. I decided to go with ebay for the cheap and plentiful previously enjoyed R6 calipers so I ordered a couple good used blue dots off a 2001 R6 for the front with some braided line. When I went to remove the rear brake I found that it was binding and holding onto the rotor just as the fronts were so I opted instead of rebuilding I would replace the rear with an R6 caliper too. The rear one is a front right off an 08-ish R6S and allows me to access the bleeder screw although it is positioned over the end of the pads so if it leaks it will contaminate the pads. I bled it having stuffed a chunk of cardboard and a rag under the screw to catch any drippings. So I had really hoped that I could just buy known good calipers and toss em' on, cheaping out of overhauling and new pads etc etc. These calipers came with pads that looked nearly new so why not minimize the amount of $ I dump into a 30 year old bike? So I toss em' on the bike, delink and install the braided front lines with a Vmax splitter and my homemade aluminium mounting plate for said splitter. After all this the system was bone dry so the bleeding took a while with the Mighty-Vac, I decided to run a good amount of fluid through them for a thorough flushing after the calipers had been shelved for who knows how long. I flushed until the fluid coming out was spotless and clear, then flushed some more for good measure. End result was they were still hanging up slightly but lever and pedal were firm and consistent. So fast forward to now that all the other work on the bike is done, I realize I have not cheaped out and have spent more money on this old bike than I will ever get back except for years of reliable service. I decided to order new pads, almost went with Volar pads to be cheap but after realizing those are generic mass manufacutred Chinese pads I thought better of it and found a deal on some semi-met Galfters for the rear and after much deliberation and consultation, some sintered HH pads for the front, also Galfer. I remove the rear caliper and while it's off I decide since it's getting new pads and I never want to have to think about it again until next pad service I would pop the pistons and have a peek inside. Damn good thing I did, there were still some significant pockets of heavily contaminated fluid with sludge and rust, this after bleeding extensively until it was crisp and clean coming out, I was surprised to see all that nasty crap still in there. Cleaned up, prelubed with DOT3, reassemble with new pads and back on the bike. This time gravity bleeding was easy. Now it grabs quite nicely but still a slight drag, I figure since I didnt index the pistons or anything they will wear in after a few miles and once the pads are homed in. The front pads should be here today so I'll do the same for the fronts. I would think the seller sold me a junk caliper but the fact of DOT3 is it very rapidly absorbs moisture from the atmosphere, the calipers being shelved with residual fluid inside was bad news. It did clean up nicely though. I cant believe I almost ran them with all that crap inside. I'm all for previously enjoyed calipers but best have a look inside before install I guess. The R1/6 caliper upgrade is popular on the Vmax side of things too, some guys change the master cyl as well to get the feel they want with regards to the ID and how much lever you need to get the braking power. I think I paid more for the pads than I did for the calipers. Full ride report in a couple days when I get her out on the road.
-
83 venture vs royal
CaseyJ955 replied to Matt_P's topic in Venture and Venture Royale Tech Talk ('83 - '93)
Did the package come with some flat washers in about the same diameter? I did mine last fall so trying to remember. I remember the shouldered washers that just dont fit back into the ID of the Progressive springs, IIRC there is a baggie with a couple flat washers in the box with the springs, I think I used those instead. I remember searching and not finding answers so I rolled with it. -
Jets, airbox, and pipes
CaseyJ955 replied to Bassett's topic in Venture and Venture Royale Tech Talk ('83 - '93)
Get a hold of Sean Morley, one2dmax@aol.com what your doing is exactly why the little brass restrictor plugs were created. One for each carb, easy install and you can run the cones with little or no other fuss. I would be compelled to remove the carbs, dry set the floats and make sure all else is good, the float levels being to high will account for some crappy MPG and loss of power. My guess is it wont have to go into jetting until you have a free flowing exhaust going on. -
I thought it might sound stupid because in all the years I've been doing this I'm the only one I know that has tossed one into a saddlebag. Those lightweight vests are a great idea, hadnt thought of that. Another use of the road flare is if it fails to stop someone from hitting your bike you can pick it up off the road and walk over to the person that just hit your bike and put it out in their eye. I'm more likely to be on a dark road than a highway with lots of traffic, there have been a couple times back in my HD days where I had wished for a flare.
-
Jets, airbox, and pipes
CaseyJ955 replied to Bassett's topic in Venture and Venture Royale Tech Talk ('83 - '93)
I would love to figure out now to do a 4-2-1 Kerker style exhaust, or even an 4-1 and eliminate the twin pipes. The single can is musical. I want mine to be just loud enough to hear the music but not loud enough to be fatiguing on long rides. I have failed to find any exhuast for the Venture other than a Marks Collector. In looking at this exhaust system, and IMHO, the restriction is not in the cans but in the downpipes and collector system. Someone please correct me if I'm wrong on this. For going to cones instead of a factory air box you will need to use a carb restrictors to trick the carbs. To illustrate remove the air box and fire it up, you will notice it's very soft and stumbly when you blip the throttle. The restrictors are available from Sean at Morleys Muscle and maybe other places I dont know. They press into one of the small holes on top of the carbs so it's quick and simple. Another option is to customize the air box lid by cutting it out and grafting in a K&N style flat filter. My vmax has a setup like that and it sure breathes better, also you will hear a great deal more of the carbs and intake sounds. I'm not sure how much more intake CFMs you can really take advantage of without a free flowing exhaust. Maybe you can get a Marks collector, not sure where to get those but maybe someone else can chime in. I'm collecting bits of Vmax exhaust to try and piece something together. I will be installing Vmax heads and cams on mine next winter and without free flowing exhaust a lot of that wont be usable. A word on jetting a CV carb, as you free up intake and exhaust restrictions you may find that you are jetting down a step or two, CVs like to throw in more fuel with more flow. Correctly setting the float levels is going to be paramount, it's critical for CV carbs to do their thing correctly. Once you get the air box/cones and the exhaust you are looking for you will want to start the tuning by choosing the leanest main jets that will pull hard at the higher RPM range, then worry about needles and the lower jets, tune from the top down so to speak. It's a bit of trial and error to swap jets, ride, swap jets, ride on and on. Ideally you will find a dyno with a sniffer to check for CO at different RPMs and that would take some guesswork out of where in the RPM range you need to enrich or lean out. I didnt have that so on my Vmax (as you may know, same engine with different state of tune). I did not have acces to a Dyno so I set float levels, took my best guess at main jets, synched up the carbs and rode, I ended up swapping out jets 5-6 times until I was happy with the blistering top end performance. All my tweaking experience is on the Vmax and I'm moving to the Venture now to do the same with jetting and dialing things in. I will say that the Venture has smaller cams, smaller valves and head porting so I'm still not sure how much free flowing exhuast and intake you can really use with the Venture heads. I suspect not to much, also suspect that to free of an exhaust would probably do more harm to low end torque and ridability than good to top end performance. These are super heavy bikes and will need to keep some of that low end torque. Doing this on the Venture is an exercise for me as well but I'll be using the Vmax experience I have gained with regard to how these V4s respond to changes in flow and jetting. If your not going to break into the engine but your looking for a little more top end performance and maybe a few more RPM you could look into adding Vboost off a Vmax, it's only an intake system with butterflies and a couple guys here have already done the Vboost mod on the stock Venture engine. I'm interested in what your performance goals are, more top end, angrier midrange or just generally more pep? -
These Ventures have a really great tool kit included, so if thats complete and function I would throw a couple decent screwdrivers and a multitool into the mix, like a nice Gerber or something. Tire plugs and air comp as mentioned above. At some point I may see if I can tap into the CLASS system to fill a plugged tire. There are some little CO2 cartirdges available to fill tires if you dont have space for a comp. Drinking water, energy bars, chapstick and a good SPF sun protectant, small first aid kit, gloves and neck gaiter, pocket LED flashlight, small WD40, I like to carry a spare qt of oil for extended high RPM highway pulls. If your camping then the normal stuff there. If you have to ride on into the night it can get REALLY effen cold in some places that are normally triple digits under the sun so dont get caught without some cool weather gear. I've had to ride quite a ways at night when I didnt have my camping gear and couldnt find accommodations. Cell phone and charger, and something to plug the charger into, if the phone roams the battery can drain pretty quickly. I carry a handheld waterproof GPS (Garmin 60csx) because I readily change course if traffic gets rough or I just feel like going another way. I use maps and GPS just enough to avoid cities but I have gotten lost a few times looking for adventure and the backtrack functions have been priceless at times. This will sound stupid but a road flare if you have space and I made up a set of small jumper cables just in case I manage to kill the battery. I'm really OCD so I carry JBweld in a small case with my tire plugs and flashlight. Your going to have an awesome trip!! That rocks and your going to love it. I have taken trips like this on my Triumph with less luggage space so I'm thrilled to have all the space and wind protection of the Venture for my next tour. Be safe!
-
When I shift on the bike I can do it clutchless, and I do sometimes when short shifting but I give it just enough clutch to unload the gears, so a gentle partial quick tug as I kick the gear and it's smooth and quiet. I find that I like the way it shifts more with the Rotella 15-40 non-synthetic oil. The carbs are all the same, synched and tuned to do the same thing at the same time. I do notice that it's really happy at 3500-4500 rpm, really eager to pull right there. I'm old enough to remember kicking in the secondary barrels.
-
Cruise control not working
CaseyJ955 replied to Duderoy's topic in Venture and Venture Royale Tech Talk ('83 - '93)
Others will probably have more specific ideas but here is some reading to get you started, sounds along the same lines and it's from another site.http://www.venturers.org/Tech_Library/index.php?action=article&cat_id=001007&id=13 All up to 93 are First Gen bikes, your 86 is a second iteration (MKII) of a 1st Gen. I only mention because you posted this in a 2nd gen tech section. Not to worry, folks here are just too nice for words but you will get more 1st gen guys seeing this in the 1st gen tech section. Mine is an 89 so the same bike as yours, it's common knowledge that the 1st gens are superior in every way imaginable! If you got a blue one your at the top of the top! :stirthepot: Welcome to the forum! -
Sounds like some good locations. I put my TCI on top of the air box and the MAP under the stereo. I'll probably have to move the TCI later to make room for a custom airbox. Yea, Spearfish canyon is amazing. Our rectal wart governor has been trying to turn it into a state park, nobody is making it easy for him. For now it's still amazing to ride during the fall when the leaves change. Go in the morning and you will have the whole valley to yourself. From there you can head into WY or back around into the North hills and get an insane burger in Custer.
-
There is a restrictor from the factory that goes to the OEM vac unit. I used that too although I know it doesnt restrict as much as one of the Synch restrictors. I think both work but I'm guessing a small enough restrictor would introduce lag as the small orifice would take an extra split second to allow the vacuum to pass. I dont know this, it's an assumption but it definitely deserves looking into. I have an old set of vacuum gauges and they have restrictors, I think I'll play with it next time I plug the computer into the TCI.
-
Thanks Rick. I did both at the same time, then before I fired it up I pulled the carbs, rejuvenated the jet block plugs, new jet block gaskets and dry set the floats to 1.125". They were a bit rich as they come from the factory. I think off the showroom floor these bikes got 40-ish, I'll be happy with that but if I could hit the mid 40s I would be thrilled. As a side note I could not check my wet float levels, those drain tube nubs were broken off by PO. Instead I gravity fed fuel to them and emptied the bowls into a graduated cyl to measure the bowl volumes individually in leu of a proper wet level check. They were all between 41 -43cc IIRC. I know the float levels are critical for the CV carbs, I also know these engines prefer slightly lean over slightly rich so I set the floats at the leanest acceptable setting. Also put in new diaphragms, the PO failed to seat the right side carbs fully into the intakes, they were half way. This might explain why I got a maximum of 25mpg on the 300 mile ride home after purchase and the 100 or so miles around town/hills. I never got better than 25 and I'm really hoping that all these changes shoot me back up on the other side of 40. My dayum Vmax can do better than 40-42-ish if I ride stay out of the needles/vboost so I cant see why the Venture in good health cant hit 45, even with the extra wt. It was chilly this morning, I threw in the Iridium NGKs and went to start it. I put the key in, turned it on and the bike was suddenly running, all I had to do was think about starting it, never even hit the button (slight exaggeration).
-
It is my understanding that it doesn't matter, CA or 49 state is the same Ignitek. I'm removing the charcoal canister and the bowl vent solenoid thing to revert back to 49 state, once that happens the vacuum buffer will mount where the charcoal canister is right now.
-
This is true, and an equally troubling trend on the Vmax side of things. There is a lot of resorting to Chinese aftermarket and that aint good news. The K&L kits I've heard some great stuff about but some of the other kits used saw the owners rebuilding them over again with better parts. There is a lot of re-branding going on so it would probably be prudent to ask sellers who actually made the kit, and where. I believe K&L is a Japanese made kit so probably well worth a couple extra bucks. The difference in manufacturing, acumen and quality between China and Japan is night and day. The only thing I can guarantee anyone that resorts too the Chinese aftermarket is this; the parts/accessories you put on your bike will be considerably lower in quality than the bike your putting it on. This goes for Japanese cars too.
-
That is my understanding, also the OEM uses vacuum to control advance, if I understand it correctly. So for other units like Synpers, is the advance handled with straight up software or is it designed to use the factory advance setup? I gotta say I'm really liking the Ignitek and I'm semi-techy, I like to learn what I can and do all my own work. I have to say though that when I got the laptop plugged into the Ignitek I was overwhelmed by what I saw. You can literally change everything, plus impose a rev limit. That alone is worth the price of admission on the Vmax too. Without a dyno I didnt eff with spark curve and all that, I know Gary has it mapped out well and honestly without his help and spoon feeding me information I'm not sure how long it would have taken to get this sorted out. I added the Ignitek and COPs at the same time. One of the perks with an Ignitek is when you add cops you need no resistors, unlike some of the other units that can be damaged by lower primary resistance coils drawing more current than the TCI can handle. I'm not sure what made it start and run so damn well, cops or the Ignitek, or the fact that unlike the PO I actually have the ability to fully seat the carb rack into the intake boots. Probably a combo but it's killing me to wait for the brake pads so I can try all this out. A MAP sensor is a good thing, this bike has been updated in several areas with tech not available when it was manufactured in 1989 so I'm looking to reap some of the rewards of this. This is yesterday, almost done, anticipation is burning me up. A couple hours of cleaning out calipers and installing the HH brake pads and I'll be ready to roll. It's 77 degrees today so I'll have to wake wifey out on the VMax but I cant wait to get this thing on the road and see if it runs on the road as well as it does on the center stand. Also here is a voltage adjustment write-up and screen shot to pull it together for interested readers. In the screen shot you can see where the MAP voltages lay, those voltages are adjusted and results read in the lower left bar graph under the idle speed bar graph. The idle has to be adjusted down until it just barely dissapears, and a WOT whack should drive the black bar almost all the way to the right. The docs and info came from Gary Change RPM in TCI.pdf Setting MAP sensor voltages.pdf

-
I'm not one to explain exactly how the factory one works but there is an OEM vacuum advance unit that works with the stock TCI. With the Ignitek the stock vac advance unit is not used, it goes away with the stock TCI. The ignitek has a pigtail that plugs into a MAP sensor, and manifold vacuum runs to that MAP sensor. Once the Ignitek is plugged into a laptop via USB cable those voltages have to be tweaked within the Ignitek software for correct behavior. So map voltage for idle and WOT are adjusted. I was unable to adjust it because the vacuum pulses were causing the voltage to go crazy, using a vacuum buffer smoothed it out. I could have gone a little bigger but it was good enough for me to get it adjusted. I also used the restricter orifice that was inline to the factory advance. Venture Ignitech TCI Installation Instructions.pdf
-
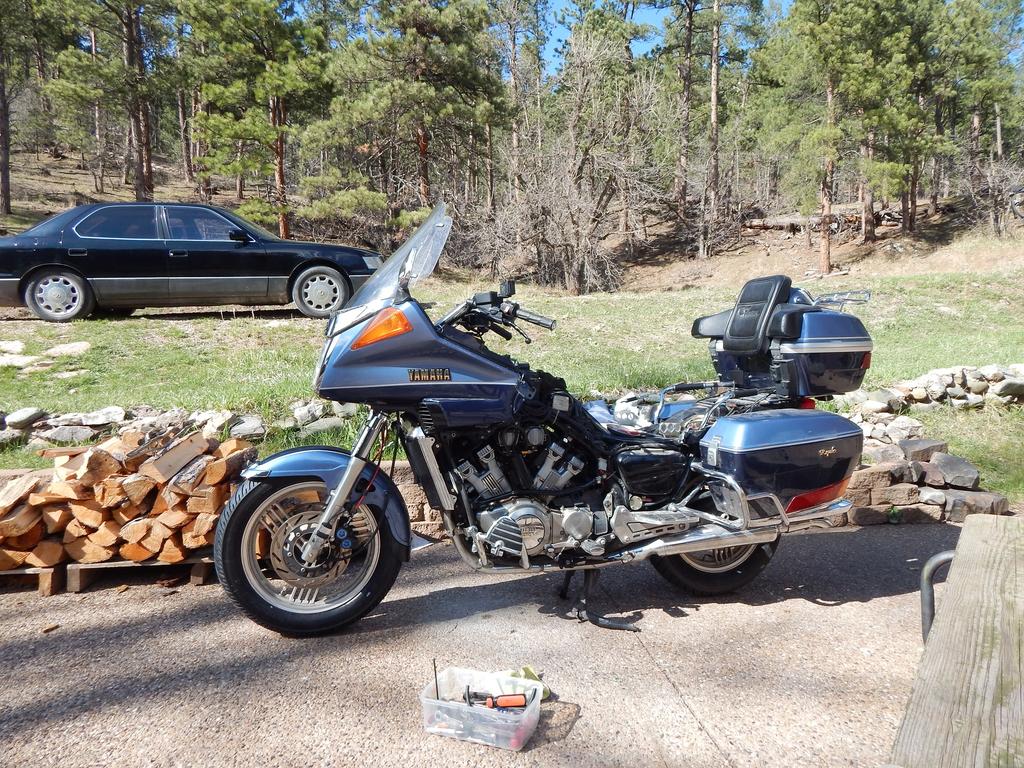
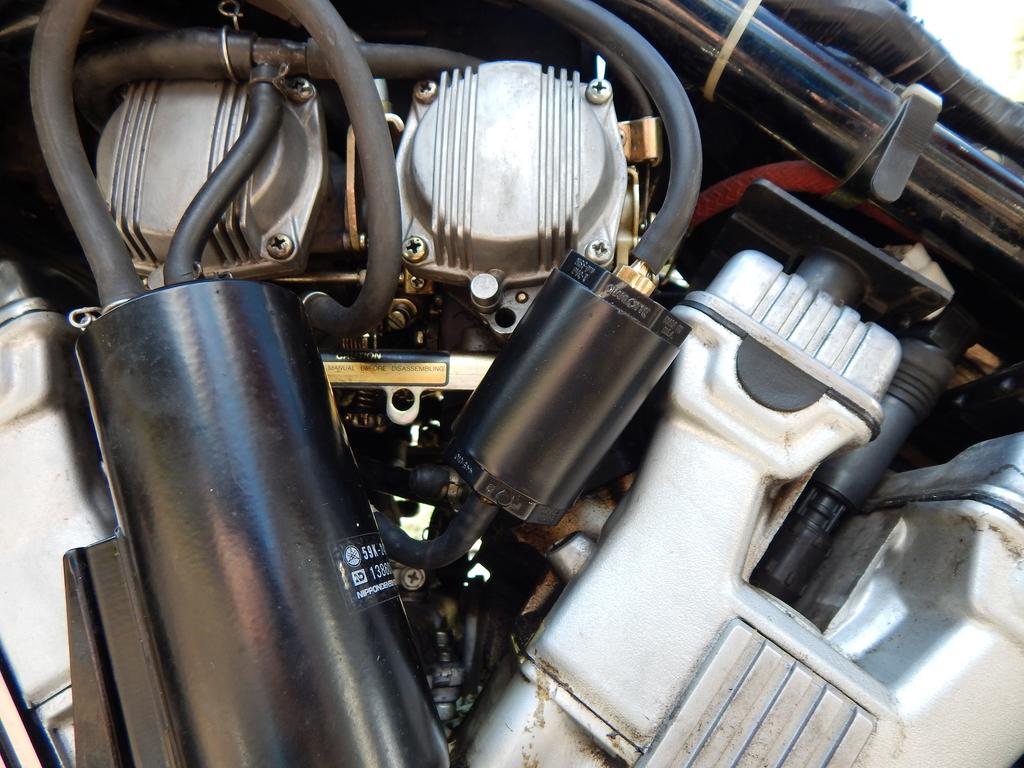
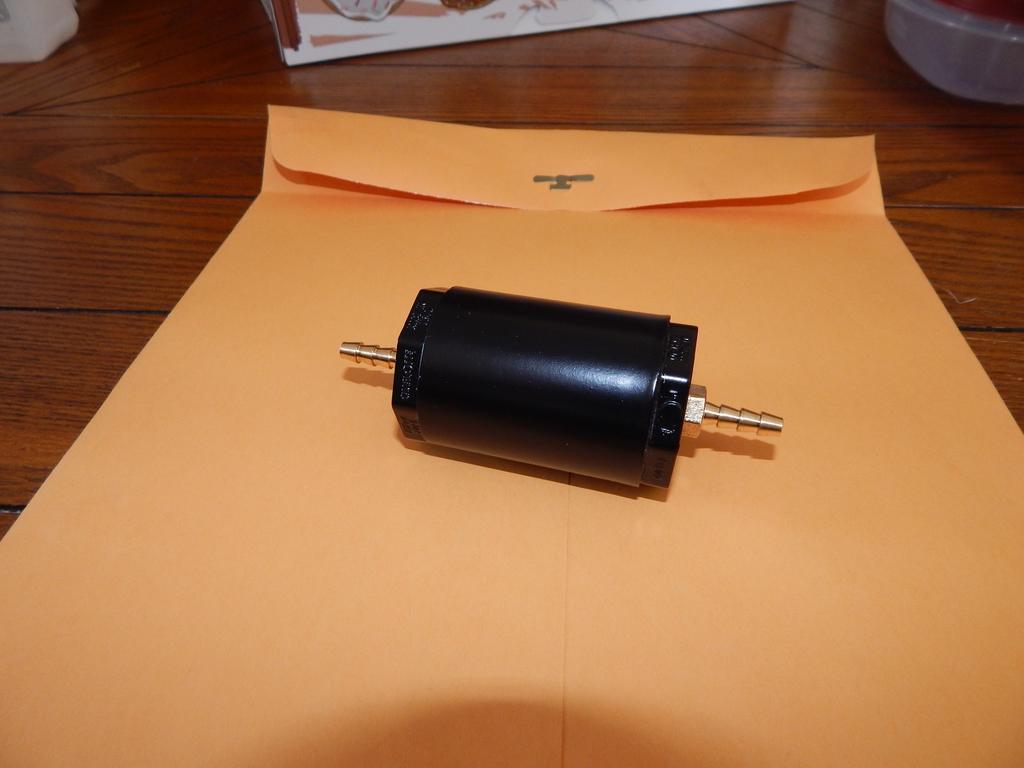
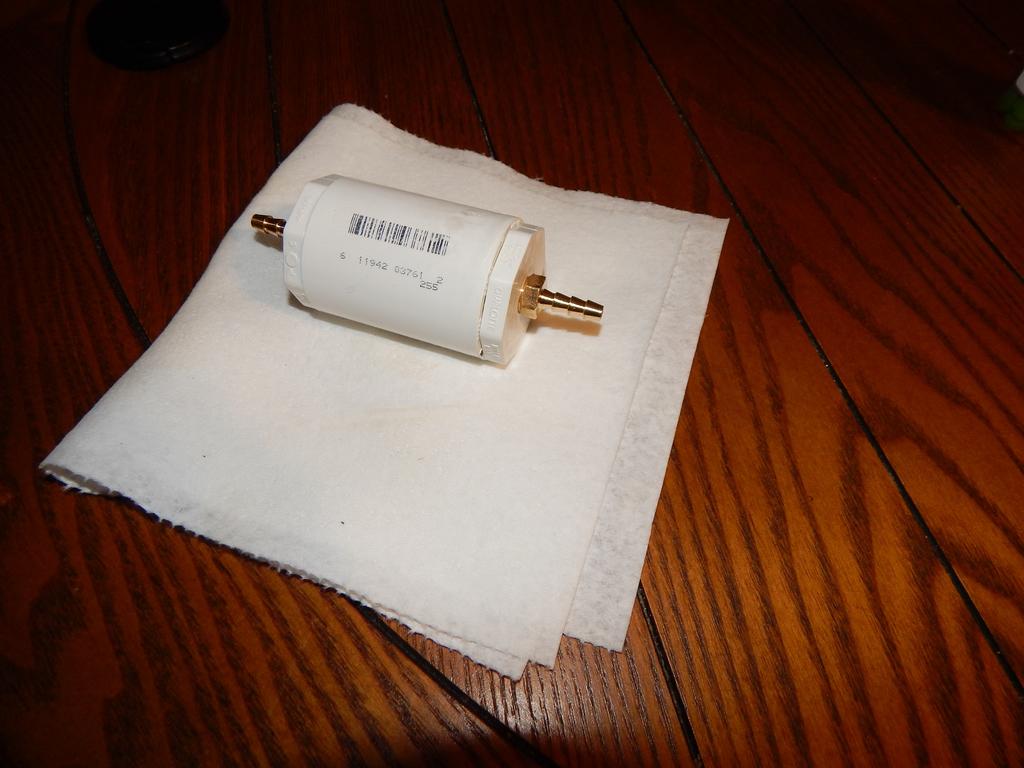
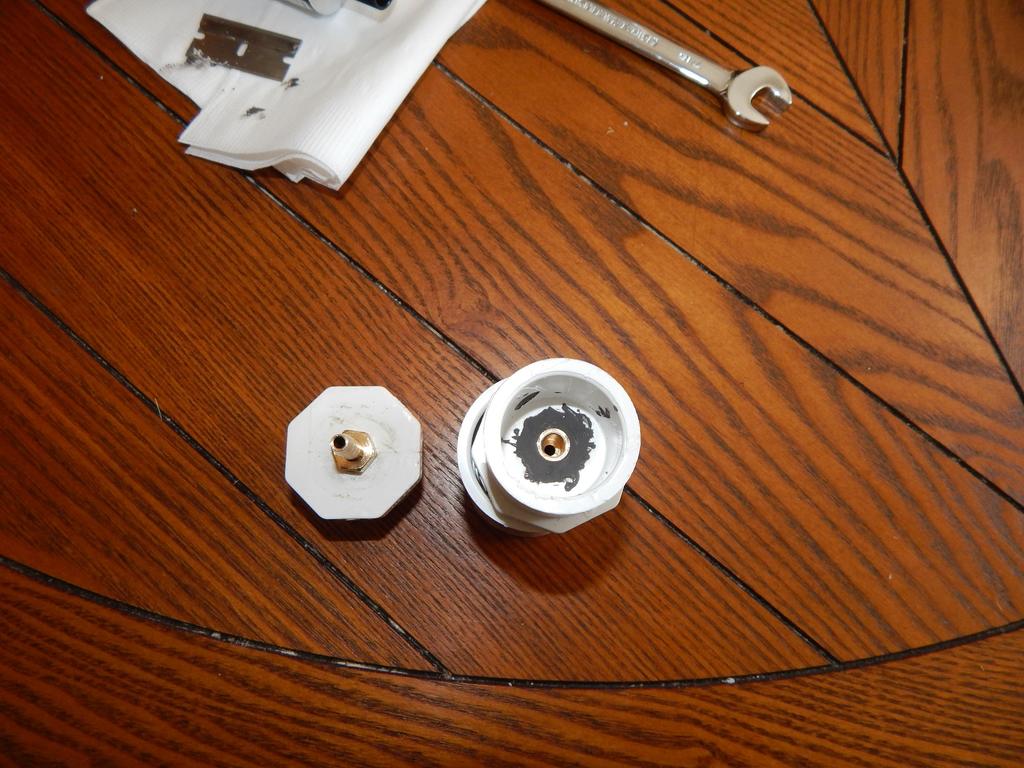
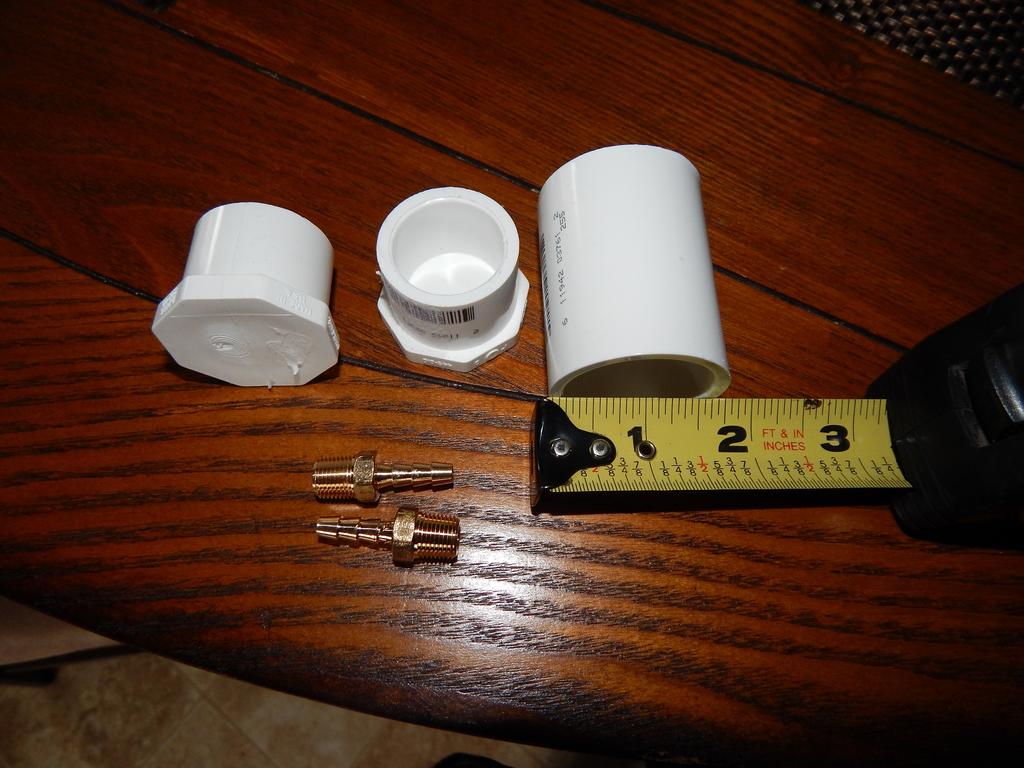
I just installed the Ignitek and got a crash course on setting up the MAP voltages. Originally the idle voltage was fluctuating wildly. Gary gave me some information on a Vacuum reservior to smooth it out a little so I made one in the approximate size his ended up. He said if they are to big they can introduce a lag so I kept it small. Idle voltages still fluctuate but it tamed it down to where I could reasonably dial in the map. Just thought I would throw the pics of what I got in case it might be helpful to any other Ignitek users. Again, Gary Dinges deserves the credit for coming up with the information, I sort of coasted on his trials, which he was kind enough to share with me. Here is what I came up with after standing in the PVC isle at ACE for a while. I drilled the holes in the end caps just big enough that I could not stuff the copper barbs through it, then I threaded (forced) them in with a wrench. I used JB weld along the inside to insure a vacuum tight seal without having JB weld visible outside. I slid the end caps into the coupler with a light film of black RTV for good measure. Leftover paint, leftover clear coat and install along with the OEM restrictor. Once I ditch the charcoal canister it will be mounted right there in it's place but one project at a time now. I'm a set of brake pads away from crossing some state lines! All these glorious modifications with 0 miles on them is about to come to an end.
-
I'm waiting for my brake parts too, thats all thats keeping me off the road right now. Once the pads arrive I will remove, clean out and reassemble the calipers and go for a test ride. I just got the MAP voltages dialed in on the Ignitek (Thanks Gary D!). IMHO your way further ahead to have a parts rack or two, then if you need something you have OEM quality stuff.
-
It's hard to even get full coverage on older vehicles in some states, there are special insurance companies for customs and hotrods but aside from that they cant force him to turn over the truck unless he signed it away to them. Never ever sign something you dont understand without sliding it in front of your lawayer, if they are insisting and cant be reasoned with then his lawyer needs to take over from here.
-
I didnt realize they were anodized. Love is when you have to replace a carb body AND a slide instead of just a slide. I think I would opt to buy a rack of junk carbs for the $100 ish they appear for and have spare slides and lots of other parts. Putting a new diaphragm on an old slide is not a big deal but by the same rational that Flyinfool used I would replace all four, in fact I think they only come in a set and it is really no big deal to put new diaphragms on an old slide.