-
Posts
4,226 -
Joined
-
Last visited
-
Days Won
15
Content Type
Profiles
Forums
Gallery
Events
Store
Everything posted by videoarizona
-
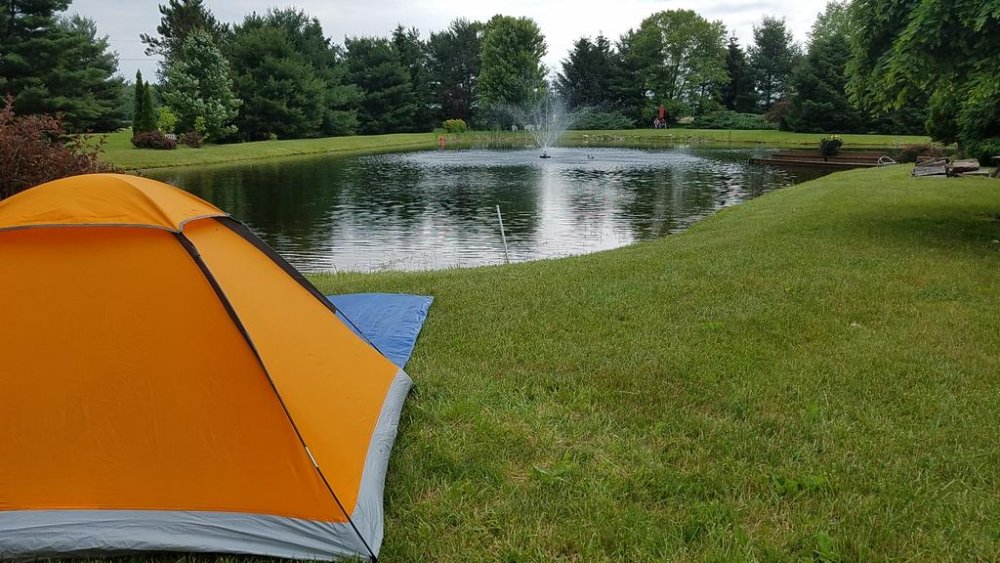
Hmmm...thinking maybe I need to bring a swim suit next MD...and bring the Pond Monster repellant too...
-

Steel Clutch Line Leak
videoarizona replied to RedRider's topic in Venture and Venture Royale Tech Talk ('83 - '93)
Glad to hear you got the plan going! Now, don't forget to take pics of the trip! -
What did I do with my Venture today? Got up at 5am, left Phoenix on the RSV at 5:45am and arrived in Green Valley at 8am after 1 stop. Was getting warm...but wonderful ride as there wasn't any traffic!!
-

Class Ciontroller
videoarizona replied to ken5124's topic in Venture and Venture Royale Tech Talk ('83 - '93)
Kevin Campbell @Prairiehammer came up with this list: "E1" error may encompass a broad range of defects. Faulty connections. Faulty discharge valve (solenoid). Low pressure sensor input voltage. (Low battery or low voltage due to poor connectors) Faulty pressure sensor. And finally, incomplete solder repair at the nine pin board connector. -
I'm trying to think of what would cause your problems related to heat. I keep coming back to fuel issues....maybe a fuel line that is leaking (air) when hot ..creating fuel starvation. Heat causing the carbs not to function properly...ie, the needle sticking... Or something like a coil/plugs/wires breaking down in the heat.... Carb intakes to manifold cracked and leaking air when hot..... To maybe something as simple as the main fuse or ground is getting hot and not making connection much. A dirty ground or loose ground could cause the engine to stumble as well... Good luck....
-
cowpuc, yep.. Sure did talk to the dealer in Phoenix who is the manager over the Tucson store. He said he had a discussion (training moment) with the other stores manager about cleaning rims BEFORE mounting a new tire. I was a lucky in that I didn't have any issues until the nail bit my rear tire. Lesson learned for me too. I'll be asking them to clean the rim the next time I go in for a tire change! I figure it doesn't hurt to remind them...
-

Getting This Tool Kit Together
videoarizona replied to Chaharly's topic in Venture and Venture Royale Tech Talk ('83 - '93)
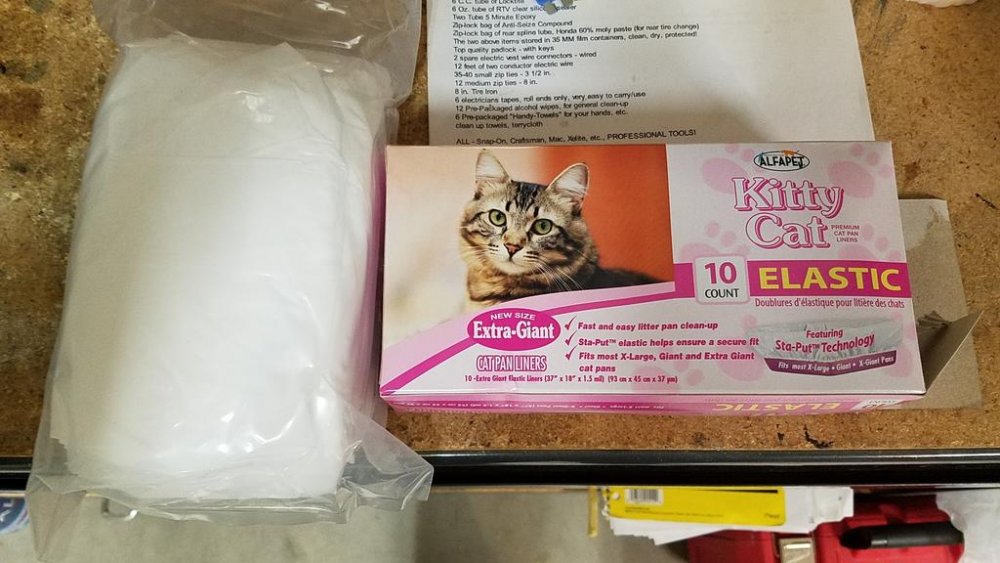
Let's see. CJ, I'm an overpacker. I always pack for what I might need and what I will need. Did that on my trip to Cowpucland and didn't regret carrying all that stuff. Murphy's law and all that. One thing I did use...was a cat litter bag. Yep.... It works very well for.... And to cover the tour pack bag. I also carried some small sandwich baggies to cover my GPS, XM radio and the remote controls for the audio system. That and some rubber bands to hold them hept my stuff dry while riding through the Kansas and Oklahoma storms.... If you want to read what I packed...go here ...maybe something will pop up that you feel you might need. https://www.venturerider.org/forum/showthread.php?136630-VideoArizona-did-you-make-it-home-yet-You-ok-out-there&highlight=videoarizona david -
Nice trip! Thanks for sharing.
-
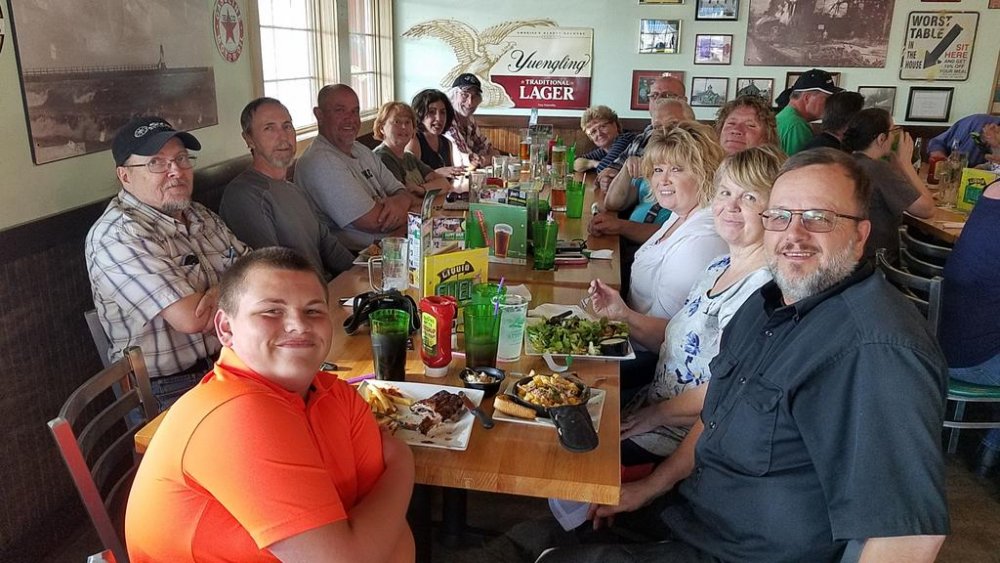
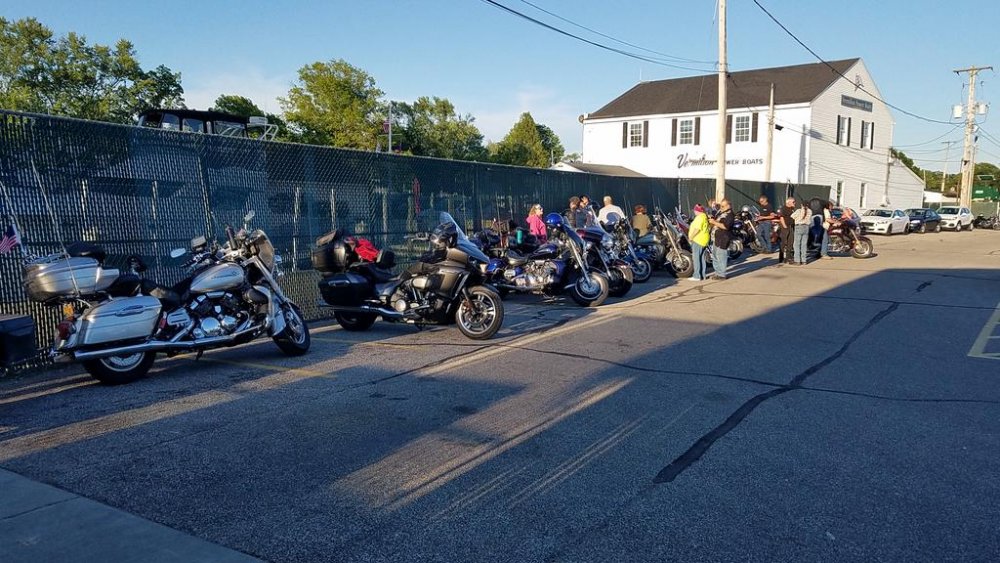
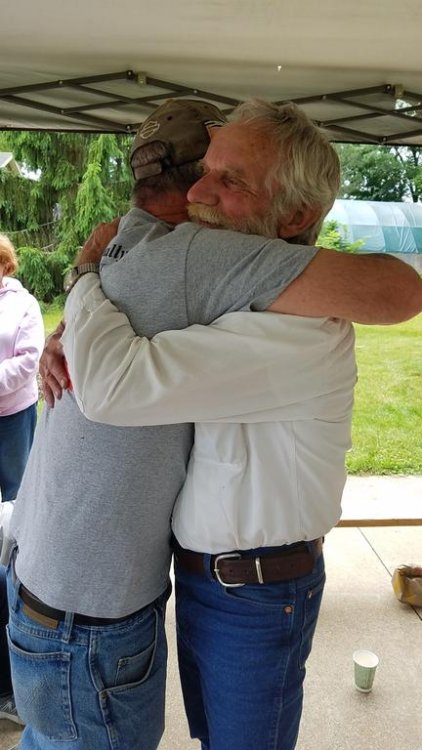
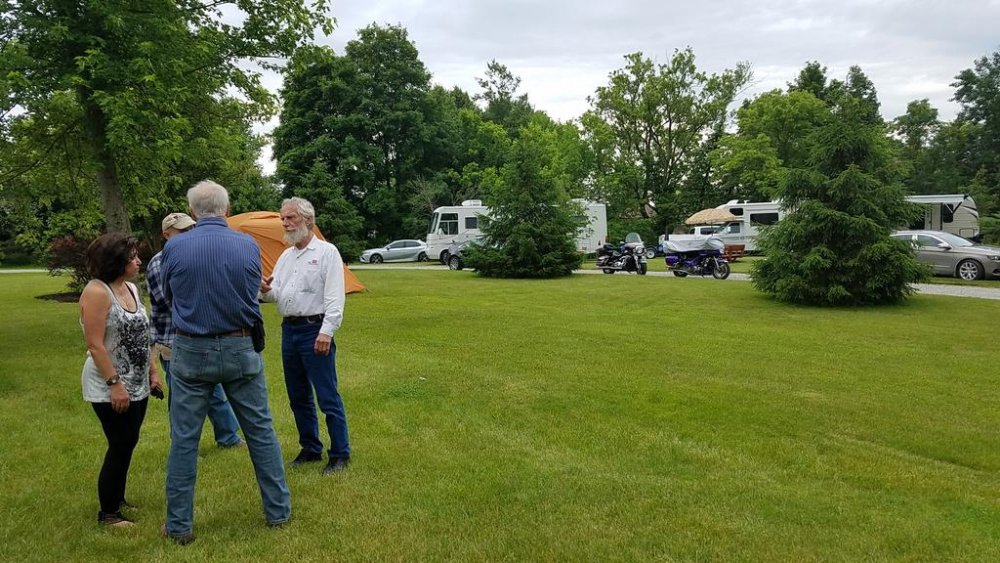
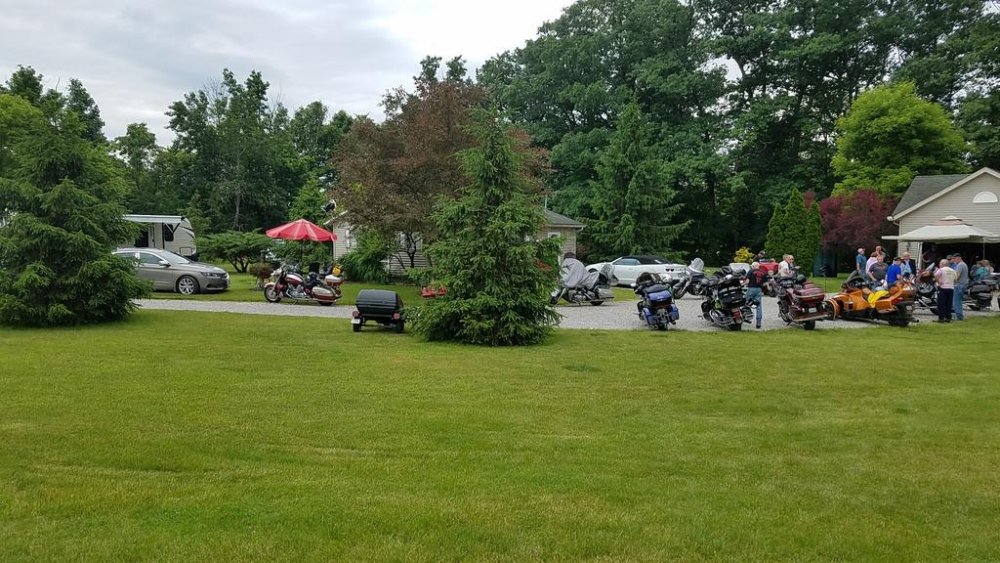
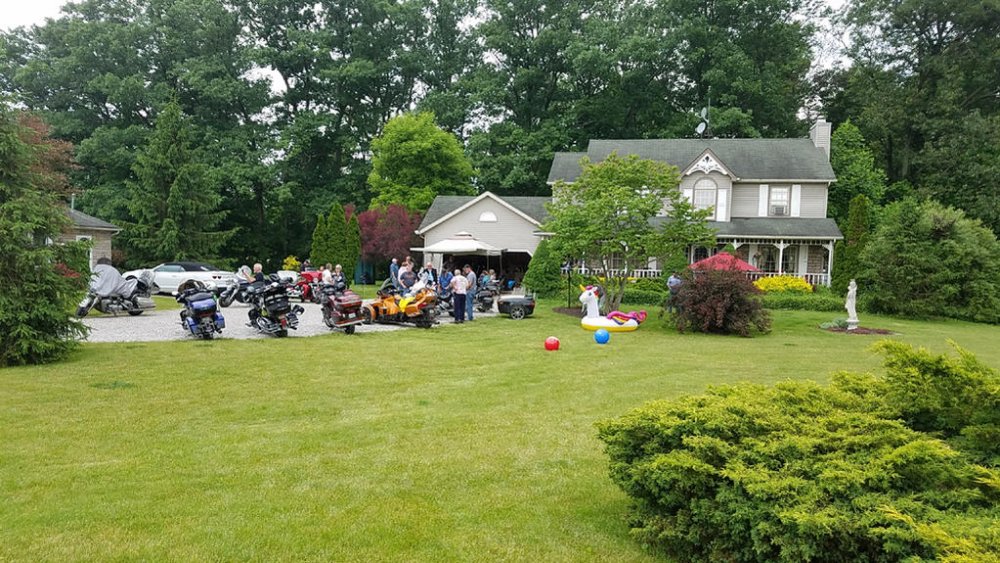
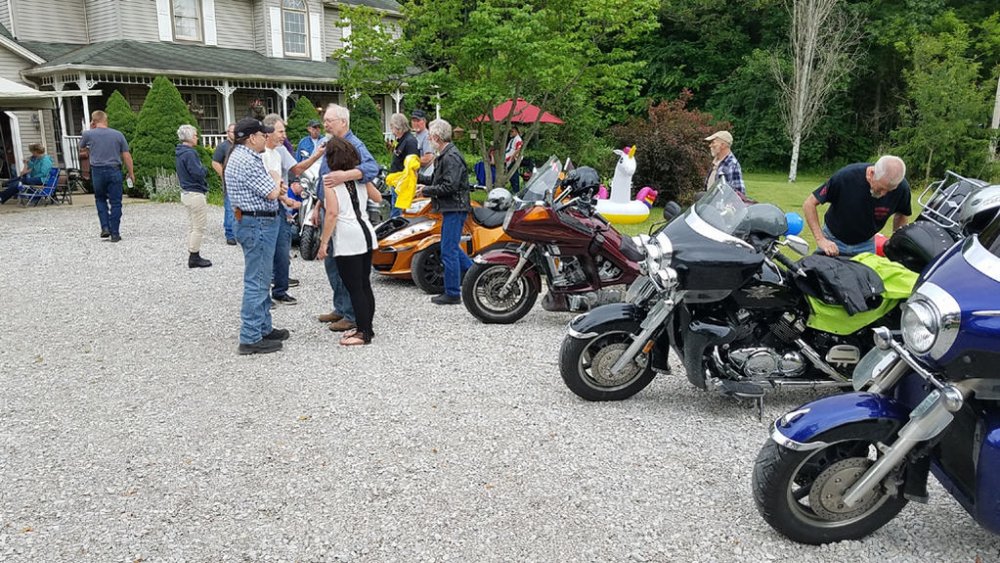
First, let me say thank you to Don and Eileen! Nice time! Second, what an honor to meet everyone! Here ya go: That's it for me! Pat and I enjoyed it! Thanks again!
-
Hmmm..then you would have to bring us back to Don's after dinner...would that be OK? (dinner time. I'll check with you tomorrow....) 602.418.5814cell
-
Robert, Pat and I are staying at the Best Western and were thinking of coming down Friday from the hotel in Elyria to spend the day with the gang at Don's...then head out to dinner with them. Where are you staying?
-

Resurgence of the v4 road bike...somebody tell yamaha!!
videoarizona replied to baylensman's topic in Watering Hole
I wrote Mathew, the writer of the article, of how he missed the Yamaha V4. Gave him the brief history so at least he now knows he needs to do a bit of research before he writes something like he did... -
I was thinking of playing tail end Charlie in the rental cage. Since I'll be hanging out on Friday with all you lop eared varmints! (Puc, I love that line!)
-

Neutral light
videoarizona replied to suds's topic in Venture and Venture Royale Tech Talk ('83 - '93)
That I don't know, Suds. I never went that far. You can try a pair of tweezers and see if you can get it out and then maybe the spring. I wouldn't think there would be anything holding it in place. Have you downloaded the owners and shop manuals from this site? They are free.... https://www.venturerider.org/forum/forumdisplay.php?13-Venture-and-Venture-Royale-Tech-Library-(-83-93)-READ-ONLY! Go here and at the bottom are the manuals. Download them. -

Wowzy wow wow wow zzzz wow wow wow what a month it's been!!
videoarizona replied to cowpuc's topic in Watering Hole
https://friendsandriders.wordpress.com/>> I'm on the mailing list and get the emails. Yea, they are having fun and I'm enjoying riding with them! Next year, Dave...next year! -
Last thought. Grab the forks with the front wheel off the ground and try to twist them or move them forward and back. Let's hope when the idiot tied the bike down hard, that he didn't damage the forks or seals....
-
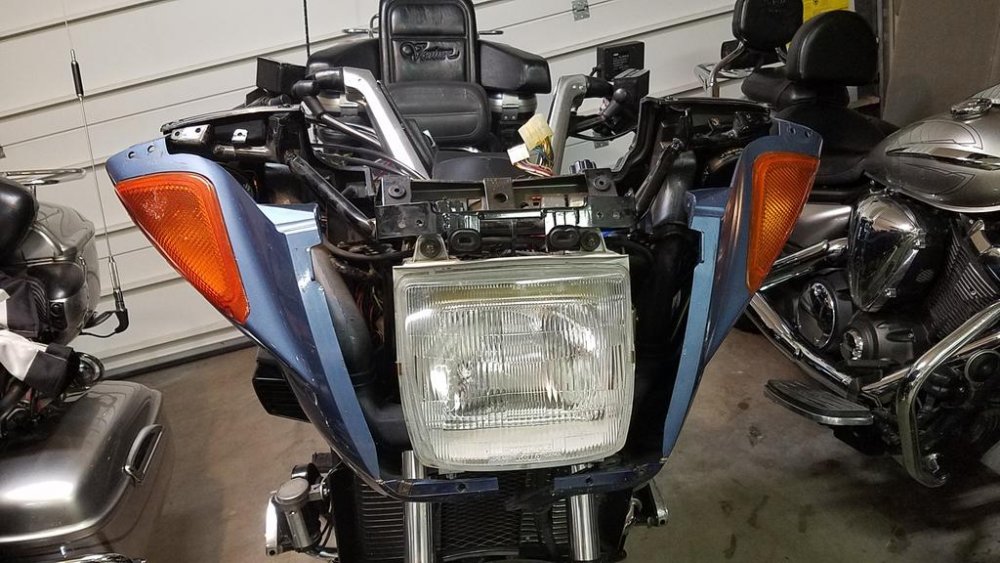
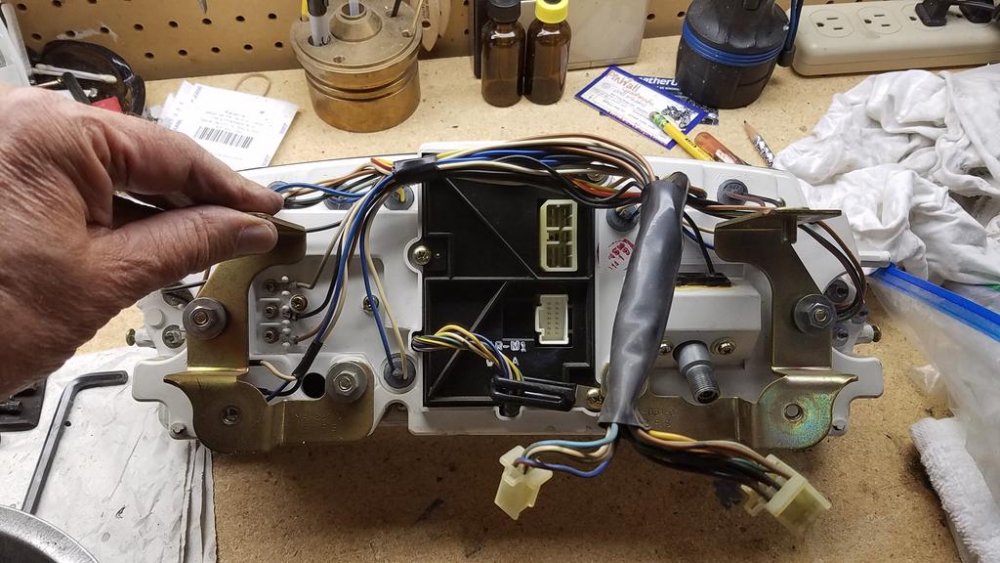
Reed switches marked and 2 are jumpered below are the high and low beam for headlight This board is located on the backside of the dash panel. You need to take the headlight/windshield stuff off. Then spread the two side panels. You can then get in there and take off the dash. There are two ways....one takes 4 screws to take out the panel and the frame...or just take out the panel with 2 screws. Put in on bench. Turn it over and look for the black "box" looking thing in the center. Take off the screws and pull it up. Board is there.
-

Neutral light
videoarizona replied to suds's topic in Venture and Venture Royale Tech Talk ('83 - '93)
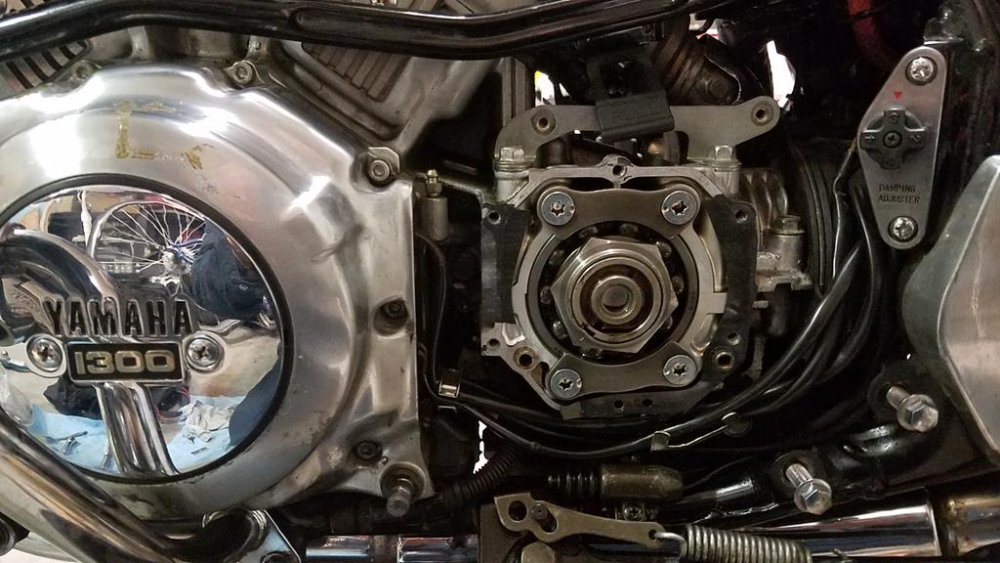
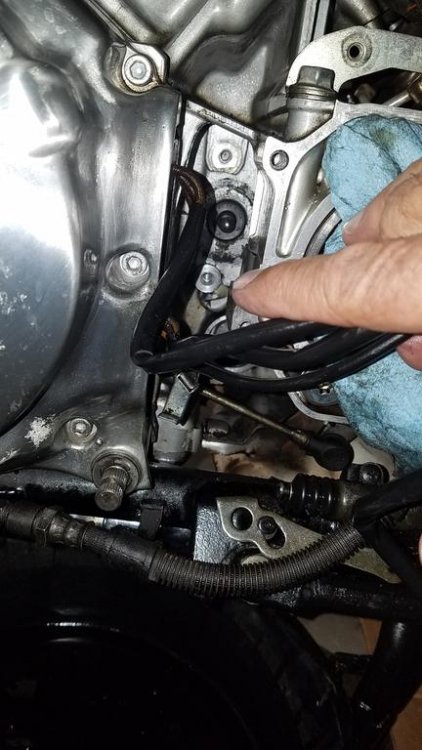
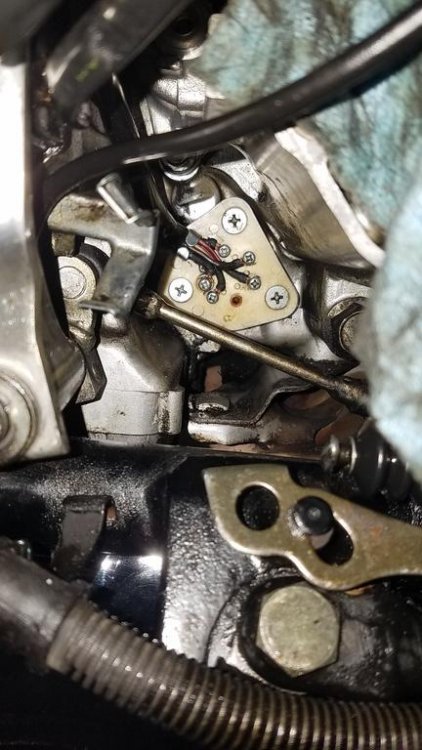
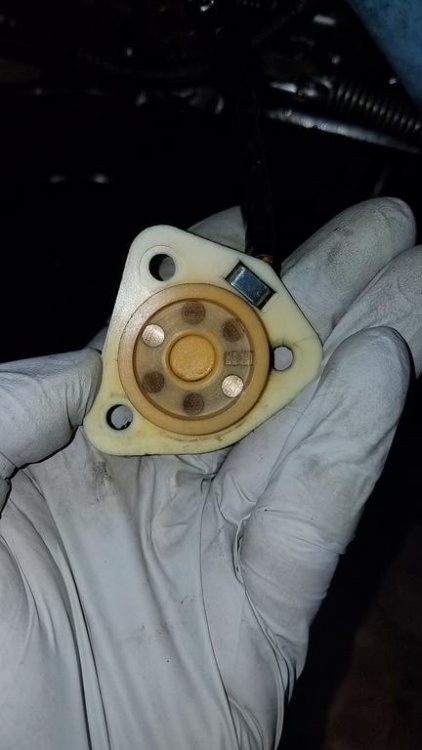
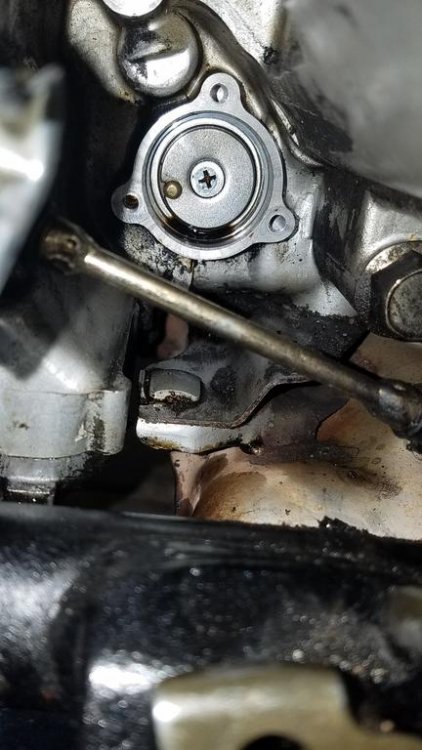
The neutral light and gear indicators on the 1st gen...and the neutral light on the 2nd gen are turned on by the switch behind the clutch slave. This "switch" (not really) is a plastic piece with contacts on one side. On the engine block, there is a little contact that has a tiny spring behind it. My guess is the the tiny spring is finally wore out and needs to be replaced or stretched. I didn't go there for fear of screwing something up. I did mine on the center stand. Very little oil leaked out. However, it's almost not worth it to go to the trouble to get there. You will need to replace the intermediate gear case gasket, the little bolt gasket/washer on the bottom side of the case cover, the neutral switch O ring.... and you might as well replace or clean up the clutch slave, etc.. Gear cover off on my 1st Gen Clutch slave/neutral switch area. I've already pulled the slave off...the rod you see is the push rod for the clutch that's pushed by the slave. OH...notice the little shaft that is splined to the bottom left? There should be a teeny punch mark on it. Barely see mine. This is to help you locate the shifting mechanism that you took off to get to this point. You should take a look before you take the shifter off. I had 2 punch marks to align. easy...just don't overlook it. Switch. Down low...behind the stator wires. Take the wires off their keeper and bend it out of the way. Then lift the wires to see the switch. This is necessary as well if you pull the slave. Engine side of the switch. The rectangular contact at 3 O'clock is neutral. On the other side, the wire that is soldered to the raised contact is neutral. Here is the pin that rotates to make the gear change/neutral light come on....I didn't go here. Probably should have. Last thought: Remember how the switch comes out and make sure the bike is in neutral BEFORE you take her apart. That way you'll be able to get the switch back in properly. I did all this looking for a leak on my 1st gen....never found the leak but cleaned the contacts and replaced the clutch slave while I was there. I still have a flicker in the neutral light now and then. Doesn't bother me. I feel the scoot can have some quirks...heck..she's an old lady! She can be cranky once in a while. It's all apart of her personality! -
You'll be fine. The couch will be just like you remembered it. Of course, your bones might not agree! You two be safe, Peggy...see you at MD Land!
-

The Hondapotomus is on the way to Maintenance Day
videoarizona replied to M61A1MECH's topic in Watering Hole
Steve, thanks for the heads up on places to stop and see! Stay safe and see you next week! david -

Wowzy wow wow wow zzzz wow wow wow what a month it's been!!
videoarizona replied to cowpuc's topic in Watering Hole
Yikes, David! Ah man...all I can say...is...go gettum! Kick that cancer on it's butt! Prayers Up...!! -

Wowzy wow wow wow zzzz wow wow wow what a month it's been!!
videoarizona replied to cowpuc's topic in Watering Hole
So sorry to hear about the relatives....but happy to hear the wedding went well! Prayers Up for families!


.thumb.jpg.d8f988231a1617d560fd47c134a6b774.jpg)
