Leaderboard


Popular Content
Showing content with the highest reputation since 03/27/2025 in all areas
-
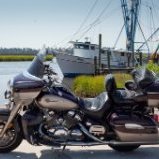
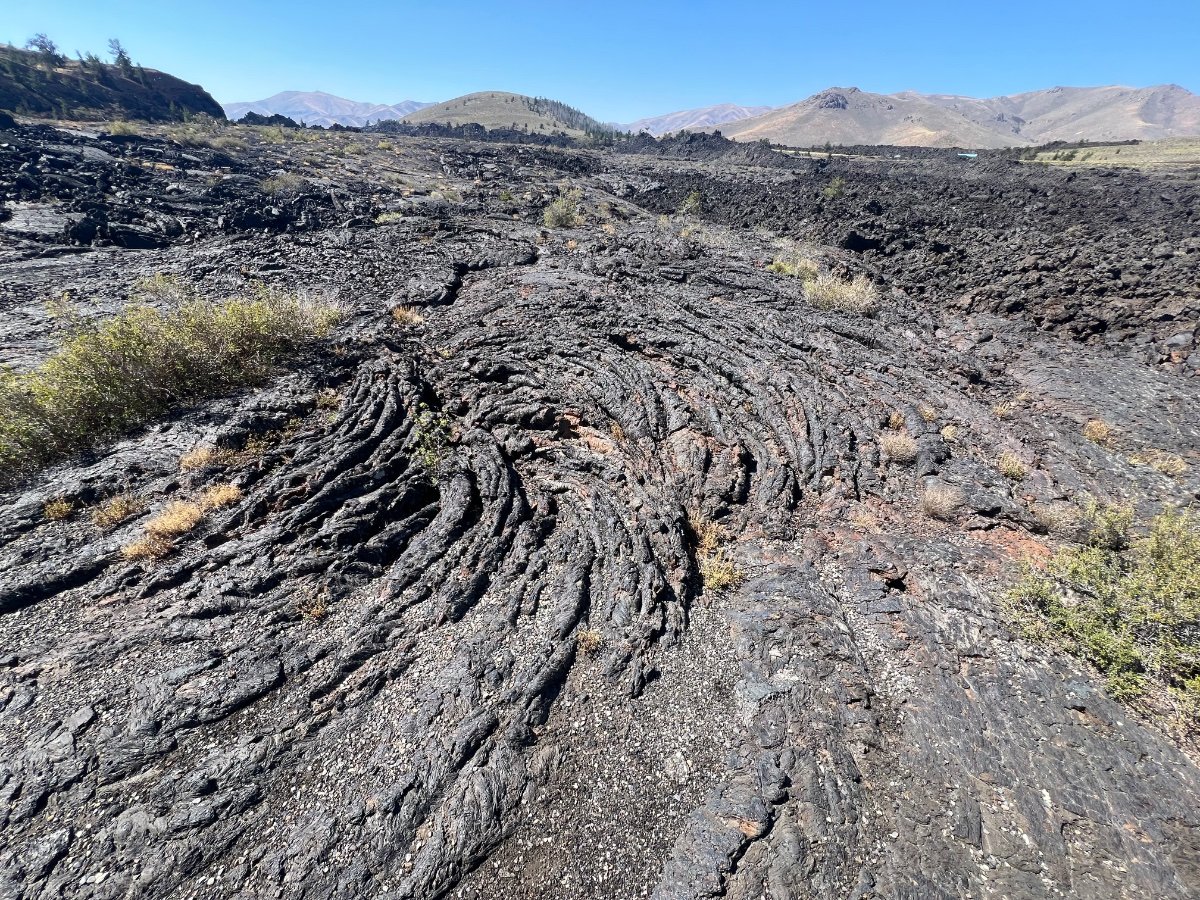
Finally got out yesterday for a few hour for the first ride of the season....and the first real ride of more then an hour for a few years. The bike purred like a happy kitten and I was smiling the whole day.6 points
-
Guaranteed my rear brakes won’t lock up. I changed the oil recently and left the drain pan in front of my bike in the shop, a few days later some circling wind decided to relocate my shop roof into the woods out back. Two days of downpours followed raining into the shop overflowing the drain pan into a nice big slick on my floor, the falling rain splattered the oil all over the bike including I guess the rotors. Without really thinking about it I took it for a test run the next week, I quickly realized at the end of the driveway no matter how hard I stomped the pedal there was absolutely no chance of lockup. I can’t really recommend this design of antilock brakes though as the stopping distance is exponentially increased. 🤬🤬🤬6 points
-
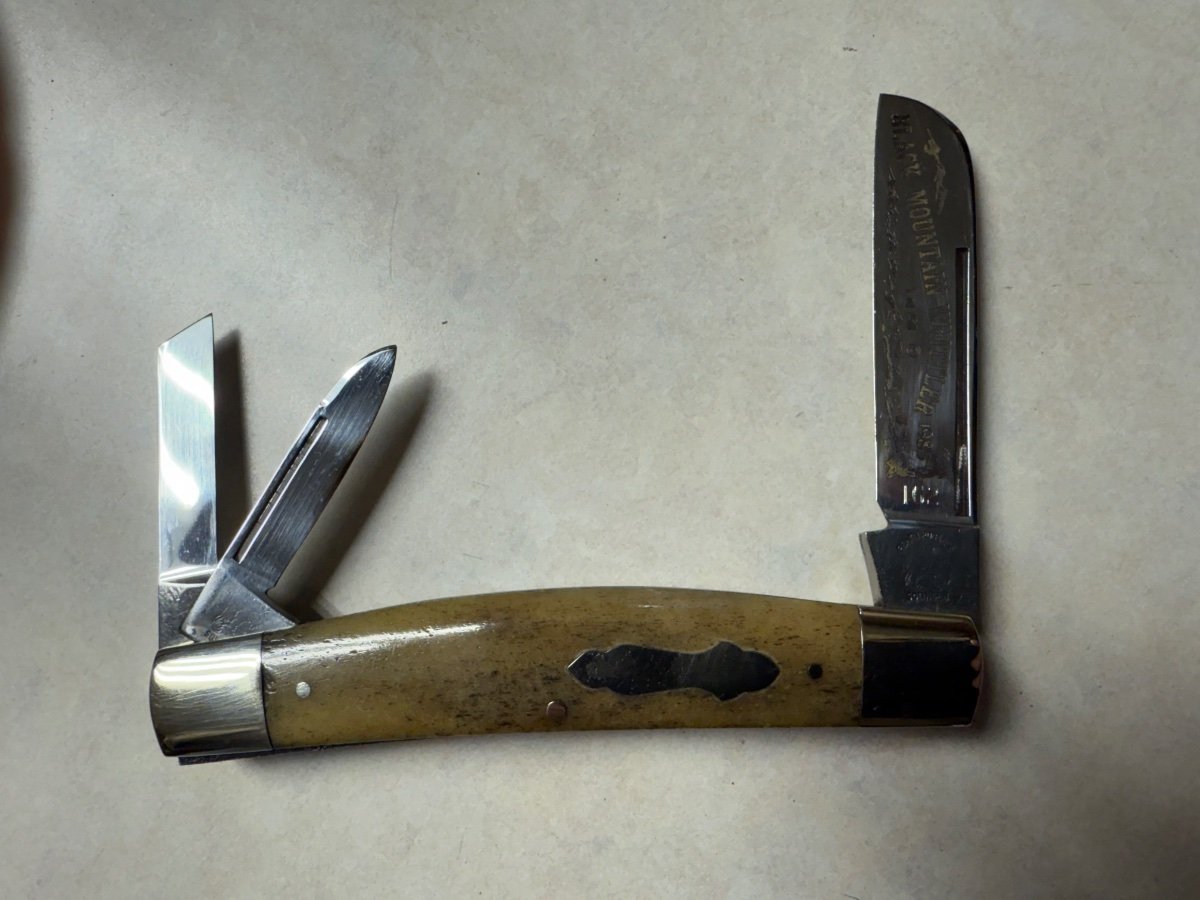
My father carried an electricians knife with him for most of his life. It was a tradesman's style and was sharpened so many times that it was worn down to a narrow blade..lol.. When he passed, at the funeral, I put it in his pants pocket so that he'd have it on the other side in case he needed it; I miss him.....sniff....4 points
-
3 points
-
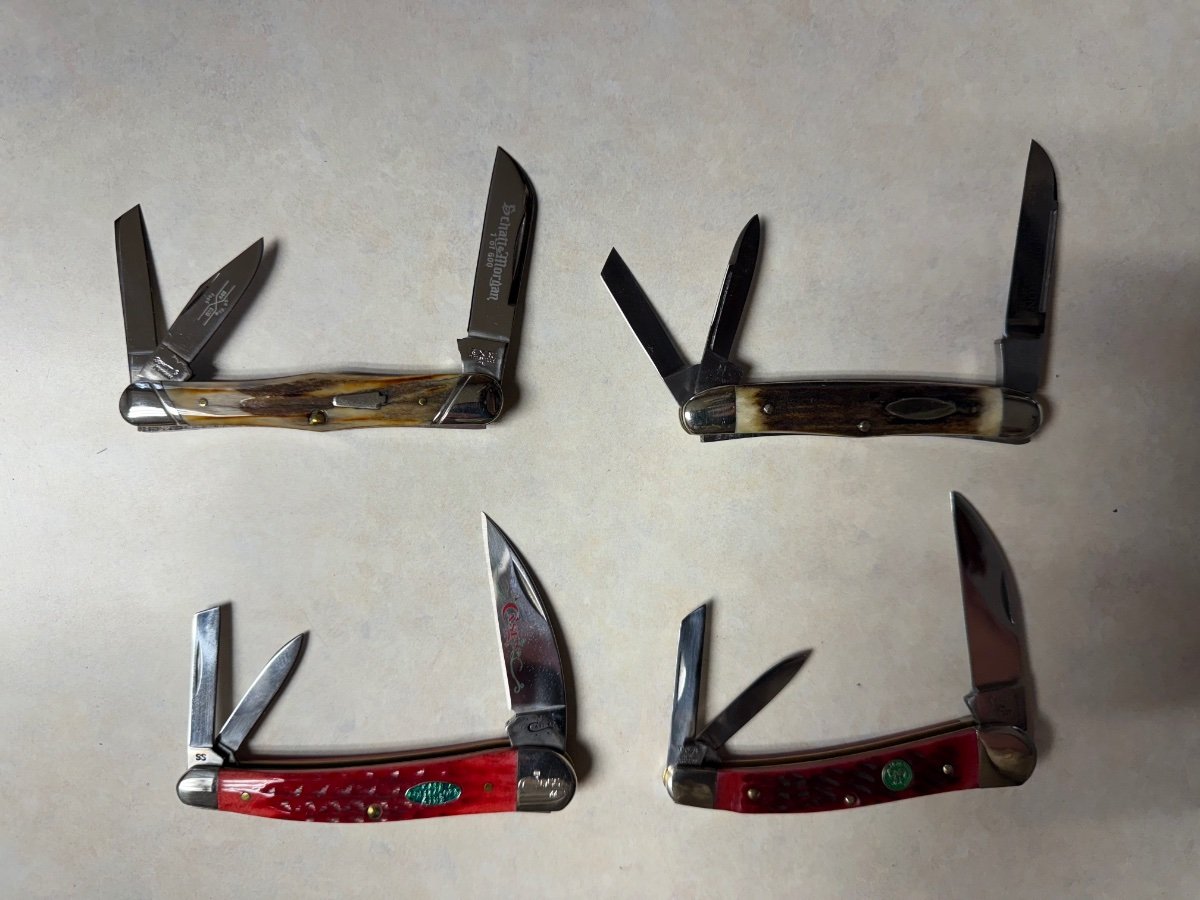
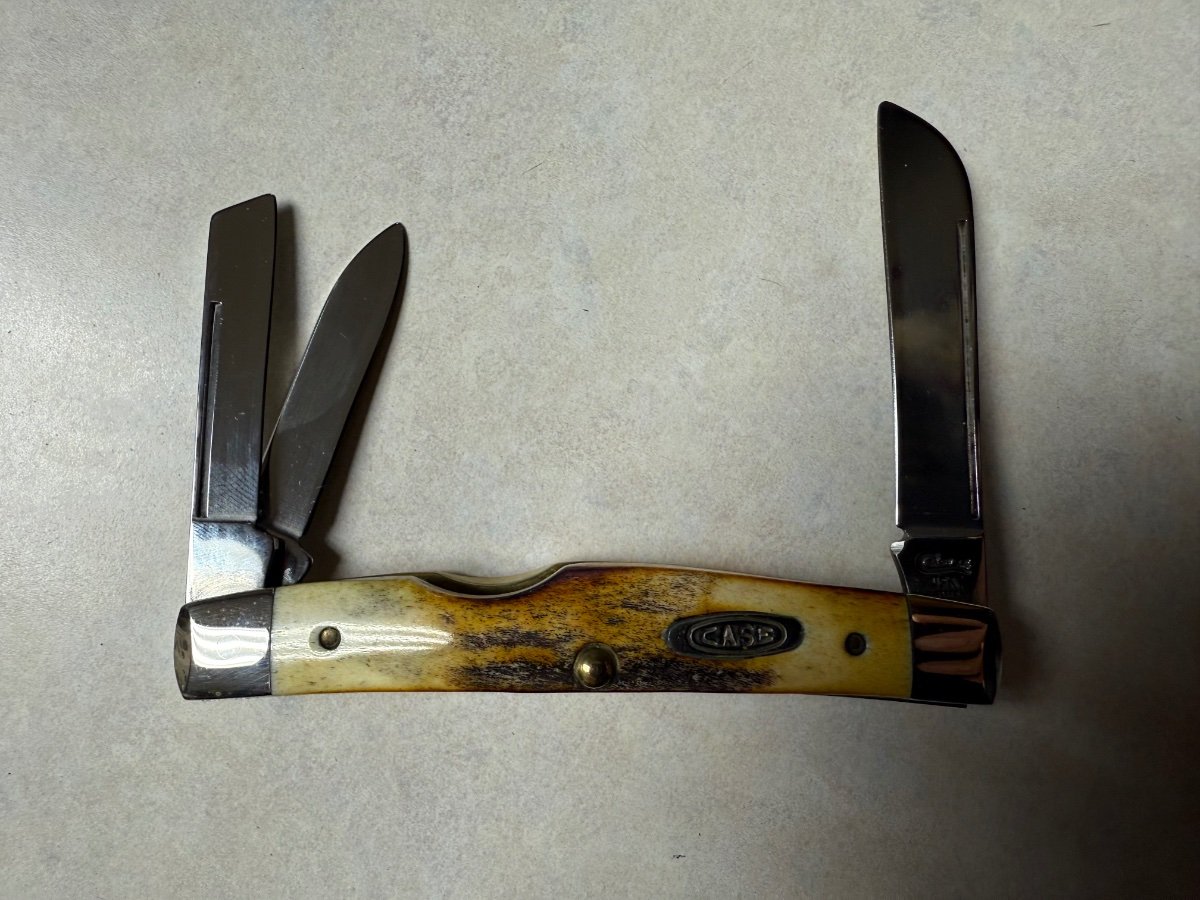
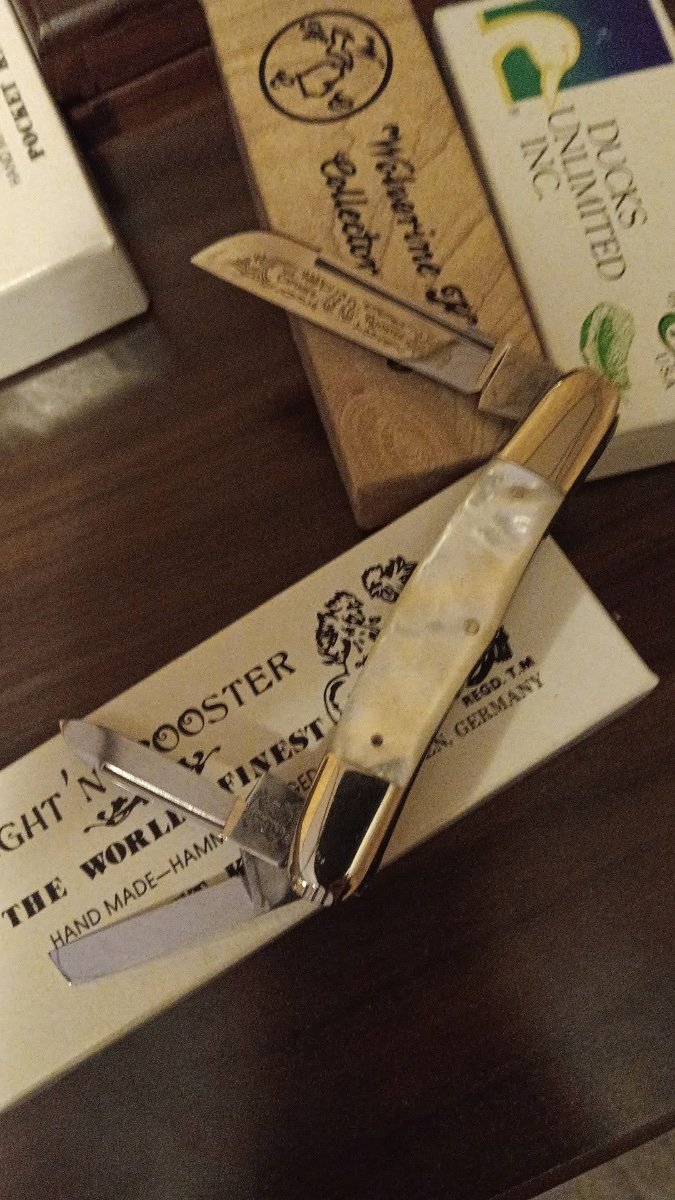
I think it was Luvmy40 that recently posted about knife collecting. I am not a big collector but there is one style that I buy when I can. They are getting hard to find. My preference is Fight 'n Rooster and Bulldog but a couple others also. Here are most of my small collection.
 3 points
 -
Dennis Kirk usually has a good selection. I order my fronts there but use a car tire on the rear.3 points
-
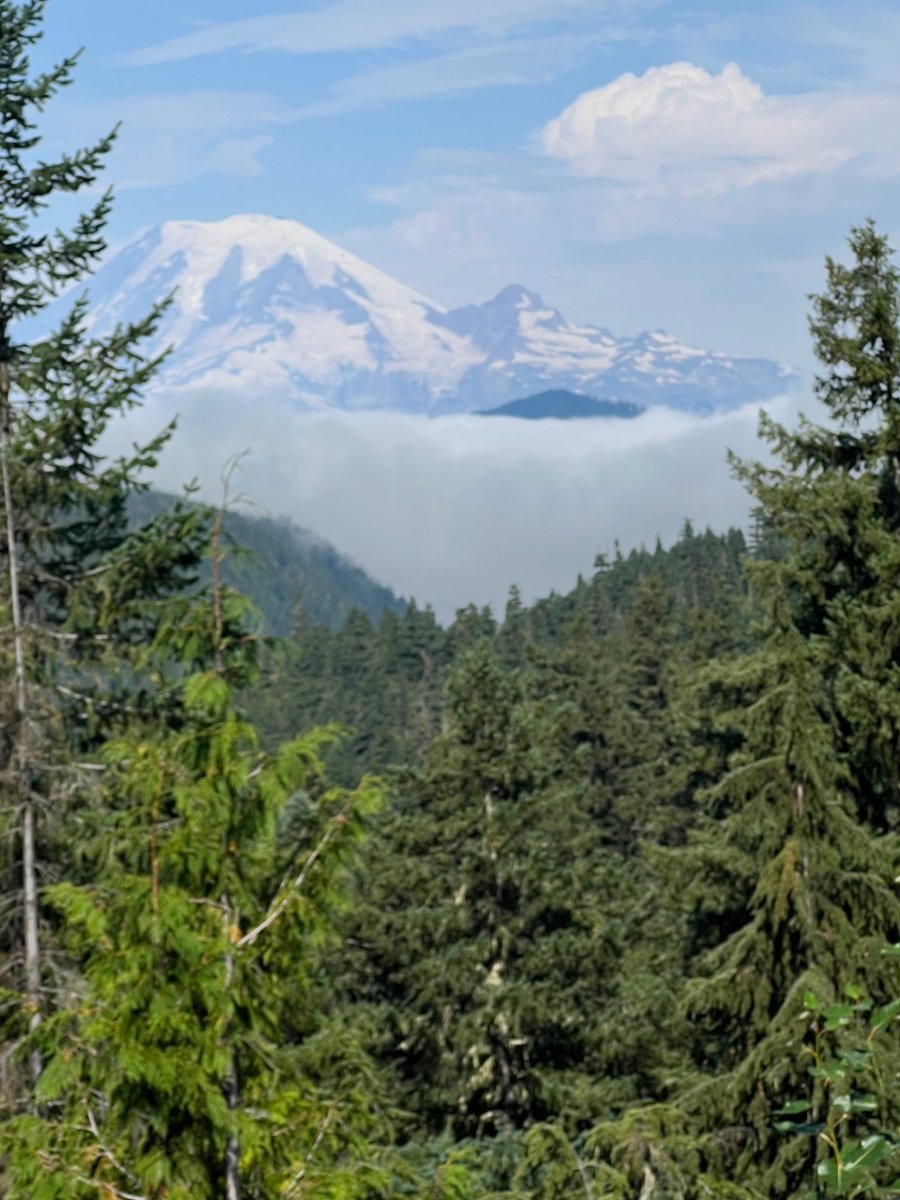
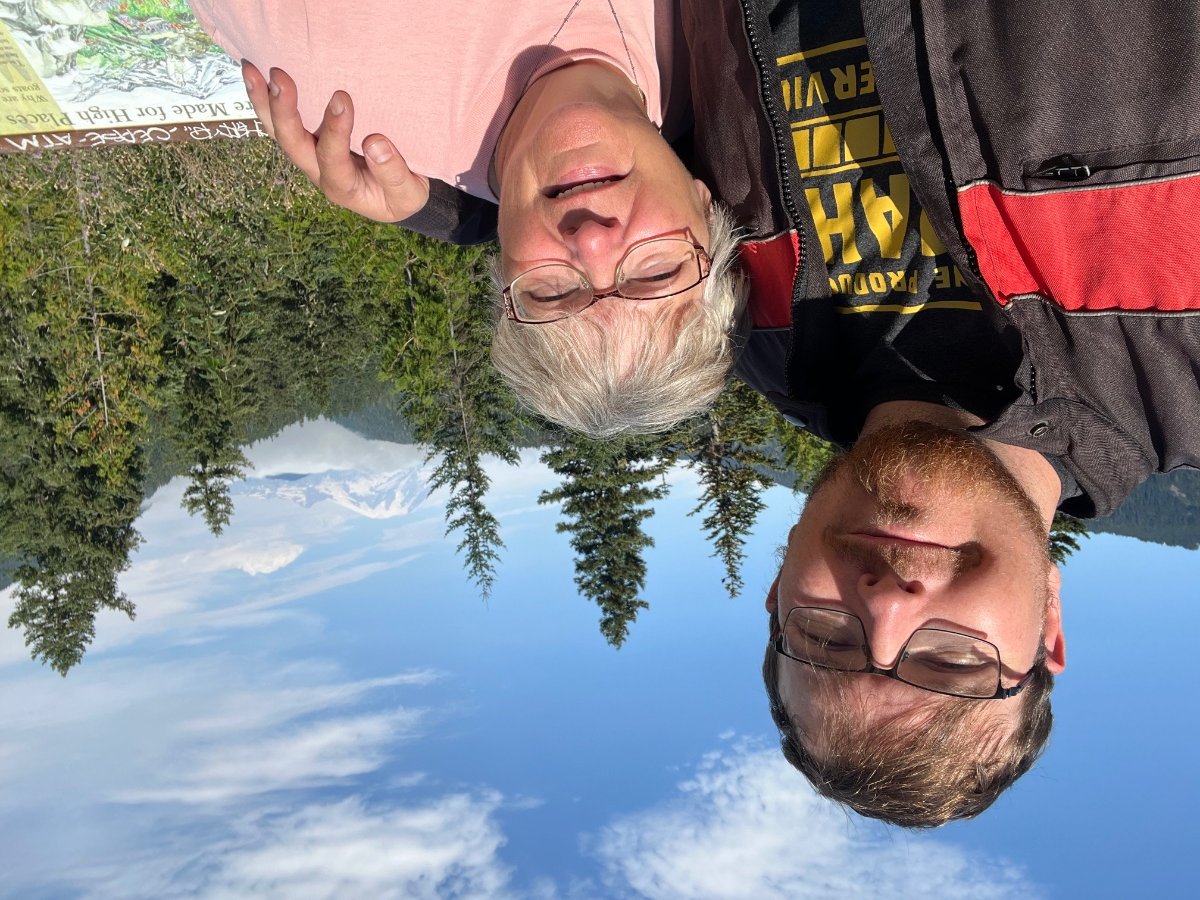
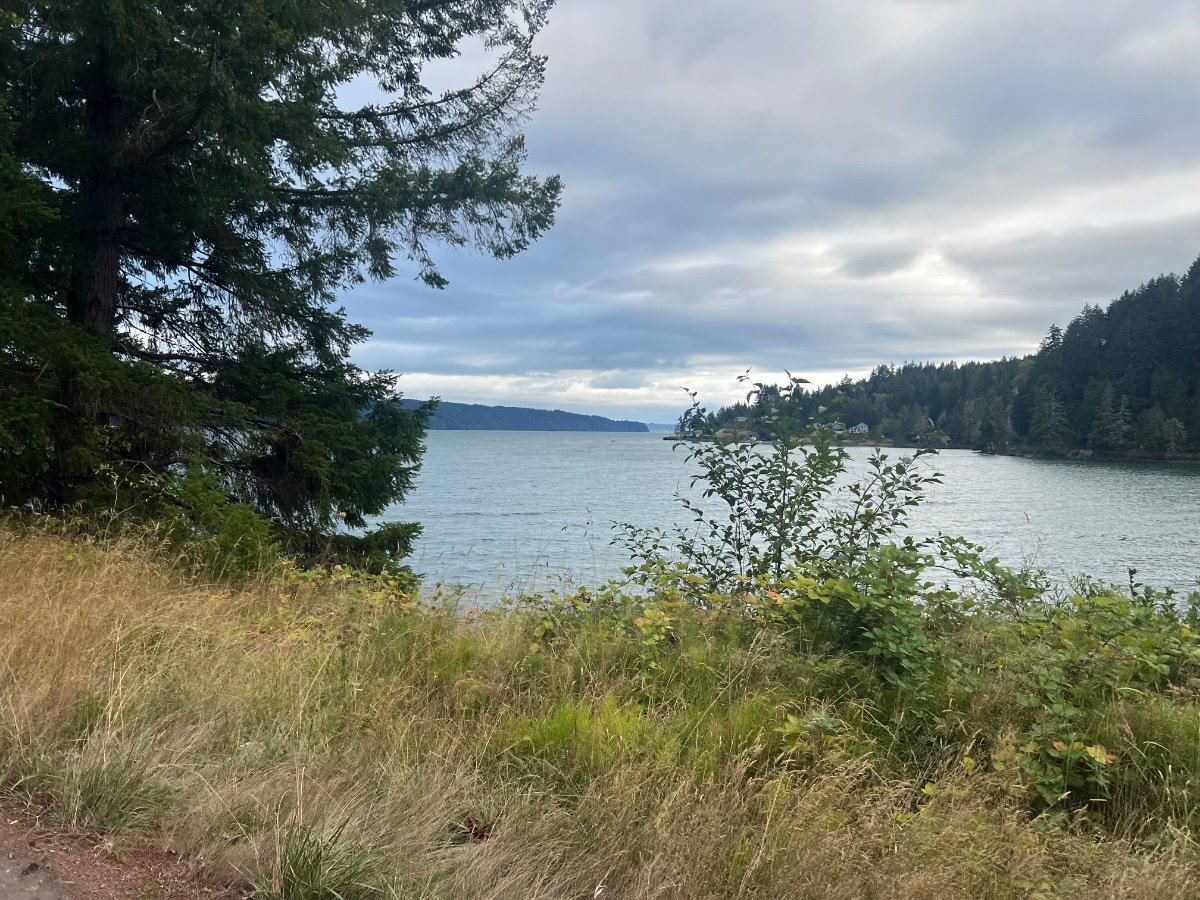
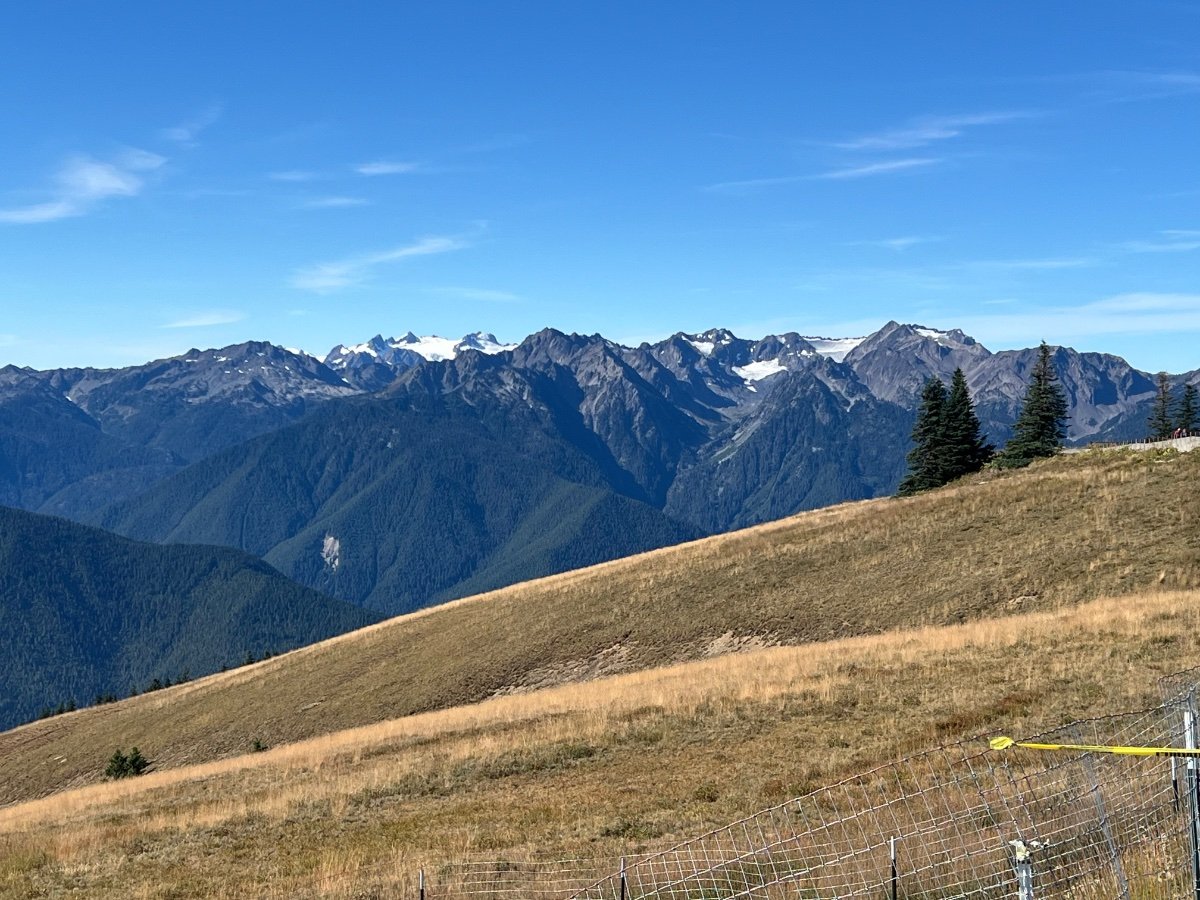
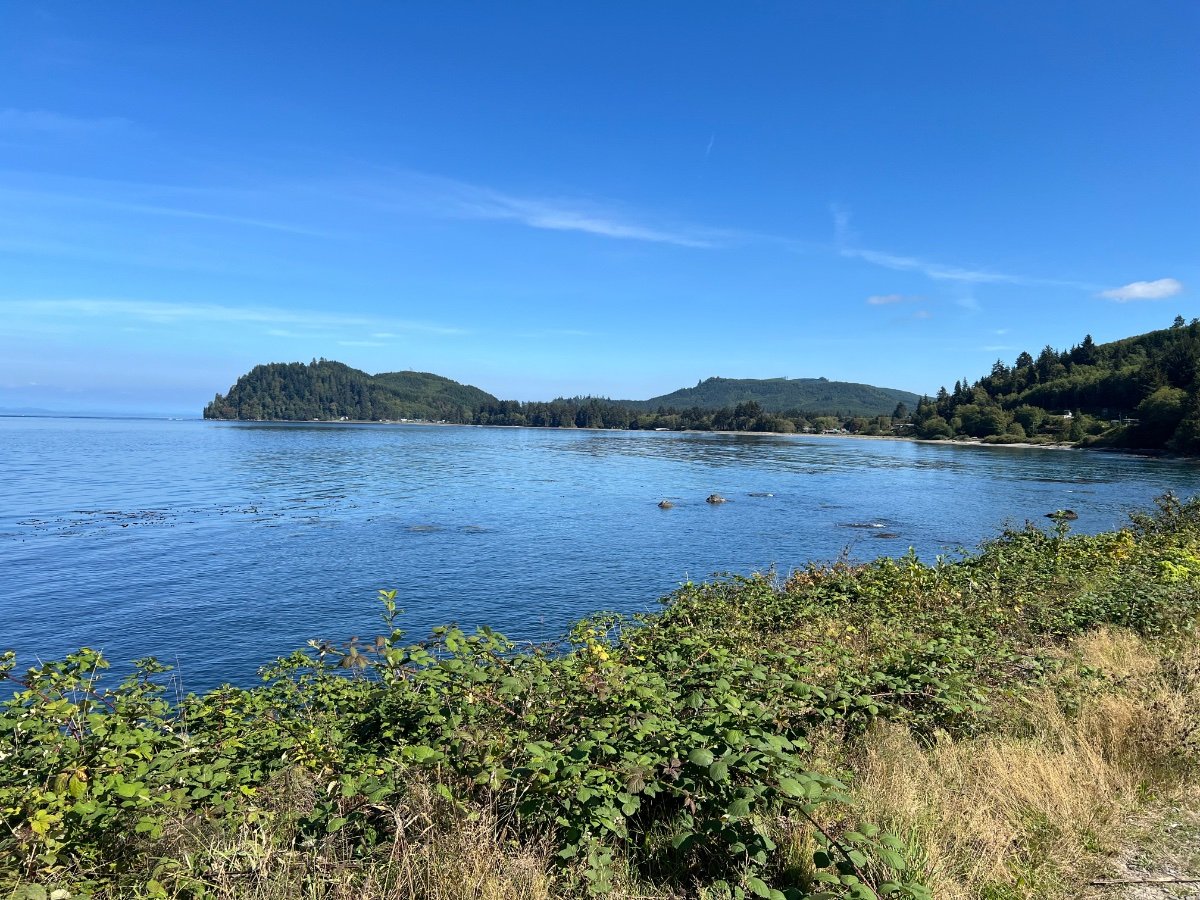
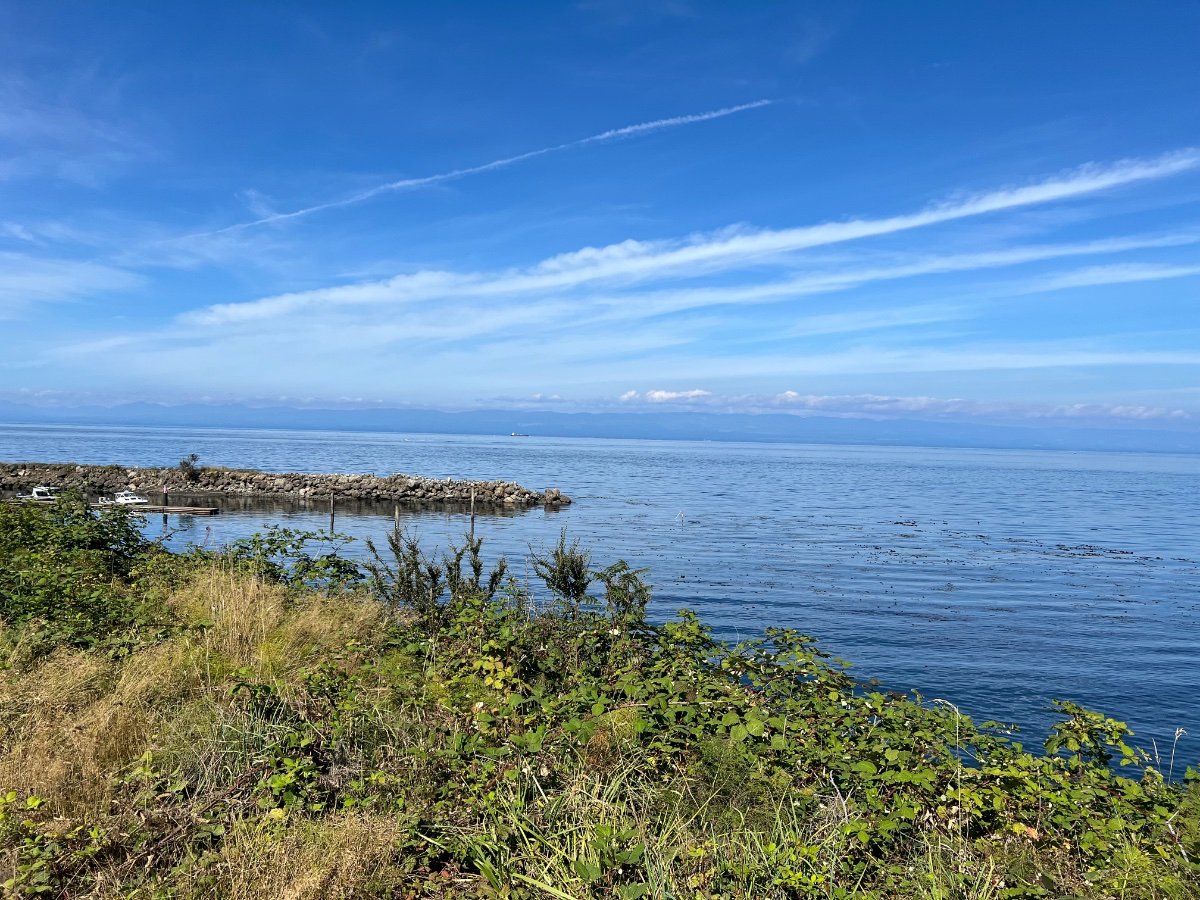
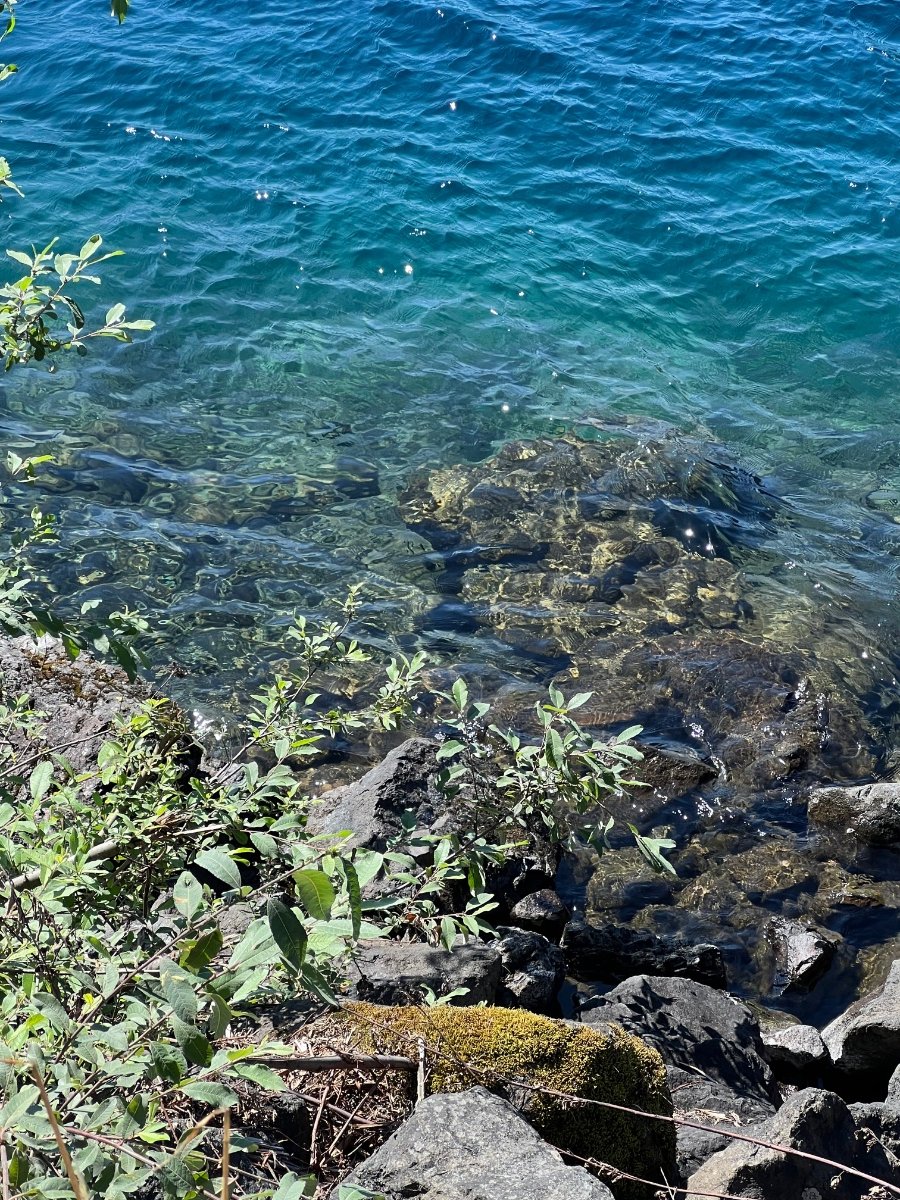
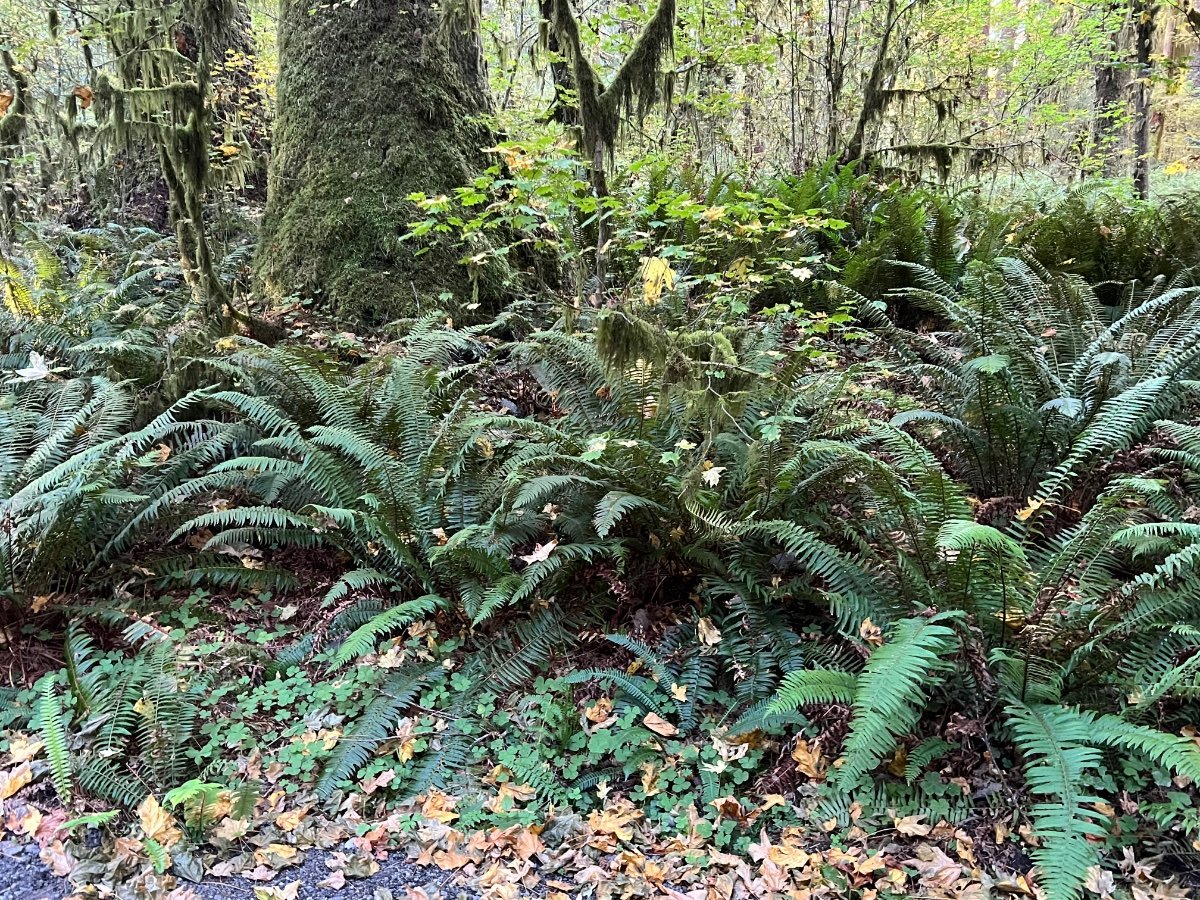
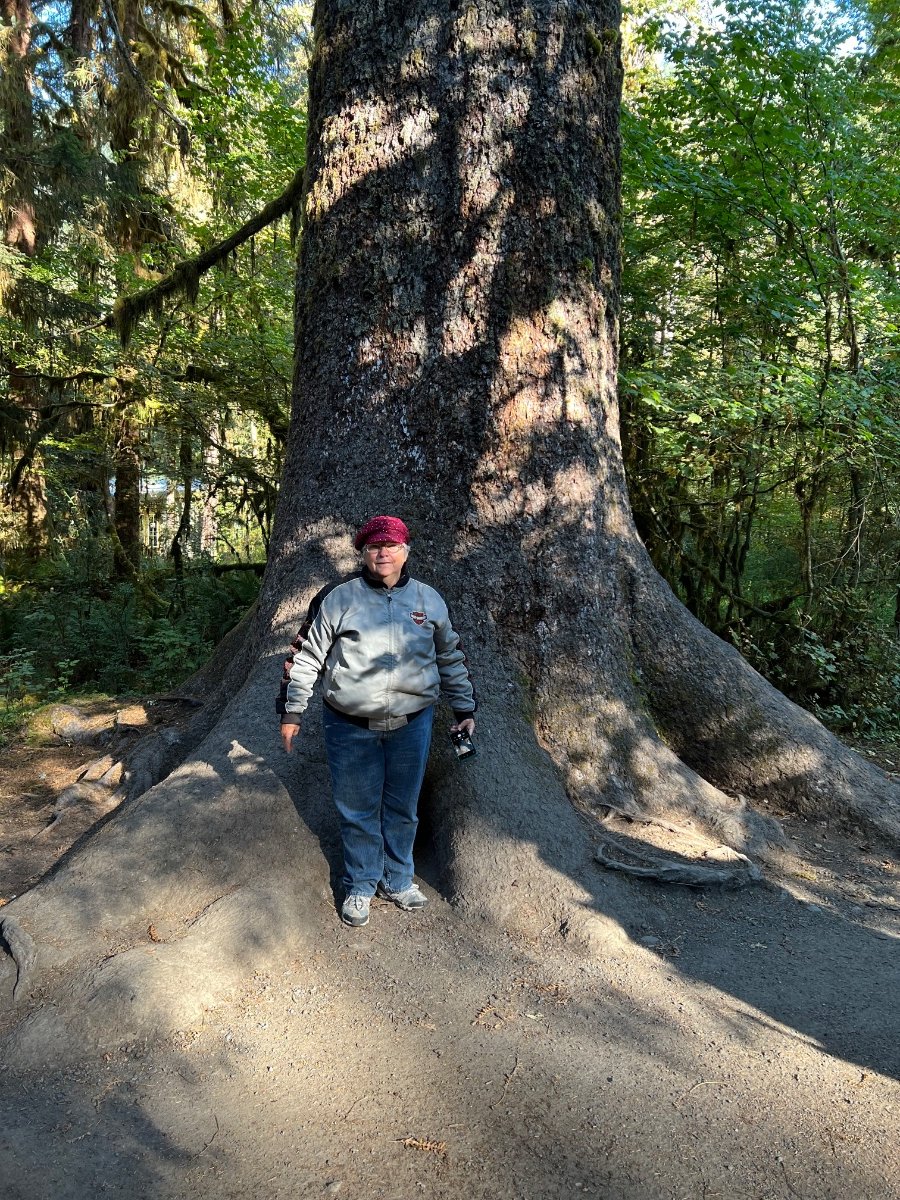
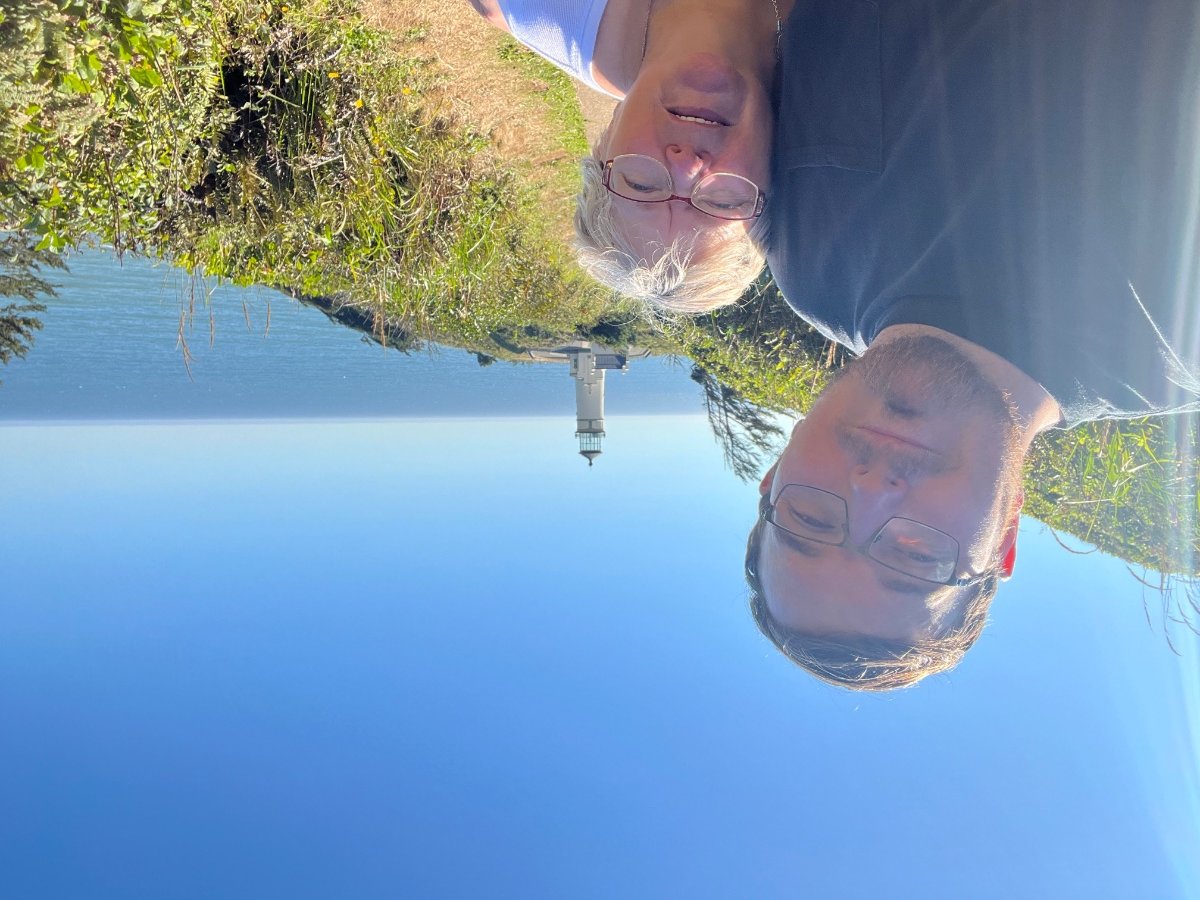
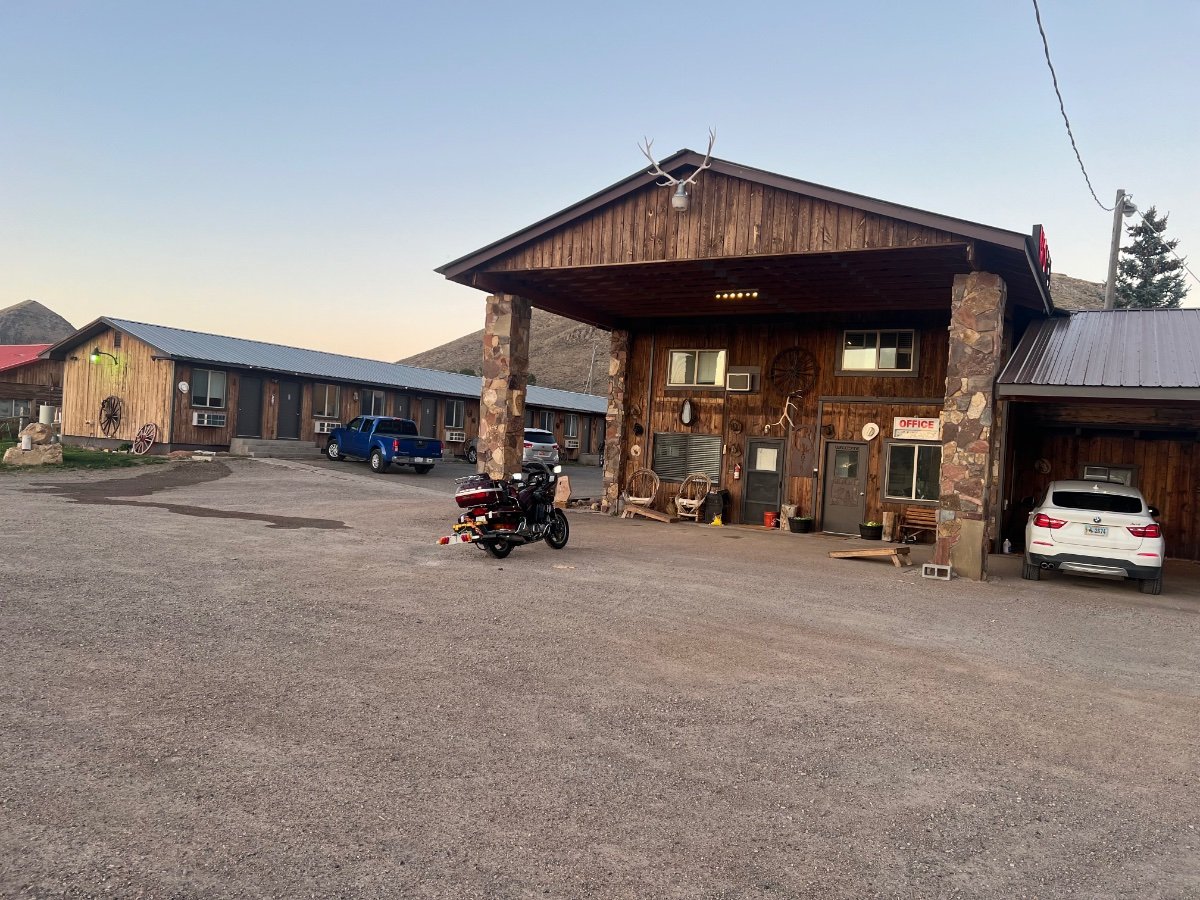
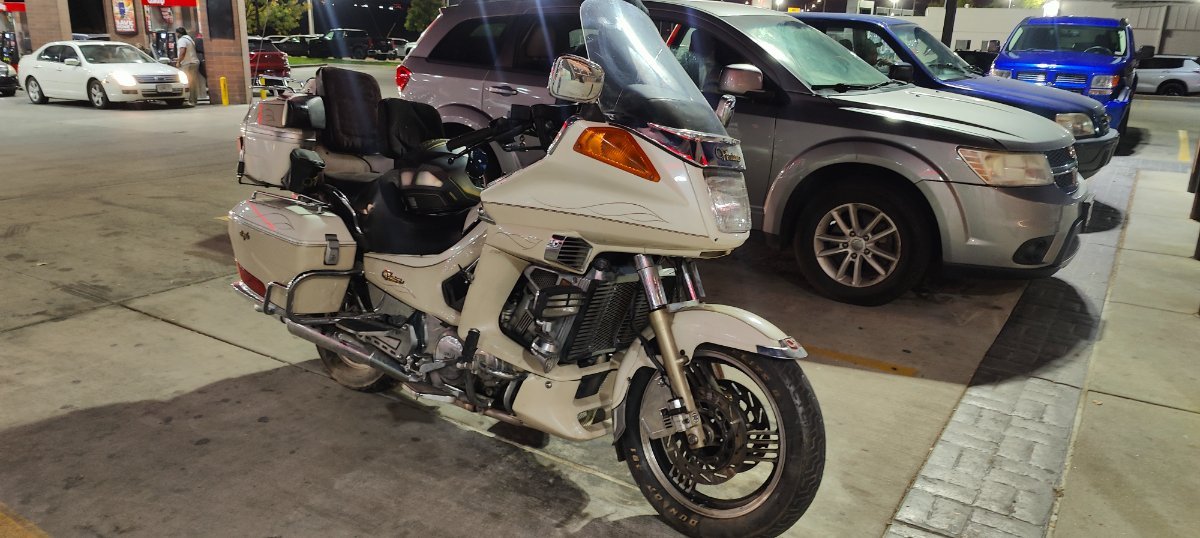
I still ride my 1988 daily and on big trips. My mom who's 69 years old went with me to the Olympic National Forest last fall. She took her 2005 Goldwing Trike and we put on about 5000 miles in ten days. My old bike rolled over 100k miles on that trip. Since we got back in the second week of September, I've put over three thousand miles on her since then. We are looking to finally upgrade after eight years of ownership to a 2021+ Goldwing. Certain parts are getting hard to obtain, especially in decent condition. My rear spring is starting to get pretty soft, and its hard for me to trust buying one off of Ebay that I have no idea the condition of. I don't have room to have multiple parts bikes laying in the garage right now. I do all my own maintenance, including tire changes and balances. I'm pretty meticulous with my old Venture. I didn't have to touch a single tool on that last road trip. After we get the Wing, I'll keep the Venture and still ride the crap out of it, but I'll take my lady with me on the Goldwing on big trips. The Venture has been and continues to be one of the most consistent, reliable and solid aspects of my life. I've been through alot in the last 8 years (haven't we all??) and the Venture has been reliably by my side then entire time. We have our first baby on the way, due in June, so it'll be a slow riding year this year, so I'll focus on plastic repairs and keeping it running in tip top shape. I'll share a few pictures of our Washington Trip for proof.
3 points
-
Beautiful Spring day forecast for the rest of the week in our area in SE York Pa. Been riding since Monday running errands and commuting to and from work. Nothing big, but it is so nice to be on two wheels what ever the occasion it may be. Ride safe.2 points
-
happy easter to all!have a great day!2 points
-
Many use a rear tire mounted backwards on the front for that reason. Rears are a different compound so they last longer on the front. I can’t say from experience but I can’t see a front tire mounted backwards would last any longer than correct rotation.2 points
-
Between London and Brantford Ontario Canada and getting weather you guy's are sending our way. Rain ,cold yesterday so no riding since Monday! Heavy freezing rain,hail and snow again plus very cold,so no riding today also! Supposed to be high of 15deg.cel. tomorrow. More rain etc. then chance of rain all weekend then chance of SNOW again Mon. and Tues.!!2 points
-
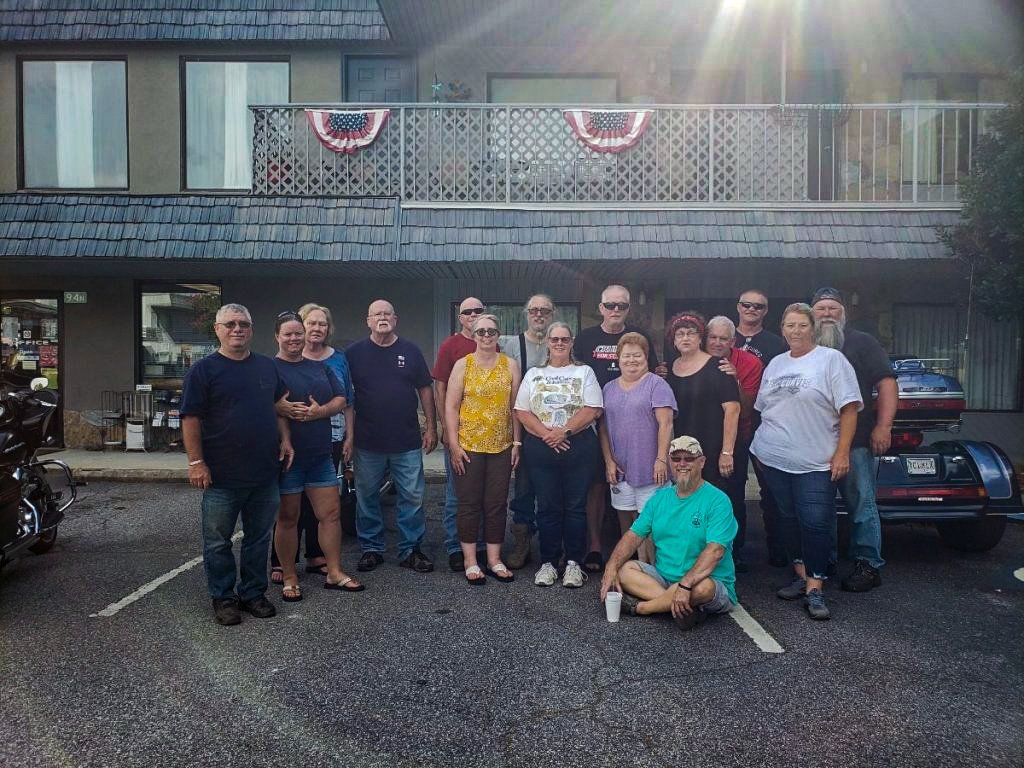
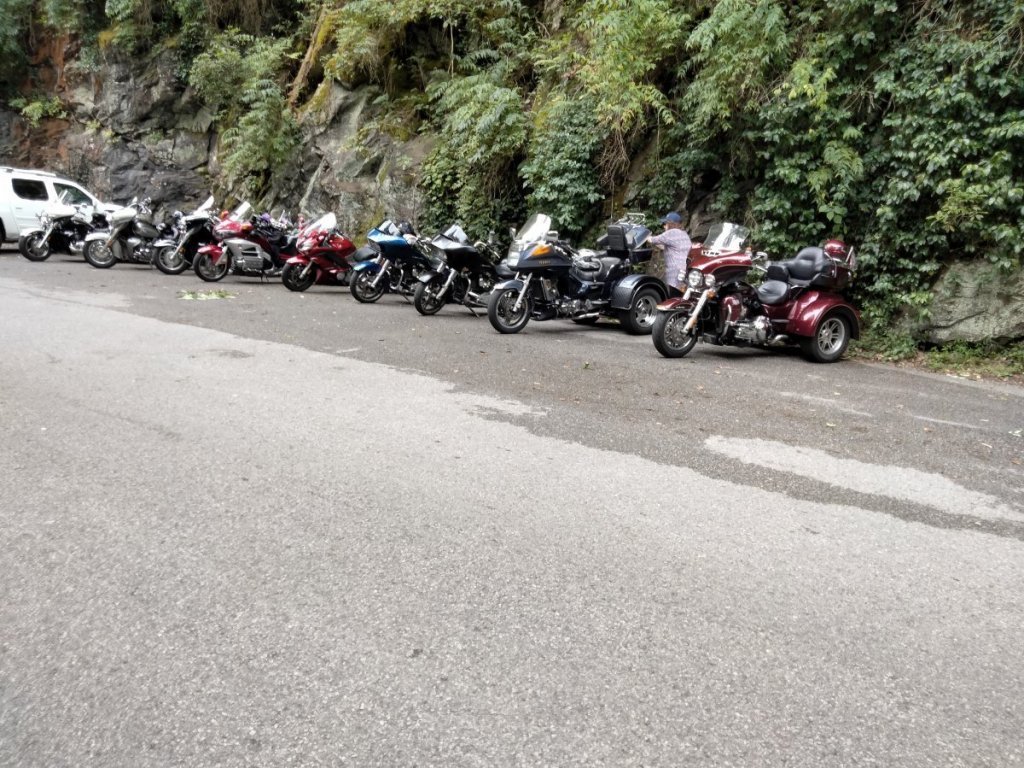
It’s a few days of the best riding you could ask for, not to mention the time setting around the fire hearing and telling stories. Some of them even true!!! I’ve made the last 4 years and it’s a ton of fun with some good people. I recommend the trip if you can.2 points
-
Hi Carl, the bike is in great shape, especially for it's age. Plastic is all excellent although previous owner reinforced some pieces of the fairing but looks good. All the extras still work, radio, cruise, air controller. Next time there's a get together I'll bring this one down so you can have a close up look, Mark2 points
-
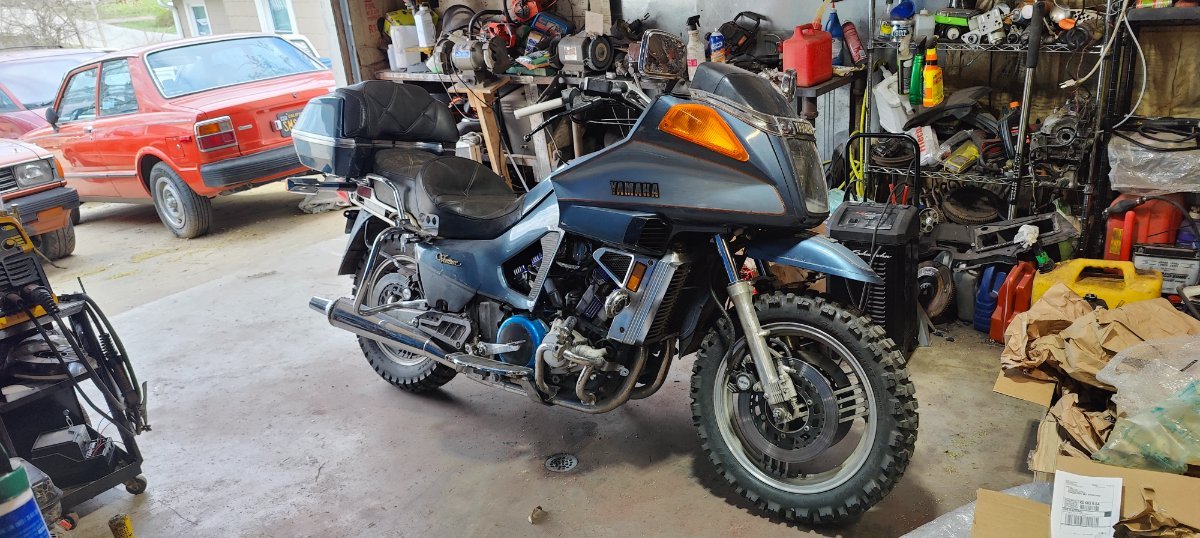
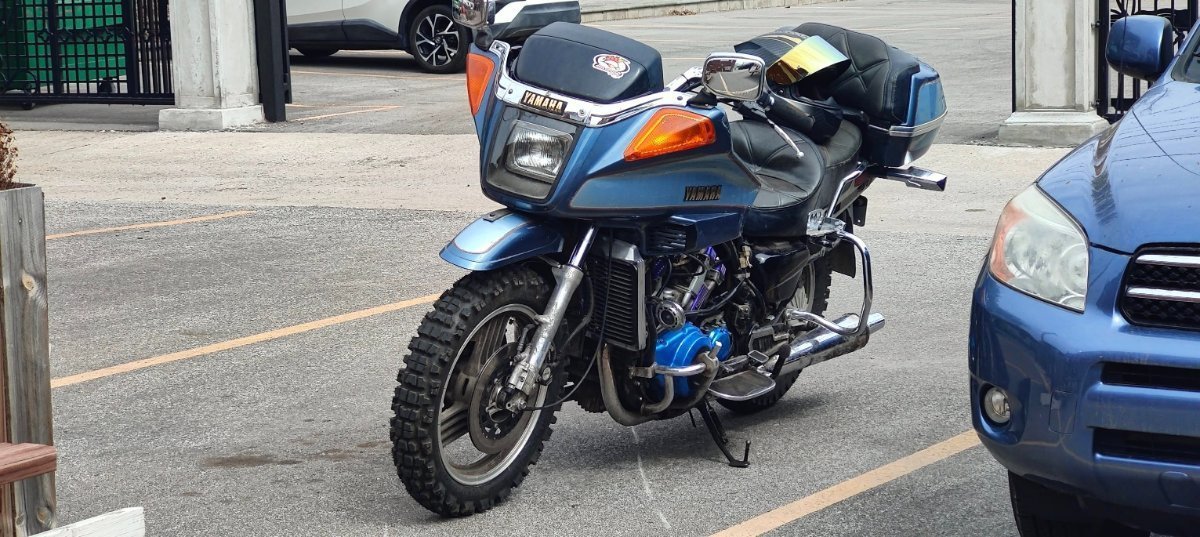
got an '84 and '86. '84 is a bastard bike -- all 1200 parts on an '88 frame, and the '86 has over 120k miles on it, and was featured at the old Venture Days shows in the 90's.
2 points
-
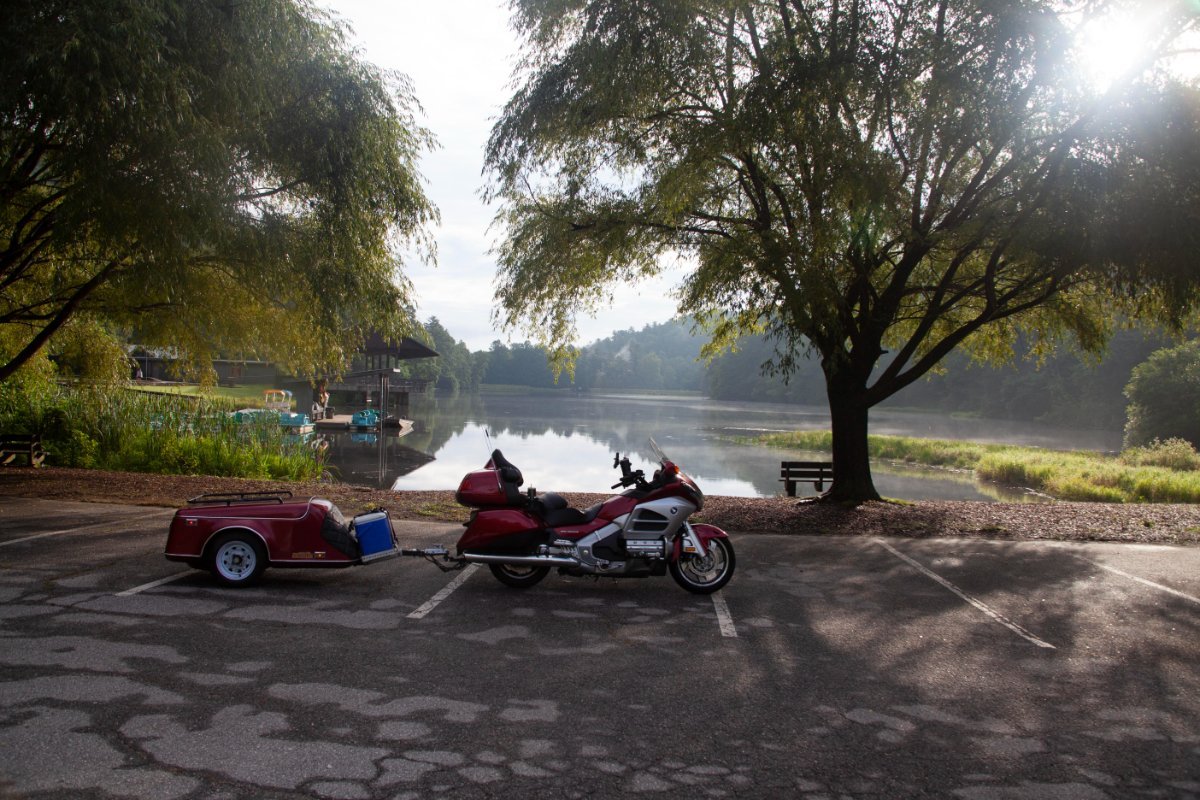
Been able to get out a few more times this past week ! Weather is still sketchy lately with high winds and rain but will have some great ridding ahead!1 point
-
Congrats! Glad you finally got out! Sorry we couldn't get your center-stand mounted like you wanted but if you ever need any help you know who to call!!1 point
-
@Chaharly Glad to hear you are able to work on your passenger backrest. Hope you are able to ride more, now that we should all see a warming trend on all states. Rain here and there is ok with as long as I keep a close eye on doppler and extended forecast. So glad for better weather reporting and technology. Ride safe.1 point
-
Already on my 2nd cut and applied fertilizer on half of the yard. TBC fertilizing this weekend.1 point
-
I like that idea. Guten tight and a new crush washer every time.1 point
-
Yeah, I thought I was getting them Guten tight but I developed a leak on one of the drain plugs. Kept telling myself not tight enough. I actually drained the Oil and replaced the crush washers. Right now the bike is in the shop for a fuel pump. I will put this on it and see how close I am.1 point
-
I joke to my non-mechanic friends when I'm teaching them how to fix their cars of "German Torque Specs" for drain plugs and non-critical fasteners.... Guten-tight1 point
-
Happy Easter 🐣1 point
-
On my '82 Yamaha XV920 I never had to worry about the petcock unless I needed to flip onto reserve. Call me spoiled and lazy, but I went ahead and swapped out the manual petcock on my 2001 RSV for a vacuum operated (automatic shutoff) petcock. Hopefully the below link will work - the video shows the petcock working. 20250420_043309000_iOS.MOV Here's the ebay link to the petcock I put in: https://www.ebay.com/itm/4040124372301 point
-
Happy Easter to All! Have a safe ride.1 point
-
Speaking of CanAm, I was at Don's Kawasaki yesterday and had my SVTC front tire mounted and balanced. While waiting in their showroom, I got the chance to take a closer look at their new 2025 RedRock model built for street and mainly for offroad use. It is sharp. If only I can find the funds to support my desire, this CanAm is a great addition to the fleet.
1 point
-
That is fantastic news. Never thought they could reopen so fast. I would love to see pcs or tour to see what survived the storm.1 point
-
i found that it's not necessarily the shop, it's the procedure followed or maybe how close it's followed. Canam does alignment on front wheels using the body center line. This way the wheels are aligned to each other, the fronts to the rear. Yah, it's a bit of work but then it's rewarding.1 point
-
Silly question. Tire Balance???1 point
-
Touchy stuff, there is a real reason for the arrow on the sidewall, not sure if it means anything but it's there for a purpose. For most everything may go just as planned until the plan flies out the window and then it means all hands on deck but one or two hands were tied up elsewhere. You might get away with it, and then again you might not. Figure first what it might save you and then consider what the savings amount to.1 point
-
Order a whole bunch, they're only $1.59 ea. A screwdriver is not a special tool, you will bust the basket, you need to hold the basket at 2 points minimum or do as I did and just rattle the nut on and then stake it in place.1 point
-
I actually just bought another Fight ‘n Rooster. Not a big fan of mother of pearl but it’s my favorite style and getting hard to find.
1 point
-
Very handy and useful. I used to carry one similar.1 point
-
Thanks. I was an electrician for about 20 years and the sheepsfoot and wharnecliffe blades just worked very well for stripping wire and etc. They just stuck as my favorite.1 point
-
we may ride over while we are at Maggie Valley and see how it looks.1 point
-
Only ever other year1 point
-
Joe, how did you all those young folks to stand still long enough to snap that picture?1 point
-
You were at Vogel?
1 point
-
@Chaharly It is indeed pretty quiet lately here. Great to hear from you and the condition of your wife is favorable. Truly understand that no riding for the meantime...Family comes first before anything else. I wish her the best of health and the baby until almost full term. Keep in touch whenever you can. Over here, rain in the forecast for the next three days. This will give me time to work on my front tire to have it replaced.1 point
-
not for the 1200's. it says to warm up the bike, shut it off then check. regardless, i still did a static wet check. two carbs were smack on, the other two were way off. Fixed them aaaaannnnd....nothing changed. checked spark plug boots. Found one of the resistors had a carbon track on it, bypassing the whole resistor. Changed the boot aaaaaaaaand....nothing changed. So, this scenario is very unique to me. I have found the issue for my bike. You see, I wasnt running almost any of the plastics due to them being mostly smashed or cracked, and me wanting to be stupid and do adventure riding with it. Which means the air box is out in the open. From a hunch, while on the highway when it was surging, I decided to cusp the air inlet on the box to help stop the wind shear blowing across it aaaaaaaand...the surging stopped. Removed my hand, surging started again. So, I went back home, reinstalled the fake tank lid, and what do you know, that was it. Turbulent air was causing my lean surge. At least I can ride the bike without the annoying lean surge. Also threw on the messed up side covers. Makes it look like a big Seca~
1 point
-
Dan is going to try to make it from Chicago.1 point
-
If we get to go we’ll stay there too. Right now 100 miles is about my limit, we’ll see in a few months.1 point
-
My local Yamaha dealer orders my Metzlers for me. I run the 888s with good luck and just replaced the front one last week.1 point
-
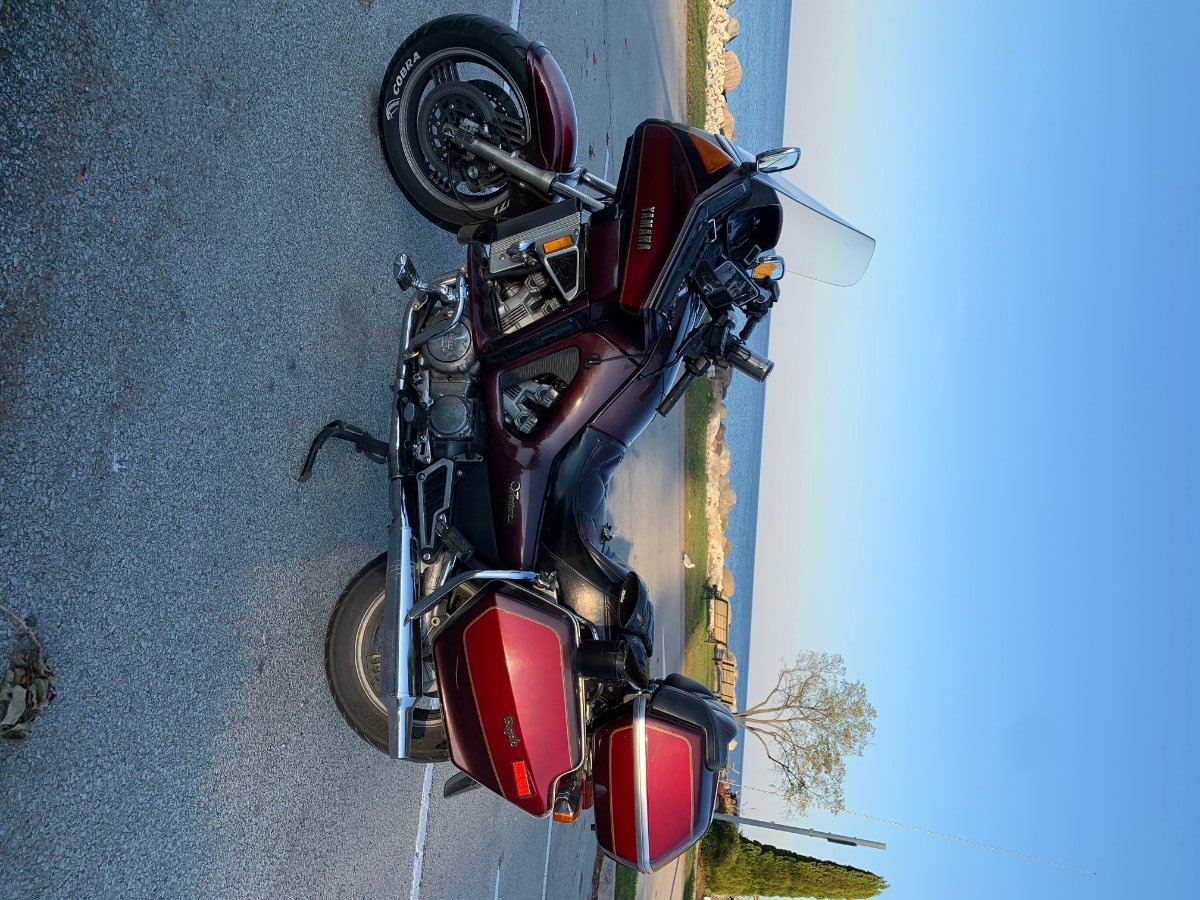
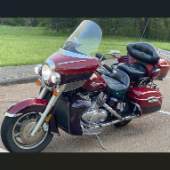
I have an 84 VR that I bought brand new still on the road,,,,thanks again Carl @Marcarlfor the refurbishing of this bike to keep her going. My wife and I went around Lake Ontario last year through New York State and home with it. Also have an 86' pictured here. My sister and I went to Vermont on it in 2023. Still love riding these old bikes. Hard to believe that they're 40 years old. Mark
1 point
-
Still have my 87 that was my first touring bike(sold last bike {84 Honda 400SS} to get married in 83) rode it till having accident in 2008. Bought it back with intentions of restoring when I had time after retiring! Well that hasn't happened and not sure if it will happen at all!!!! Don't have the money or the time as I hoped to have!!! Really miss ridding it!! I do ENJOY ridding my 2012 Royal Star Venture but both bikes have their qualities that make me LOVE both!!! Will have to see what happens I guess!!1 point
-
Hey there! I've seen your bike posted on one of the facebook groups sometimes. Before you get too crazy re-adjusting idle screws etc, did you replace the jets from the 1300 carbs to the 1200 carb jet sizes? Some of the jets are different. There's a chart somewhere on this page that has different jet sizes for different years etc. If your jet sizes are okay, you may need to turn your pilot screws out an eighth turn at a time until it quits, that will richen the mixture. Also, in my experience, I believe that I have an air leak at from the boots that go from the airbox to the carburetors on the bottom side. That might be leaning you out as well. Another thing to think about. If you're running stock main jets from your 1200 carbs, your emulsion tubes may be worn out of spec. The needle rubs against them and can oblong them. Maybe you're actually running a little too rich. You can get some smaller thickness washers ( I dont remember the size i replaced mine with) and drop those needles a little more into the emulsion tubes to lean it out and see what you get there. What are you getting for fuel consumption??1 point
-
I talk to him occasionally but it’s been a while. Last time I did, he indicated that his riding days were pretty much over. He had bought a couple of electric bicycles and was enjoying them.1 point
-
Earl @skydoc_17 is still active on this forum and still, as far as know producing his excellent delinking kits on demand. I would message him again. He's probably just taking a break or otherwise busy right now.1 point
-
Fuel will drain past the pump. If you have a stuck float needle, fuel will drain into the combustion chamber and likely hydro lock the engine. There have been some ruined engines because of this. i had this happen once but was very lucky, the cylinder with the raw fuel happened to have the piston at the top of its travel. When I hit the starter it was locked rather than starting to turn over and slamming that piston into uncompressable fuel and busting the piston,, rod and or block. I took the spark plugs out,and turned over resulting in fuel spraying all over. The crankcase usually fills with fuel too. Now I absolutely never shut my bike off without turning off the petcock. I don’t even think of it as it is now such a habit. The reverse when starting - turn the fuel and pull the choke out1 point
-
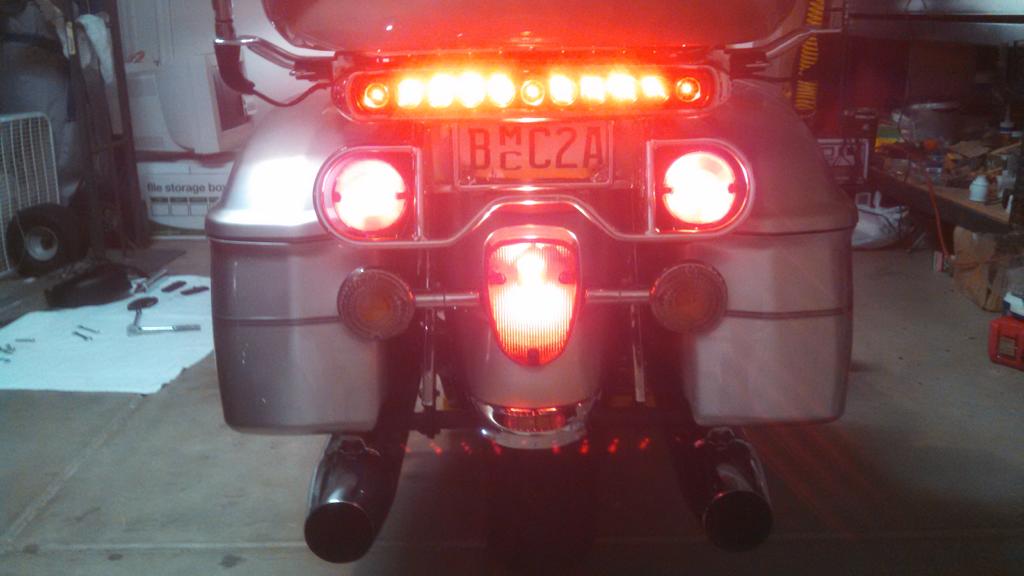
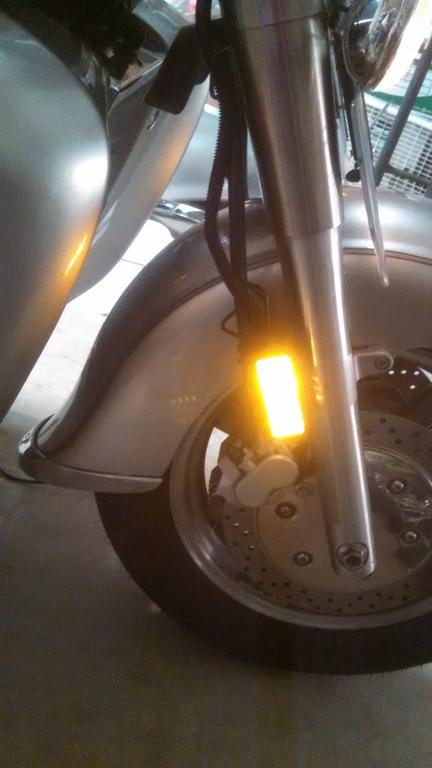
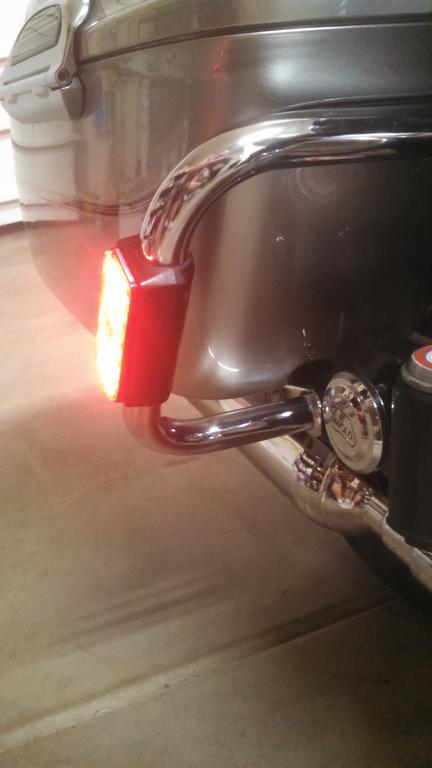
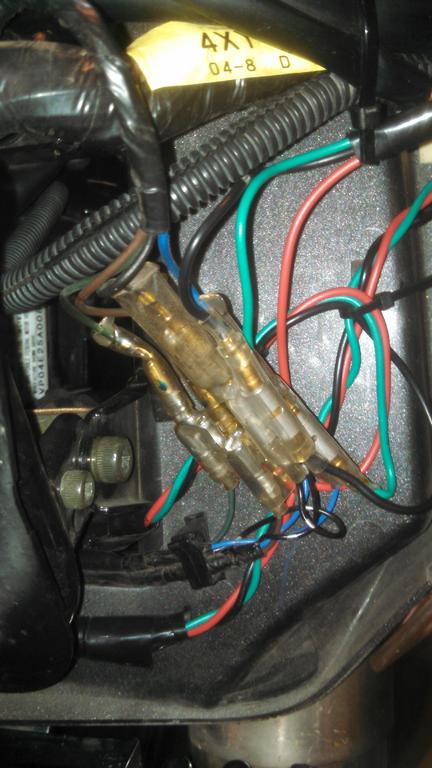
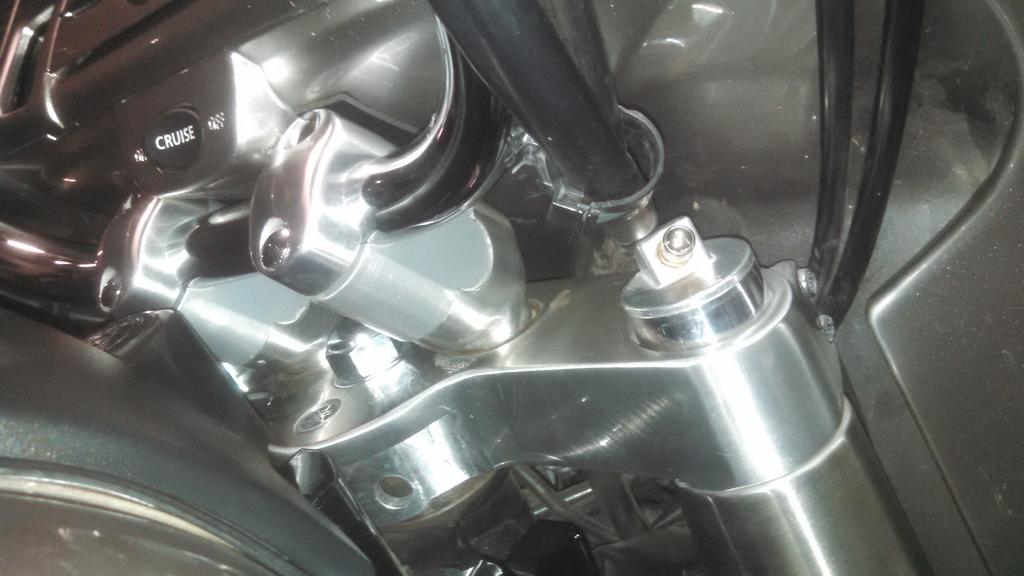
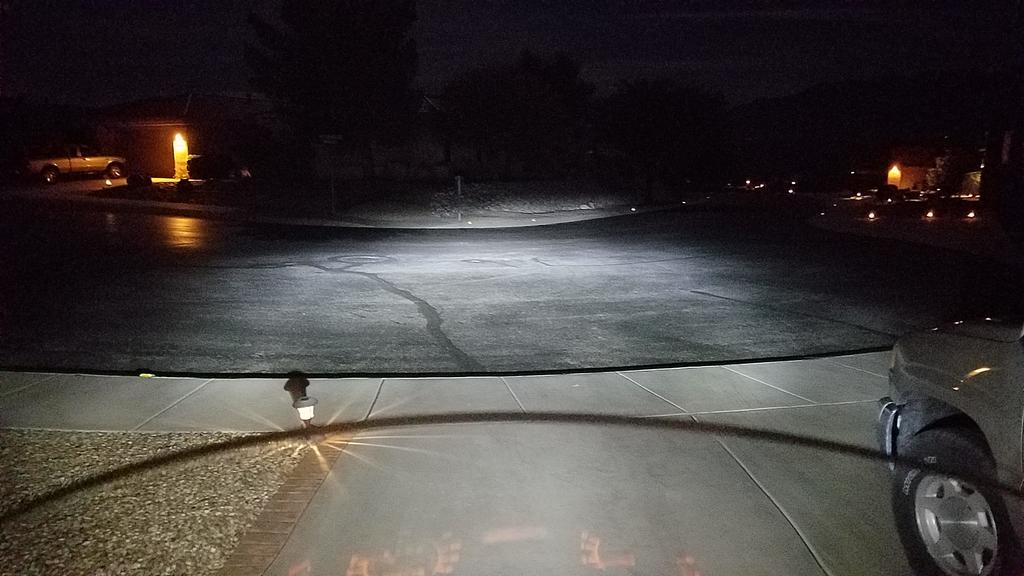
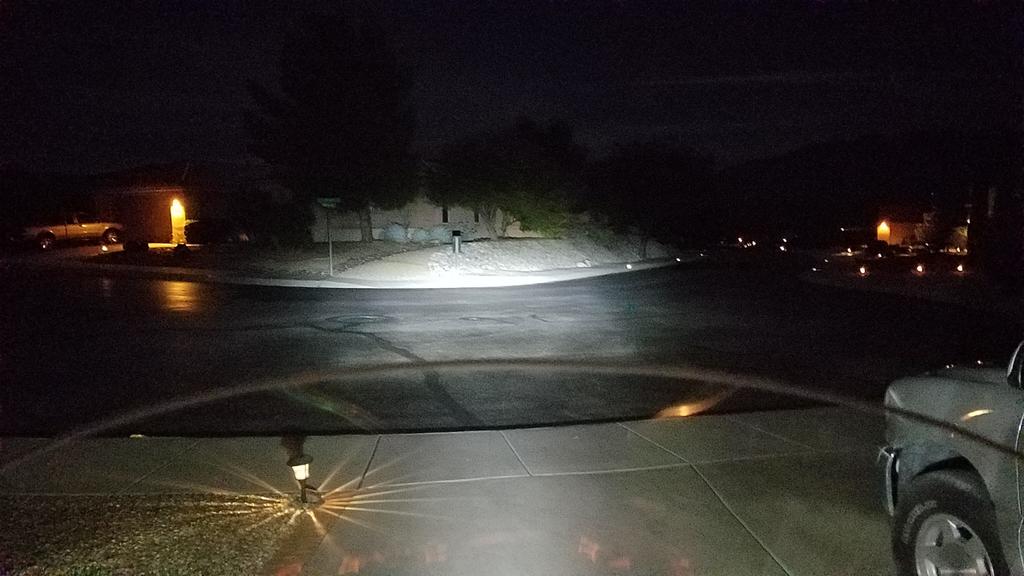
LEDs. Some ideas for you.... I replaced my headlight bulb, reflectors, taillight with LED's. Taillight was sold by Custom Dynamics, about $90. A board replacement that is quite bright. I don't see it available on their site, now, but it fit the VStars as well. Maybe available on EBay. The reflectors I replaced with 2 cheap 2-way LED boards that fit almost perfectly into the reflector spaces...and wired to the taillight and front running and turn signals through plug and play adapter cables sold by a member here. Added an LED strip under trunk and HD style tail light kit for additional running and stop lights. Headlight bulb was a Dot approved LED with low beam cutoff and passive cooling. Fit fine and works very well. Also, you might want to consider the ignition switch modification. As stock, Yamaha runs a ton of current through the switch. Member that makes the plug and play cables also makes a plug and play set up that routes most of the current through a relay instead of the switch. Easy installation, like all of his stuff. Look up above under classifieds, member venders. LEDs in rear Reflector LEDs..run and turn blink. Wires run through rear guard, up front forks. Plug and play accessory cables from Steve. I've used his stuff to wire in the XM radio power, rear lights, front leds and soon the small front spot lights I'll be mounting on the forks. I used the 12 volt power center located under the dash on the lower left side of the fairing. Pics of the headlight pattern. High beam does go out nicely! Much better than stock in both reach and width. Low beam... High I also lowered my front end about an inch. helps level the bike, gives me more flat feet room and makes the low speed handling a touch easier. Currently run 0-4 lbs air front shock, 30lbs rear shock. Front tire at 38 and rear at 40. I change rear to 35-40 for 2 up. david PS. love your part of the country. Spent some time just East of Knoxville picking up my travel trailer. Strawberry Plains Best Western! Been through that area a lot in past few years. Will have to plan a detour south to your area by the Tennessee River next time!
1 point


.thumb.jpg.bf82ce75721b193880368d3ccb1ca2d0.jpg)
.thumb.jpg.2205483fddeda4af671a7b2c5b4f4ab4.jpg)