Leaderboard
Popular Content
Showing content with the highest reputation on 04/20/2023 in all areas
-
Hi Everyone Picking away on getting things done on the Bike Installed the Handlebars last nite with the new Krator Risers Not sure if they are set at their final position but they are on and Ready to have the controls mounted. Now have the new forward control Rear Brake master permanently installed after retapping the Outlet for the M10x1.25 banjo the hole was originally M9x1 and near impossible to find a Banjo to fit it one of the joys of Amazon. Started to rebuild the Rear caliper and found out the AllBallsRacing Rebuild kit only has the Piston and Dust seal for 1 side so now I need to order a second also missing was the rubber washers that are in between the 2 halves so i have contacted the manufacturer we will see if they respond. that is it for today Herman3 points
-
My wife and I have been "planning" a trip to the southwest since last year and are finally getting ready to leave. We had hoped to leave in late March, but the death of a family member delayed us. It looks like we will be able to head out tomorrow if I can get one more project finished on the RV. I am so looking forward to doing some serious sightseeing from the Trike in New Mexico and Arizona. I will try to provide some pictures when I can. Steve1 point
-
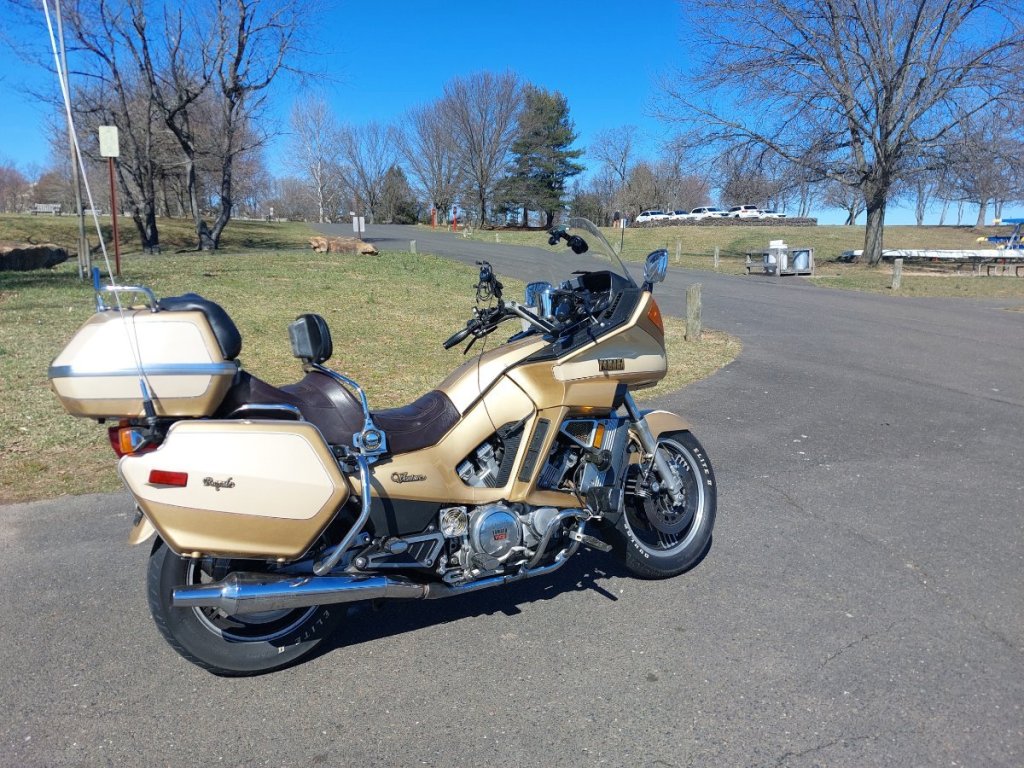
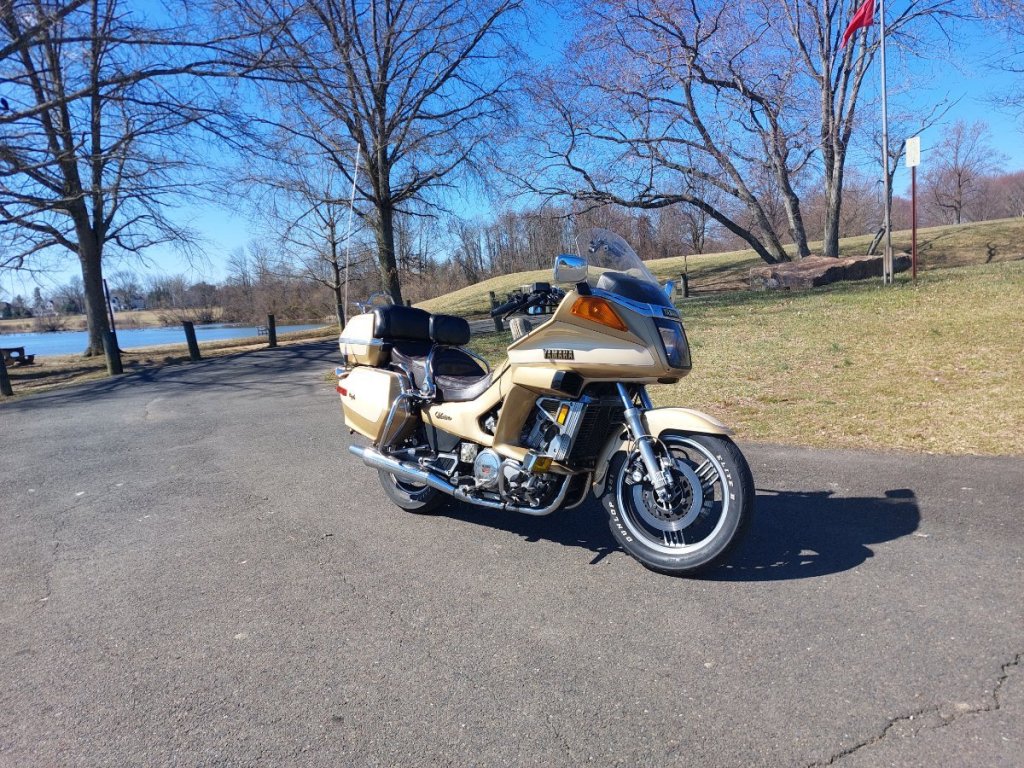
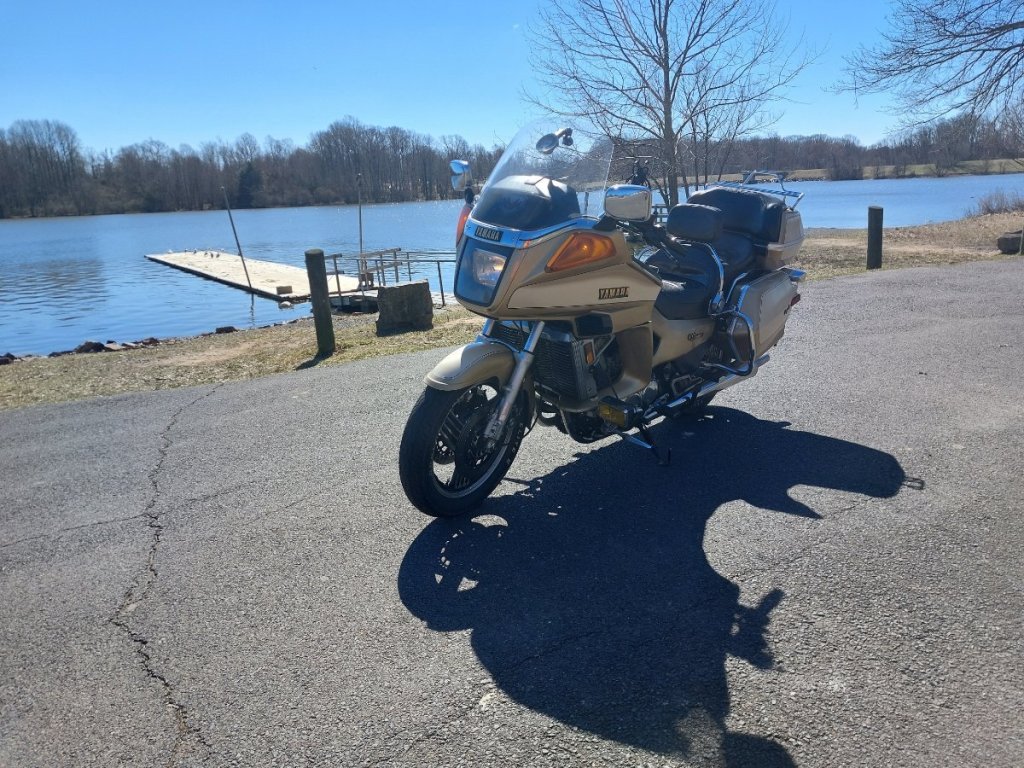
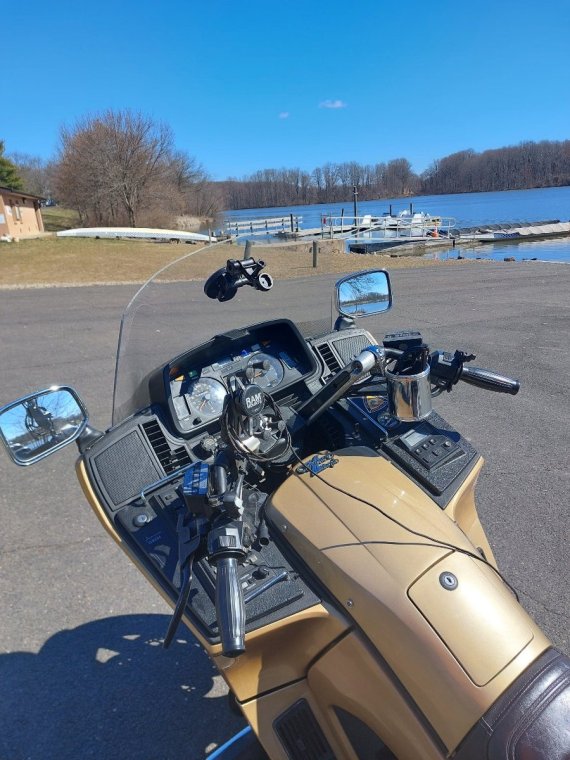
@S24,,, WOWZY WOW WOW WOW is that PURDY!!! CONGRATS!! Many many many years ago and 6 MK1 Ventures ago starting in 1987 I began my Venture adVenture on a Blonde 1984 Royale and it came to me with 24k miles on it and needing repair too. It needed a stator and had second gear gone. After doing the stator and other updates (but leaving the missing 2nd gear missing) I chased the front wheel on that one out to 275k miles of FANTASTIC touring of the country. You REALLY got 1 up on my experience (pun intended) by snagging an 85 so NO tranny issues!! THAT IS SUPER!! Take your time to get it all sorted out and you landed the absolute best of the best touring bikes of all time my friend! I dont get out much anymore cause of my health but do stop in every now and then just to check on allllll my VR buddies.. My ride days are far behind me now but I wish you nothing but the best in your upcoming adVenture fun!! Puc @RDawson, thank you sooo much for bringing this to my attention Corporal Newkirk!! DROOLING I AM! The body is no longer willing but the heart/mind? THAT is a whole nuther subject!! DANG!! THAT IS GORGEOUS!! Thanks Ronnie!! Puc1 point
-
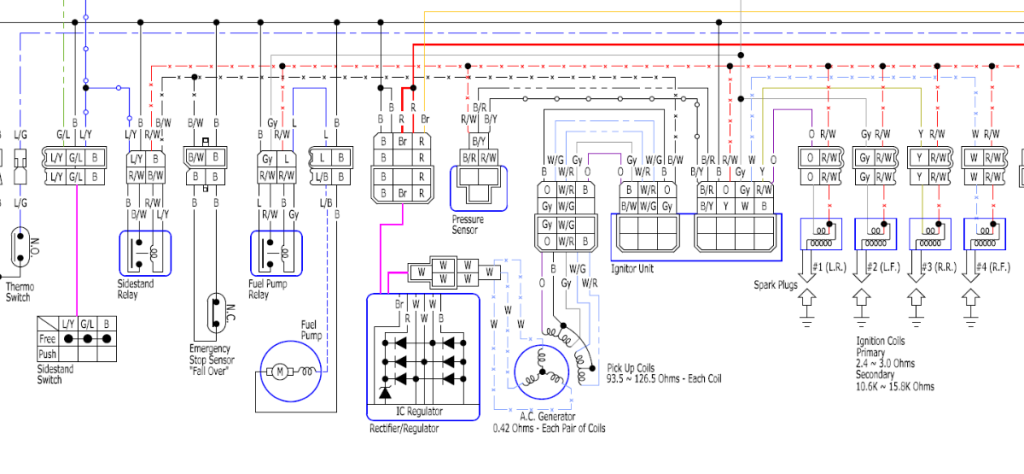
Marcarl is correct. You should have constant 12v to each coil, the ground side of the coil is individually controlled by the TCI. If you look at the schematic you will see that the there is a red/white wire that goes to the 8 pin connector at the TCI , each coil, pressure sensor, fuel pump relay and side stand relay. With ign on you should have 12 volts at each connection point. You should also have constant ground via the black wire 0n the 8 pin plug to the TCI , fuel pump, fuel pump relay, fall over sensor switch, With all the fall over switch, side stand switch and relay all in the normal run position you should also have ground were the black/white wire connects to the TCI at the 6 pin plug. Disconnect the 6 pin plug at the TCI and down by the frame at the stater Which goes to the pick up coils within the stater housing. With an ohmmeter check that you have continuity from the pin on one connector to the pin on the other connector for every wire. Also check the condition of the connector at the stater it is not uncommon for these to turn green in which you would either replace the connectors or just cut them out and hard wire the ends together. If this tests OK perform an ohmmeter test on the pick up coils themselves. With the pickup coil 6 pin connector disconnected check resistance for each coil by connecting one test lead to the black wire and with the other test lead touch each of the other wires you should get ( approx 93.5 to 126.5 ohms ) for each one any one that does meet this spec indicates a pickup coil fault of some sort. Open line reading is an open connection or broken wire to its related coil lower than 93.5 or full continuity would indicate a short of some type.1 point
-
I believe that the coils are constant powered and then the ground side is disconnected to create spark. So you might have power at the coils but no spark. The ground would go then to the TCI to activate the spark.1 point
-
Hi Everyone I have been out in the garage every nite this week as my Wife is Baby sitting for Friends at their house for the week. I now have all the Major frame components sprayed with a fresh coat of Gloss Black Caliper paint, I have been using VHT brand paints for most of my projects as it has very good coverage and is High Heat and Chemical resistant. I have 2 good coats over all the parts; tomorrow after work I will flip over the frame and just need to apply a top coat on the 2 top pipes Friday Morning My buddy is coming over to help me put the engine in the frame then I will continue to re-assemble. I had my new tires installed today and many parts orders arrived including my new Plug wires and Iridium plugs from Fortnine. So the question posed by MarCarl on what to do about the swingarm bushings. I measured the Swing arm sockets and the internal Diameter of the bolts or Sleeves depending on what Pivot point. The worst Bushings were the 2 that are on either side of bottom shock mount of the smaller Steel swing arm link these measure 22 mm on the swingarm socket and the internal Diameter is 18 MM, I have found a source in Canada for metric Bushings but have yet to get a response as to availability of the sizes needed. However My solution at this point is to take some SAE Bronze bushings that are readily available 7/8 OD x 5/8 ID, I will need to turn down the 7/8 (metric value is 22.225 mm) to the 22 mm to fit the swing arm socket then drill the ID from 5/8(16mm ) to the 18mm finish diameter (drill bit should be here tomorrow) drill a hole in the side of the Bushing slightly larger than the Grease nipple to allow grease to be pumped in, press this into the Socket and we should be good for a long time. The Flanged bushings of the larger Aluminum swingarm link that attaches to the bottom side of the swing arm is 23-24 mm sleeve with internal diameter of 18 MM these bushings have very little play in them so I am not going to change them at this time just because of my time constraints to complete the build, however i will be adding grease nipples to these points as well. All remaining Bushings appear to be in decent shape with little to no play, the Swing arm Pivot bearings just require a good cleaning and repack of good bearing grease and should be good for a long time yet. as always see pictures of the progress all thoughts and comments are welcomed. Have a good nite Herman1 point
-
Welcome to our circus. You’re in the right place to keep her going. I’m betting ole @skydoc_17will be along soon and maybe @cowpucwill stop in with some more of the 1st Gen gurus to drool over that beautiful machine.1 point
-
1 point


