Leaderboard
Popular Content
Showing content with the highest reputation on 10/15/2022 in all areas
-
2 points
-
2 points
-
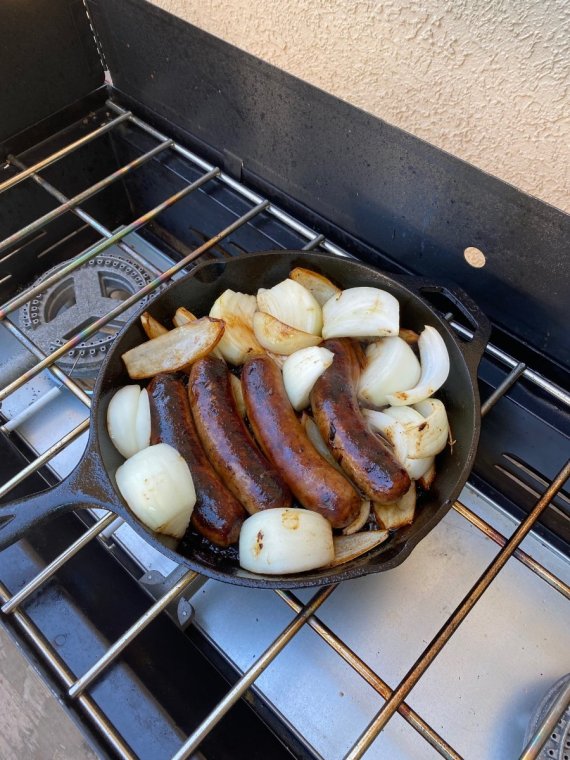
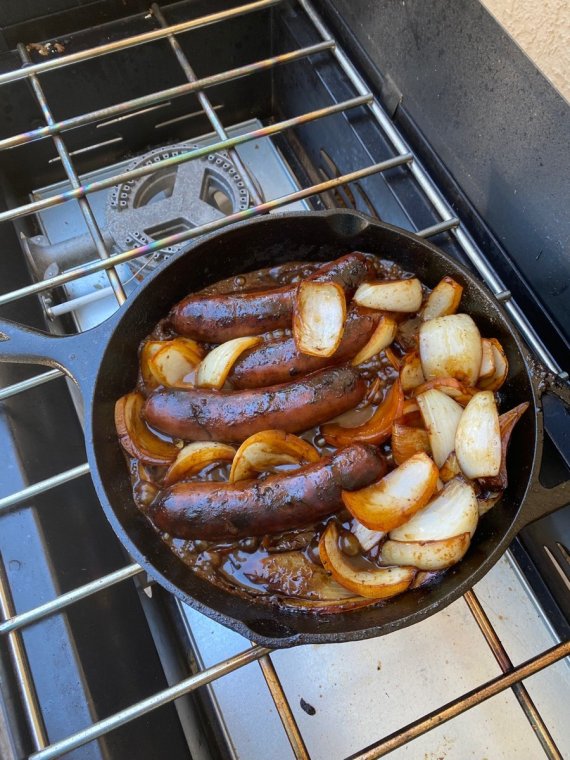
My first attempt with beer brats was last week. Recipe said to cover and simmer. They came out boiled and not good. So my own take this week is to just slowly add beer and deglaze the pan and let them crisp up on the skin. First round went well! Now for that onion jam gravy at the end. FYI this is also how I’d like to cook on an MC trip.1 point
-
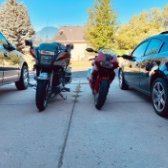
20220918_155857.mp4 I don't normally have THIS many bikes, but due to the Motorcycle market taking a dive over here, I'm struggling to sell a couple at the moment. Had them all out of the garage the other day (moving the Sports bike to the back as the weather is getting colder here in the UK) and took this video. I'm a big fan of late 90s/early 2000s stuff ... as you can see 😆1 point
-
1 point
-
Tip #2 Don’t lay your hot heat gun on your alcohol cleaning rag. Don’t ask me how I know.1 point
-
1 point
-
Now if I read you right you removed the cam caps and the cams. Cam caps MUST go exactly in the same place they were removed from. This is because the area were the cam goes through, is machined with the caps in place so that all the holes are in perfect alignment, often referred to as line boring or machining. Mix these caps up and the cam will not turn freely but end up being clamped in place. 1st get and follow a proper manual for your bike. There is a proper tightening sequence for the cam caps which must be adhered to or the cam can be damaged If your lucky the may be marks on each cap that will line up with its proper location on the head. This can be a slash mark on the cap that perfectly matches up to one on the head when the cap is in place. The can be numbered with a matching number on its counter part on the head or there is nothing at all. Another method is to check the matting surfaces of the cap and head for matching finger prints so to speak on the mating surfaces. Finally if your patient you can keep swapping them out until the cam rotates freely if more than one seem to be a good fit than assign them to that location for later trial and error Start by placing caps in place without the cam. feel the inside of the bore and across the matting edge with your finger for smoothness. as you slide your finger across were the cap and its counter part mate you should feel no edges. If you do try another cap. Once you feel you have matched the proper cap to its proper location install the cam. slowly snug up the caps running back and forth across all the bolts until you start to feel the cam bind. ease up until the cam just starts to smooth out again now tighten each cap one at a time if the cap goes right down tight with out clamping the cam you might be lucky. If it clamps the cam try a different cap until you can torque it down without it clamping the cam. Now mark the location and remove. The caps place a piece of plasti-guage on top of the cam and reinstall the caps as per the manual. do not turn cam at this time. After you have properly torqued the caps in place remove the carefully. The plasti-gauge package has reference or comparison marks along its edge. compare these with the amount the plasti-gauge has flattened out to determine clearance usually between 0.0008 and 0.0021 inches to a max limit of 0.006 inches. If all meets the correct criteria you should be OK to reassemble your cam. BTW this will take lots of patience and luck to get yourself out of this issue. in future always mark and remember locations of any bearing cap.1 point
-
1 point
-
1 point
-
I used Kicker speakers for my replacement. Cleaner crisper audio. I've ridden in the rain a few times, no problems. Still the original head unit and amp, which I'm starting to think about upgrading too.1 point
-
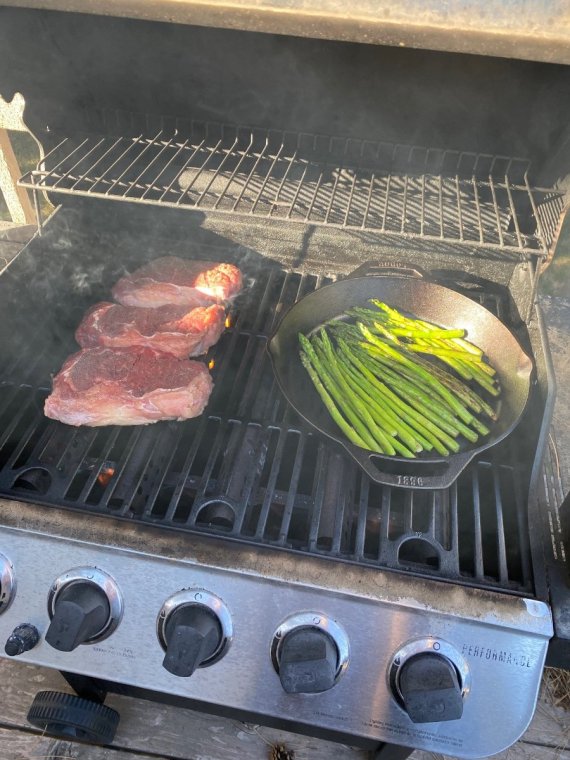
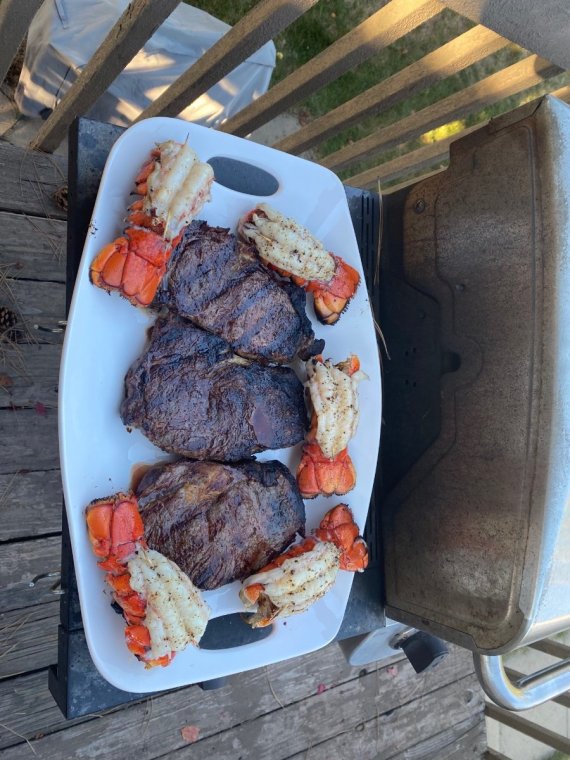
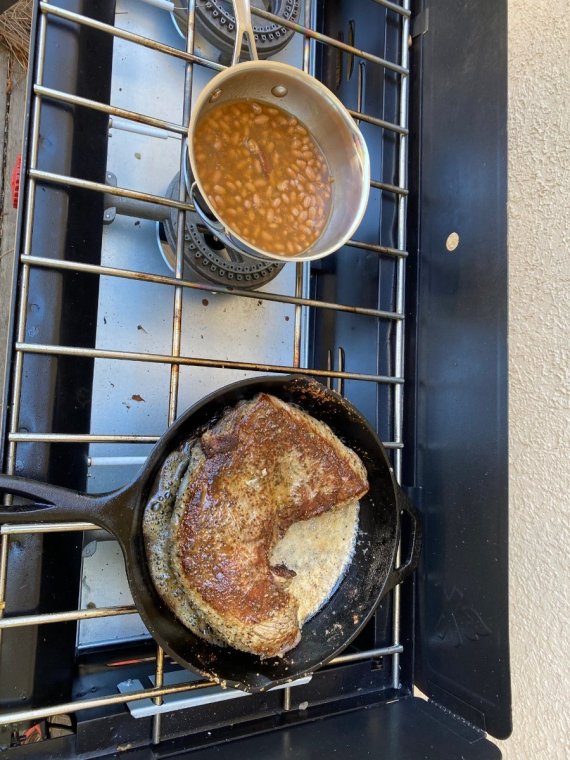
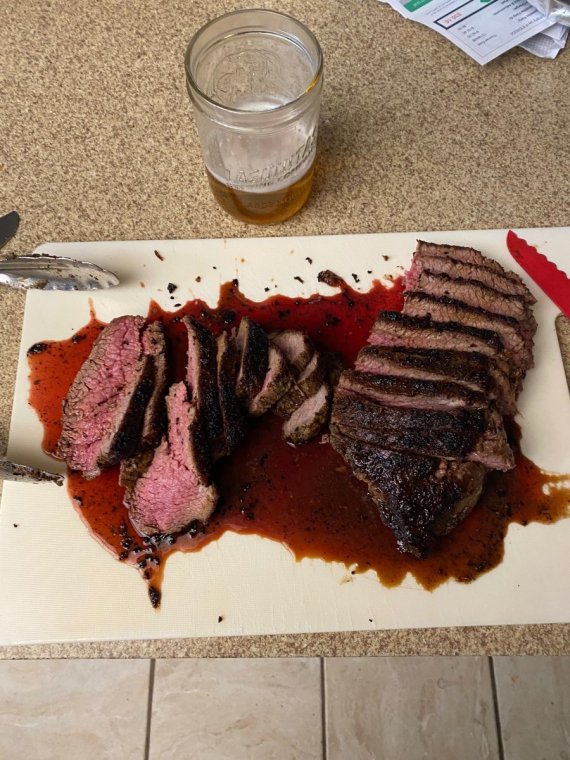
Still can’t resist. Some places the Tri Tip cut of meat isn’t known or popular, but on the west coast USA it’s a staple. Legend has it starting in Santa Maria Ca. I often travel to Vandenberg SFB and bought what it told to be the original seasoning from a small deli. Well I’ve cooked many of tri tip from smoking to roasting and my favorite has been grilling it like a ribeye. Until now. I used the same suzie q seasoning I bought in Santa Maria but pan seared it in cast iron with a butter baste. If a picture could deliver flavor here is my effort for y’all.1 point
-
1 point
-
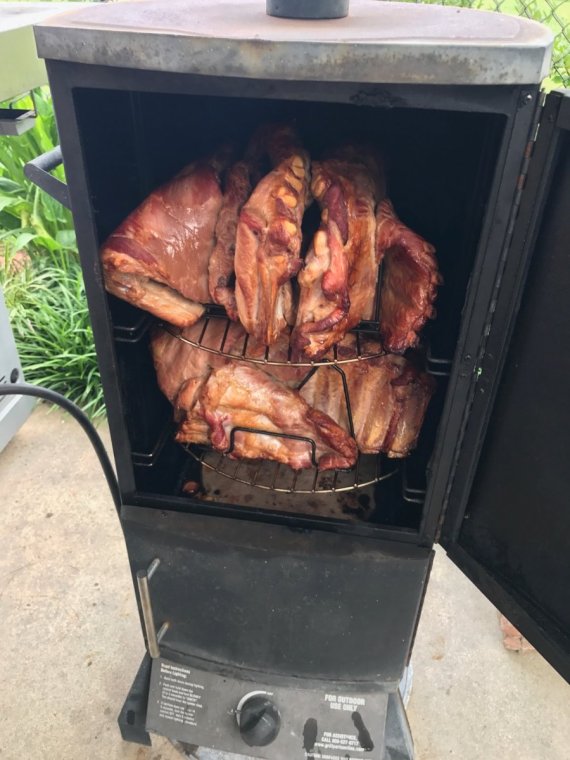
I’ve always heard this is an eating club with a motorcycle disorder, how many biker groups discuss smoking ………….meat? That being said I bought a 13lb brisket this week, throwing it in the smoker soon.1 point
-
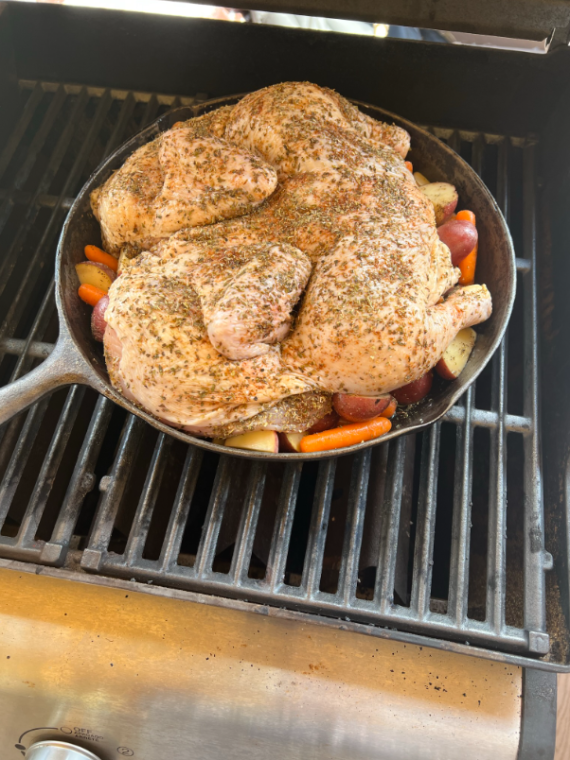
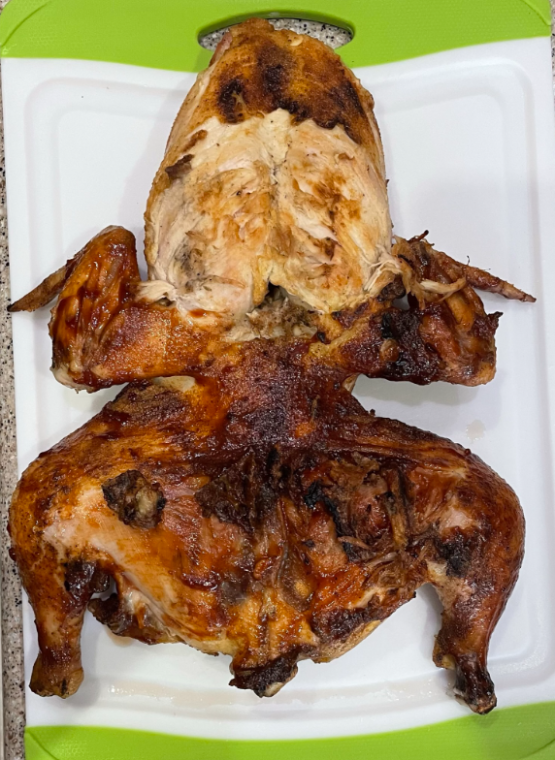
First one is spatchcocked and then Seasoned (however you want) place on a bed of potatoes, carrots, green beans or other vegetables. I do this in a 12" cast Iron and cook the vegetables for about 45 - 60 minutes before adding the chicken on top. Keep the grill or smoker at about 225 - 250 and it takes about another 2.5 hours. All that great chicken fat and the seasonings cover the vegetables. I also like to add a lot of smashed garlic. Also, I have seasoned the vegetables first which works well too. The second, Split along the rib cage and back then butterfly close to the neck. Season to taste and cook over medium coals turning as needed. I then I like to use several layers of Sweet Baby Rays BBQ sauce.1 point
-
1 point
-
Thank you to everybody that replied to this. It was indeed the massive amount of crud caked in there that had me stymied. Once I understood it the clamp came right open and I did not need to remove all the stuff I removed to get at it.1 point

