Leaderboard
Popular Content
Showing content with the highest reputation on 07/08/2021 in all areas
-
Plus learning to wrench on your own bike puts you in a better position to know what to do, should you have an issue on the road.2 points
-
Never apologize in the search for answers. Situations like yours as well as camaraderie is the reasons this site exists and those of us that are able to help are only happy to do so. As far as your fuel consumption goes two of the more common causes are stuck enrichment valves (often referred to as the choke. A common sign of this but not always the case, is that you never need to choke your bike to start it even on very cool mornings. You can try observing them for movement as you move the choke lever as they are mounted on the outside of the carbs and manipulated by levers too which the choke cable runs. Another issue is the float levels set to high which sadly is not an easy thing to check on a 1st gen and is easier done with the carbs removed and on the bench. If your valve set is so far out that you are loosing compression this could cause an incomplete or inefficient burn resulting in low power and higher fuel consumption. Also when draining the Rad there is a hex valve near the oil filter housing. marked drain. make sure it is set in the on position when draining or filling the cooling system and turn to the off position for normal operation.2 points
-
Another way to look at it... Wrenching on your own bike will be an educational and fun experience! The satisfaction of a job done well! The best part is you have us nut cases here to help! Glad you are back on road!2 points
-
Thanks alot guys, I really appreciate it, I am feeling more confident now in the project, i really think I didnt get all the sludge build up in the first 4-5 flushes I did and that was before bike was on the road, now getting 500km of riding in the sludge has plugged up in areas I believe, the rad was super slow to drain so I have lots of work to do to get all this crap out of the system, aside from this bike runs fairly well, hoping the low compression is something that can be solved by adjusting valves or having a mechanic do work on the top of engine for me this winter. I'm sorry for bringing up multiple subjects in this forum if alot of this stuff is already out there, the only issue I have found with bike is running really rich, which could be to do with how I put carbs back together, i have an idle backfire and she burns tons of fuel, I have a morgan carb tune coming in the mail this week so hopefully I can learn that and see if I can sort out some issues being that every mechanic in my area is either to busy or will not even look at my bike as it is to old. I am really thankful for all you people with experience with these bikes and hope one day I can see you guys on the road. I owe you guys big time if this all works out for me, such a comfortable bike, these bikes are great!2 points
-
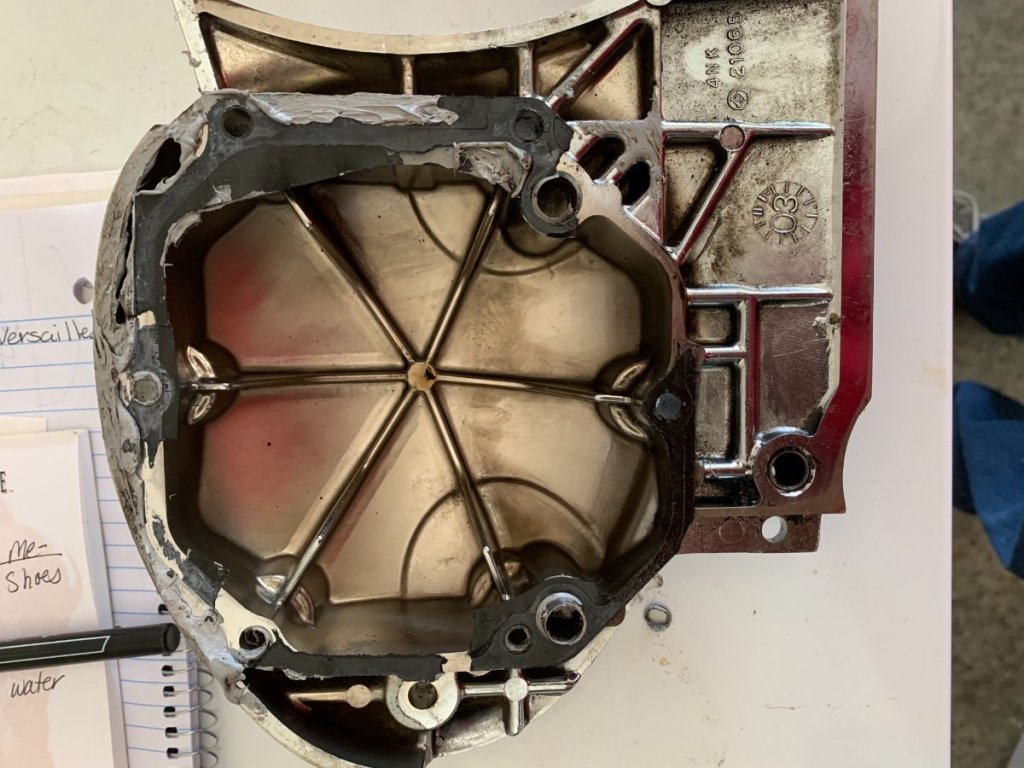
Update. I ordered the gasket after this mechanic said I needed it and then said I didn’t need a gasket I needed the cover because it was somehow damaged. I decided I wasn’t going to let him work I my bike anymore, so I took the cover off and dang it looked like a silicone bomb had gone off in there. No wonder it was leaking. It looks like when he worked on my shifter he removed the cover and didn’t replace the seal he just silicone around where he had torn it. Anyway I got all the old gasket and the silicone off and applied a gasket sealer called gasgacinch. This stuff had a lot off good reviews so I got some and no more leaks . I missed quite a bit of riding time waiting on a gasket he ordered but never came in . Anyway water under the bridge and I got to ride this weekend !2 points
-
That's good news. Incidentally, my niece, had also been on AD's prior to her attempt. In my niece's case, it was later determined that what she was on was not compatible with her genetic makeup. Might be something to check into.1 point
-
Sorry pressure testing and looking for pressure drop, or running the engine with the pressure tester on it and looking for excessive pressure build up were two items I meant to include but the Grand kids showed up so I cut myself short. There are more aggressive chemicals you can use but at the shop were I work dishwasher detergent is all we ever use when we get engines with cooling systems contaminated with either oil or diesel fuel. The more aggressive chemicals we only use if we feel that their may be a build up of scale in the cooling system.1 point
-
You might want to check out https://www.vmaxforum.net/members/dingy.3541/#recent-content This guy Dingy used to be a member here and has done a lot of playing around with vmaxing a venture and may be of some help.1 point
-
Thanks to everyone! Seems like I’m gonna have to wrench on the bike more than I had imagined because of the dealerships and lack of knowledgeable mechanics nearby my area but I have found through the forums that people are willing to help and nothing that goes wrong with my bike hasn’t gone wrong with someone else’s before me. So thanks again!1 point
-
1 point
-
http://www.hannigantrikes.com/news/genuine-hannigan-steer-lite-better-by-design/ This link takes you to Hannigan’s Steer Lite triple tree info.1 point
-
I had no idea anything like that was available. I do try to learn something new everyday!1 point
-
That's not entirely true. There are triple trees that are made for trikes that will change the stock rake. The other 2 methods mentioned will work, but there are aftermarket alternatives.1 point
-
1 point
-
From the picture it looks like rust mud. Has this bike been run with straight water in it by chance. In any case before tearing the engine down, I would do a thorough flush. A bit of automatic no suds dish washer powder soap and water for the first run and run engine up to temp about 15 to 20 minutes allow to cool drain and fill with clean water and run up again. Continue until relatively clean water drains out. Then fill with clean aluminum compatible antifreeze (STAY AWAY FROM GM DEXCOOL). Don'the forget to was out the overflow tank. Ride the bike and keep an eye on it. You can also do a cylinder leak down test and/or combustion gases test. You need a special tool with test fluid for this most auto parts stores carry them as does amazon. The later will tell you if the head gasket is leaking by detecting combustion gases in the rad.1 point
-
I have used them several times and they work great. But the stainless metal piece still have to be secure in the plastic slider even with JBM's diaphragms. Here is a note from JBM's web site with regards to the sliders: Yamaha Venture Notes: The 73 mm Mikuni Diaphragm fits the Venture models even with plastic slides. Remove the short metal tube from the plastic slide if loose, and remove the rings. Place the JBM Industries diaphragm on the metal tube, and then push tube into the plastic slide. Use Super Glue on metal tube. If metal insert tube is not loose, just cut the rings off plastic slide with side cutters as shown.1 point
-
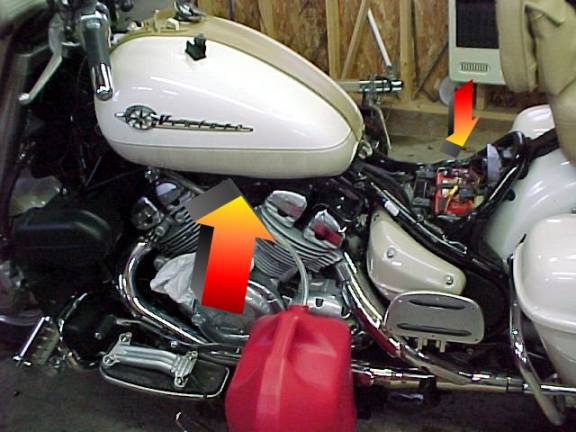
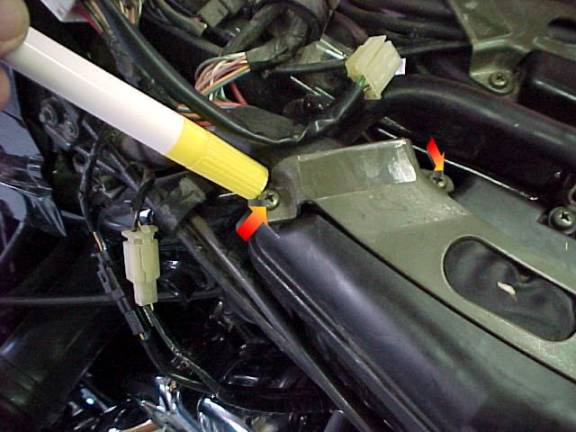
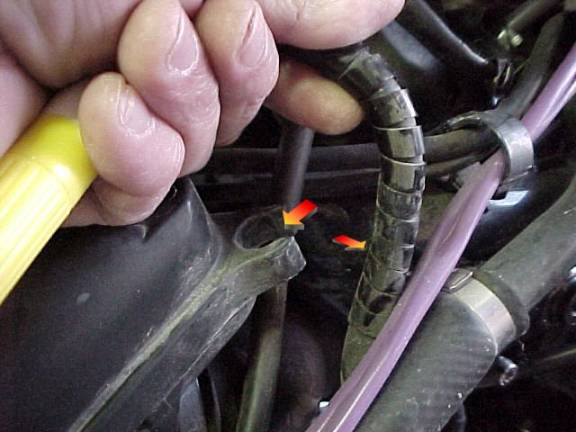
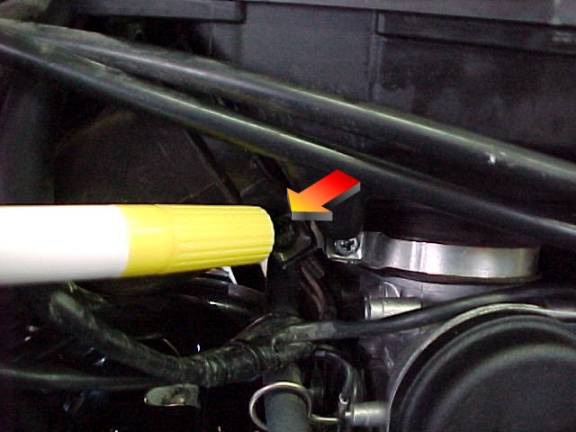
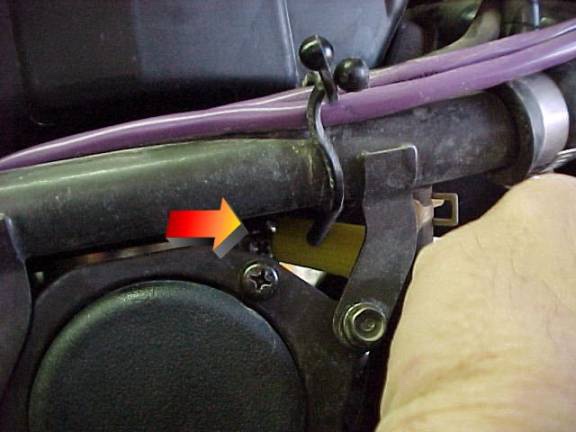
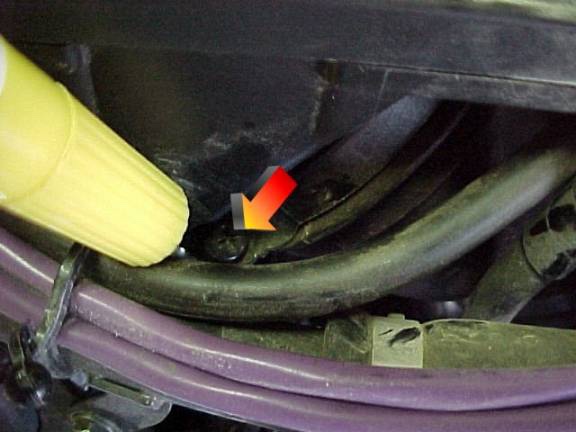
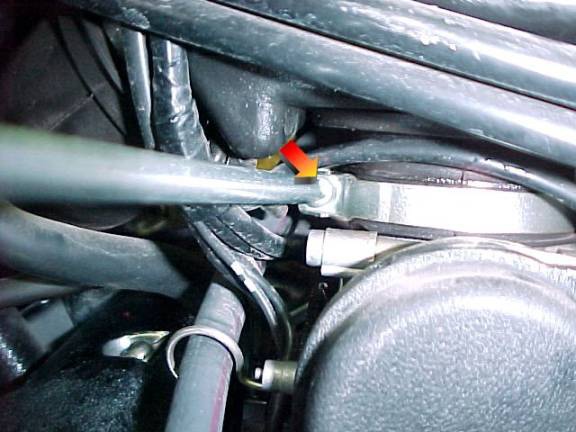
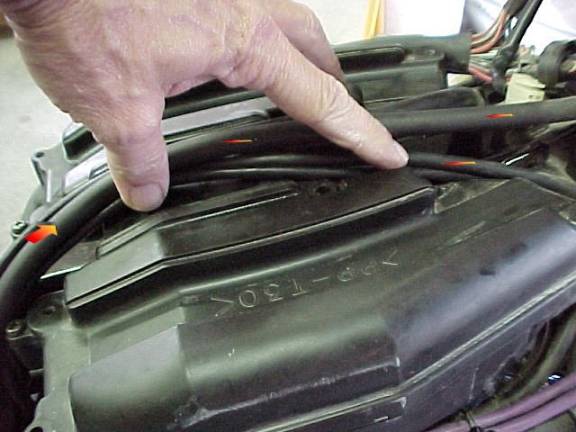
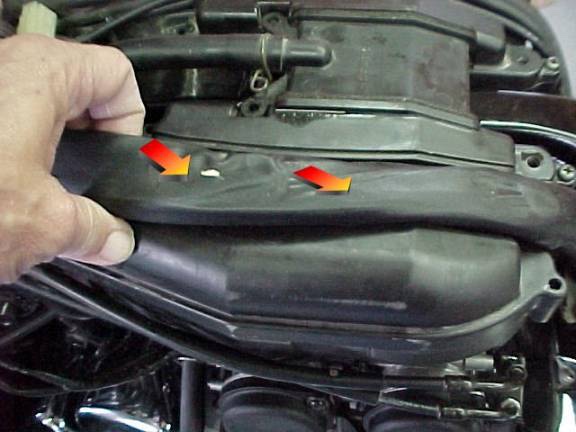
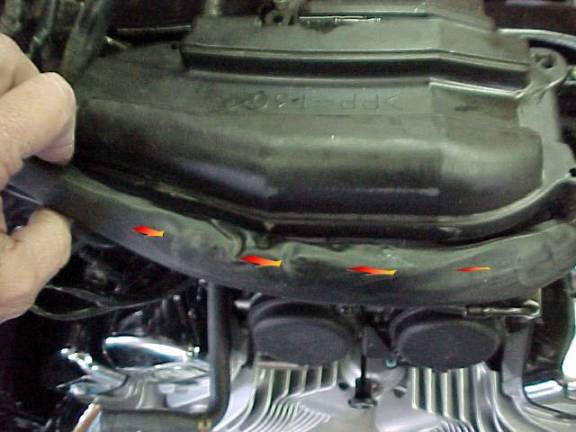
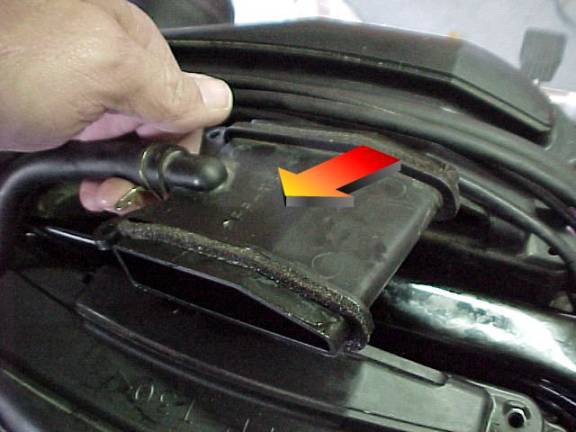
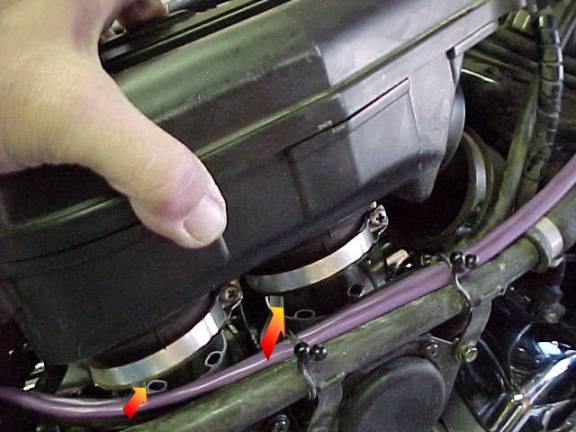
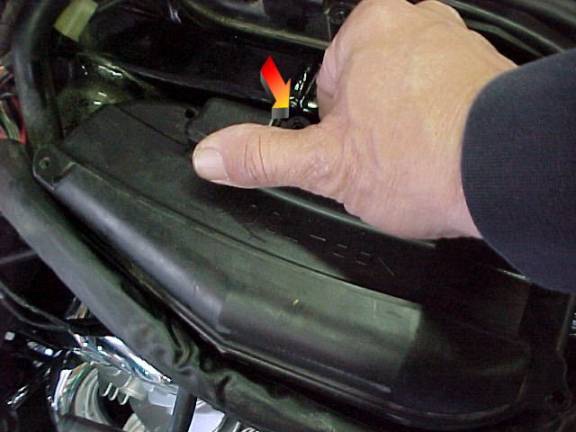
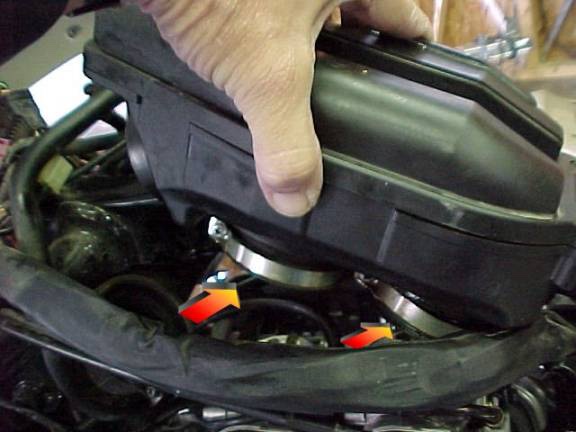
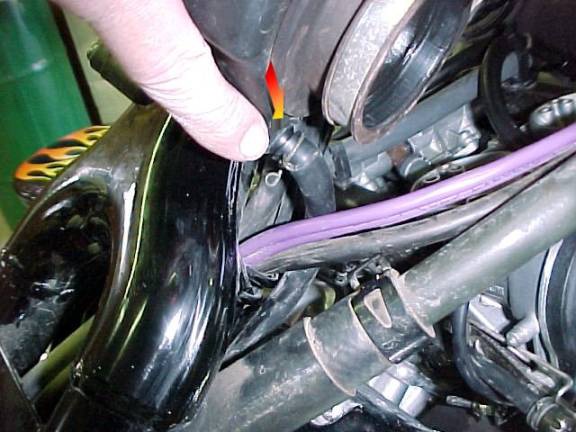
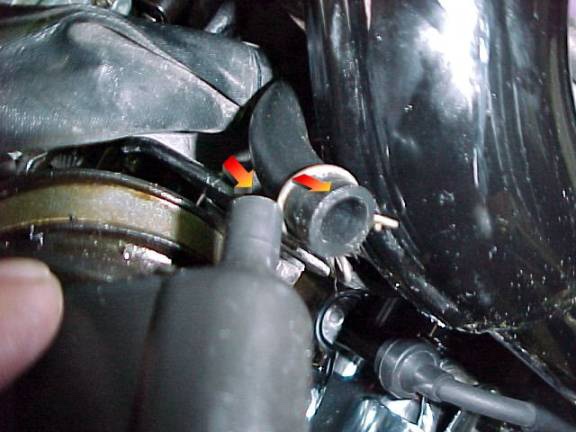
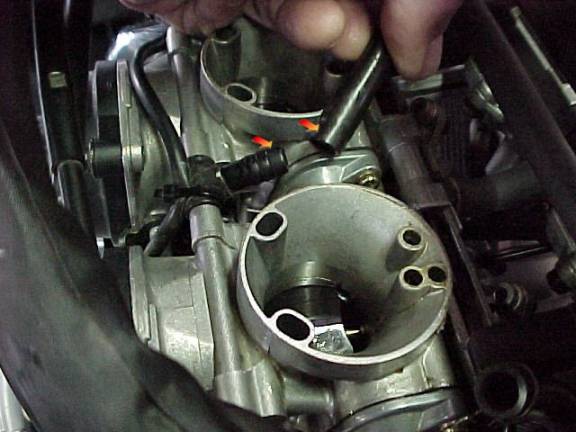
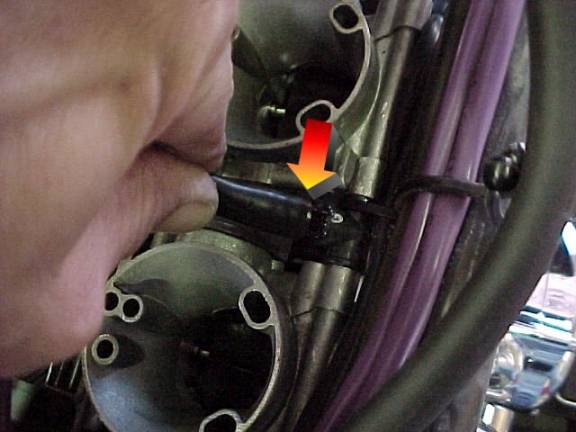
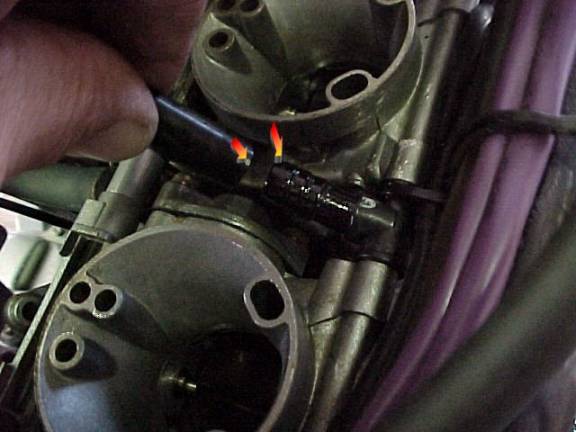
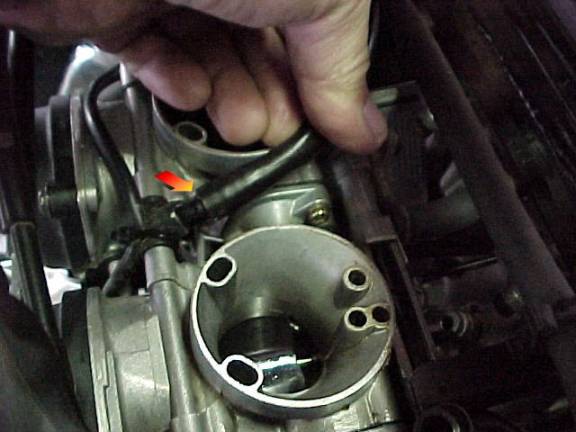
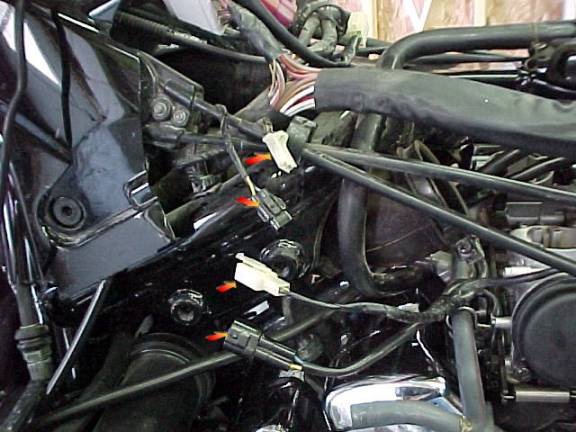
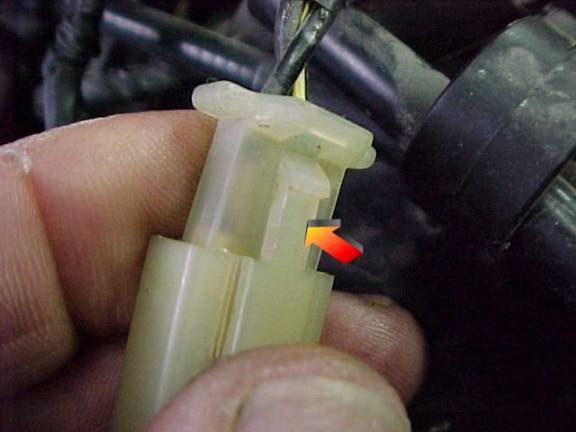
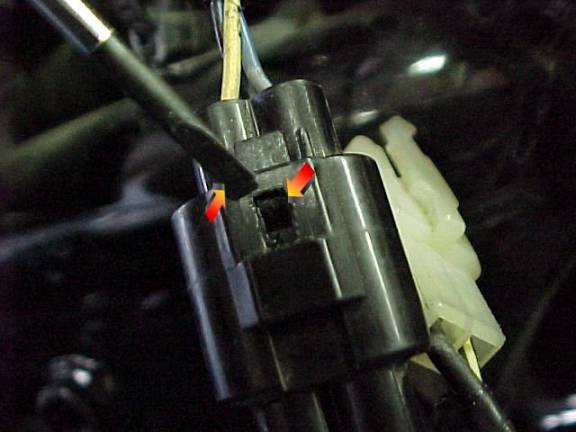
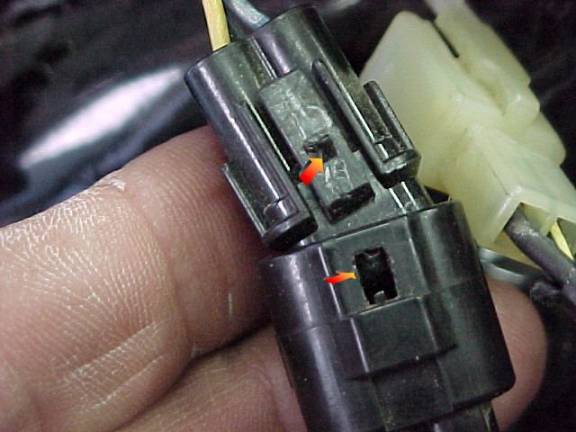
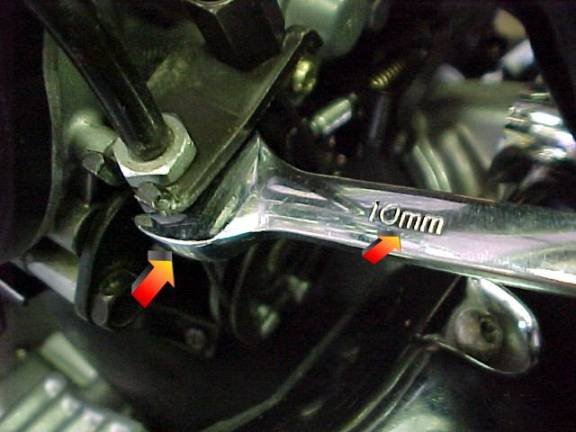
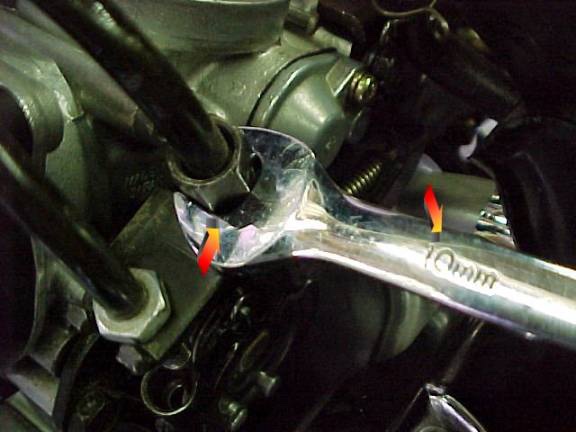
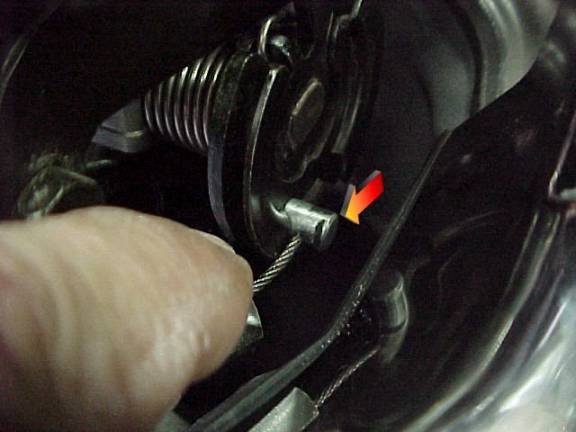
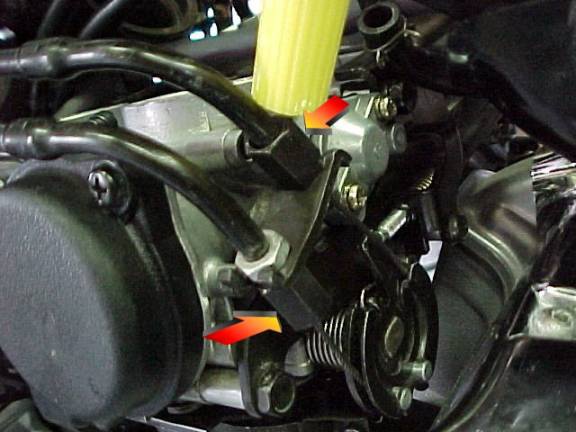
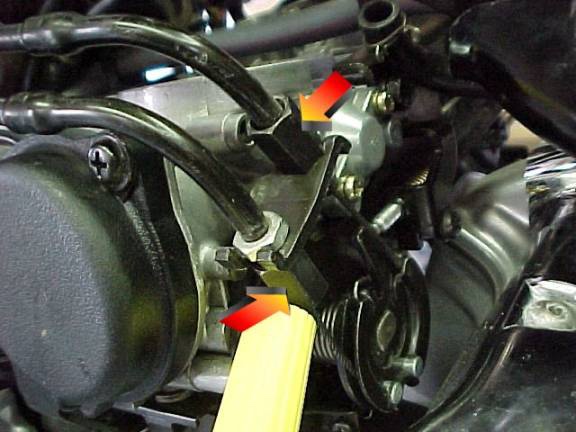
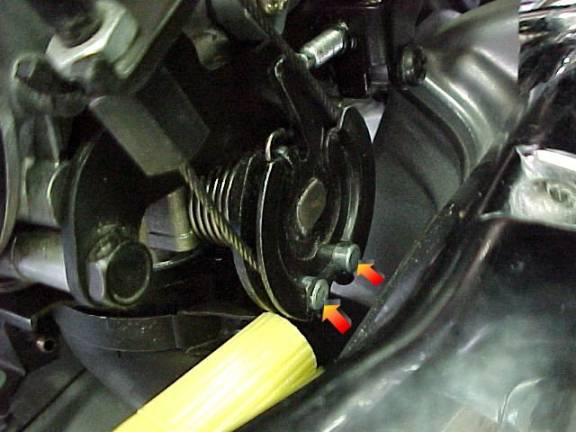
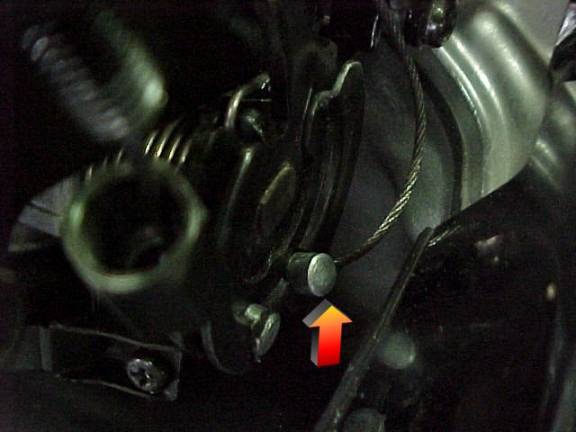
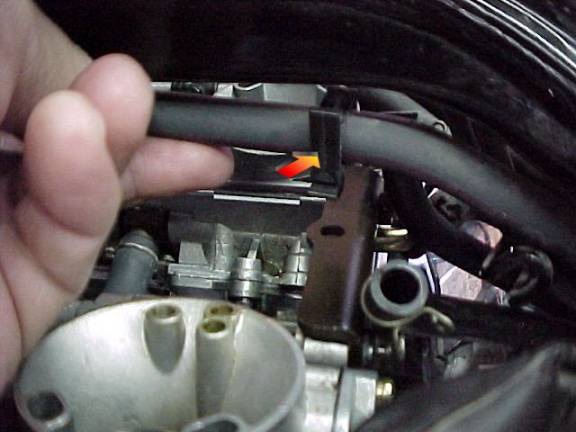
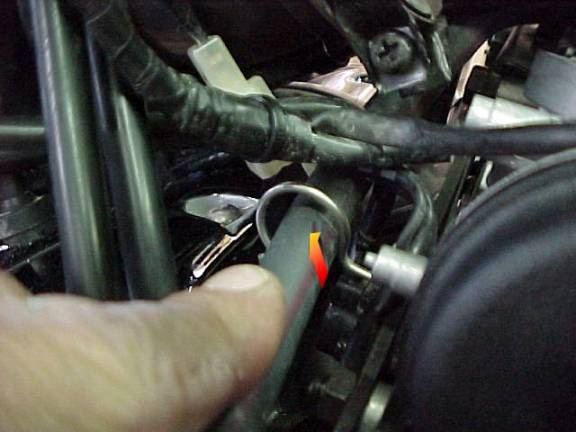
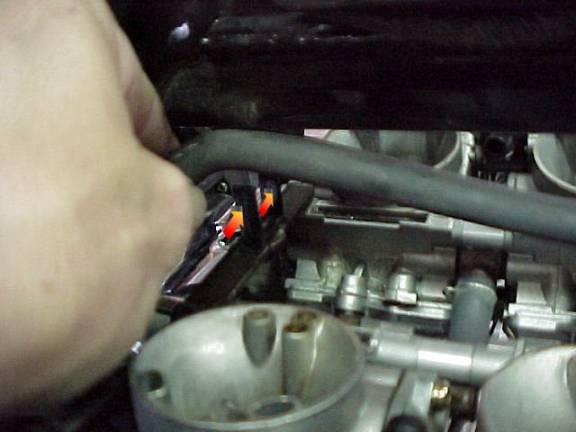
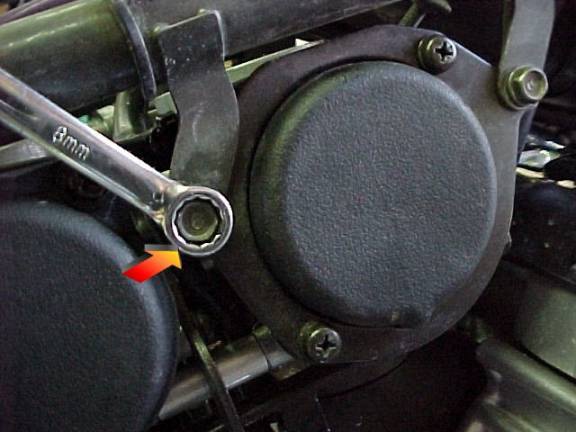
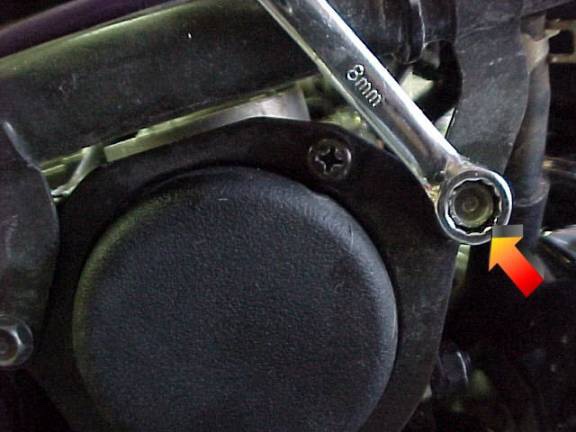
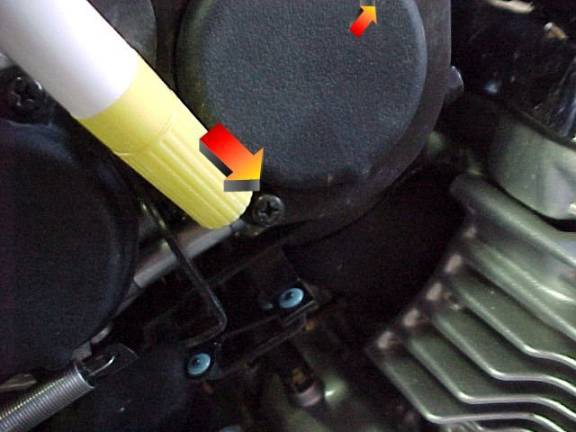
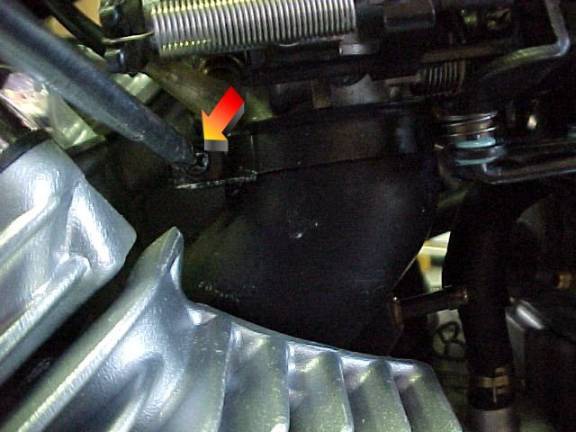
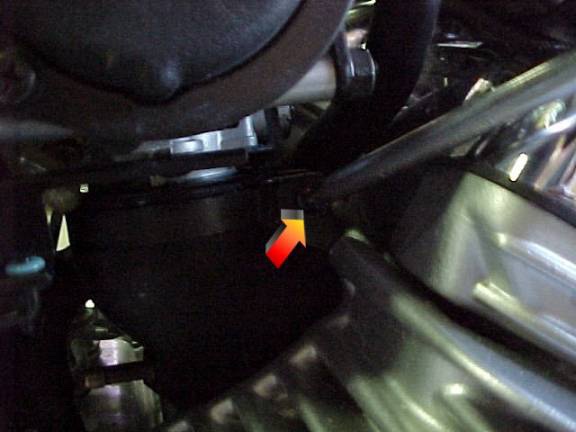
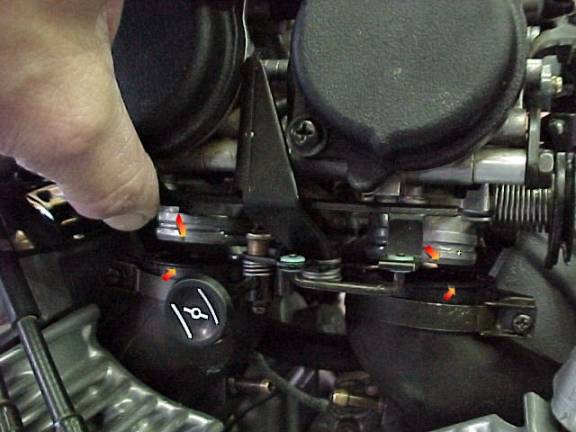
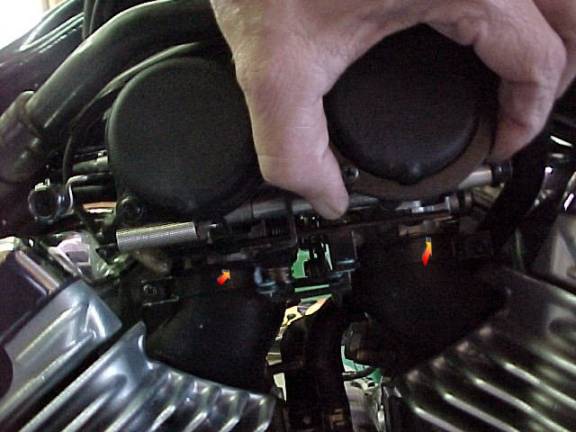
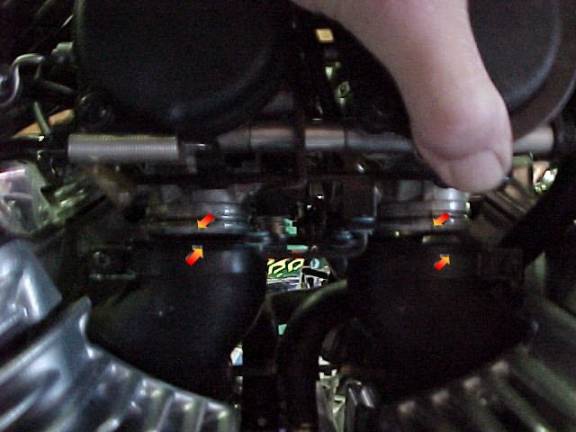
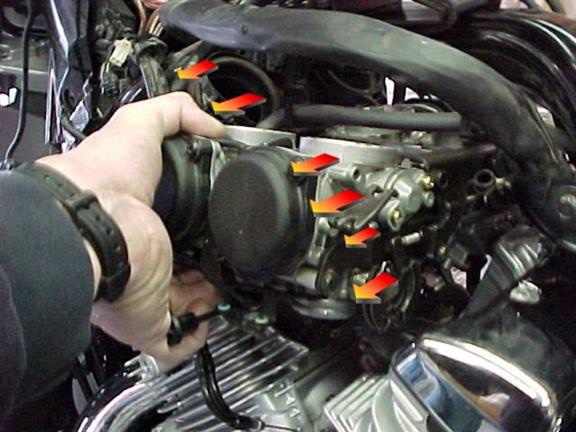
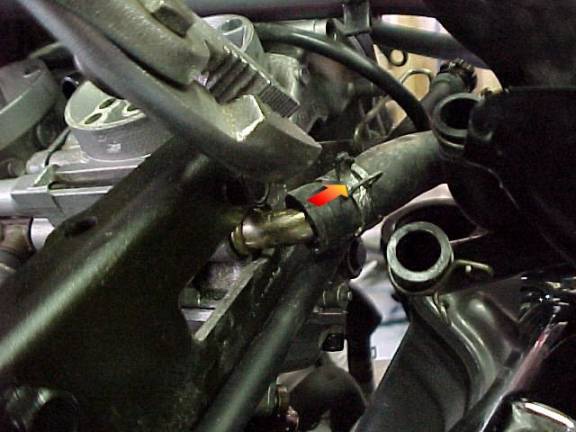
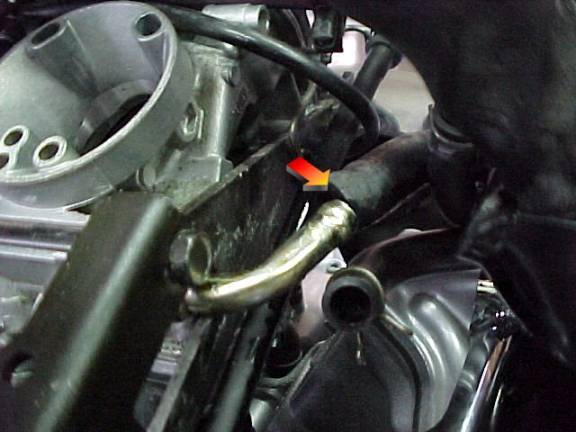
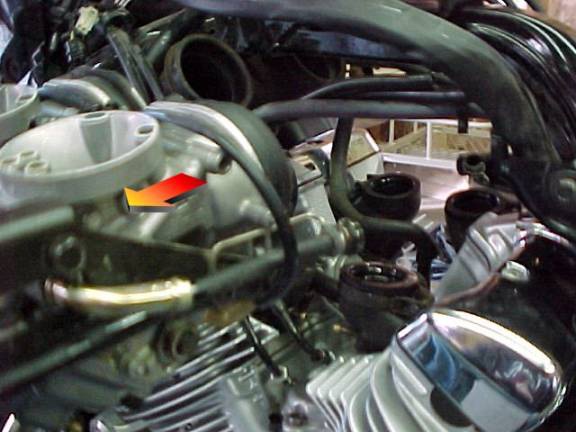
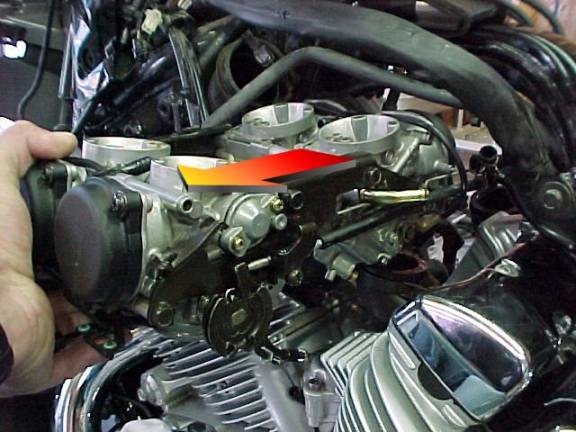
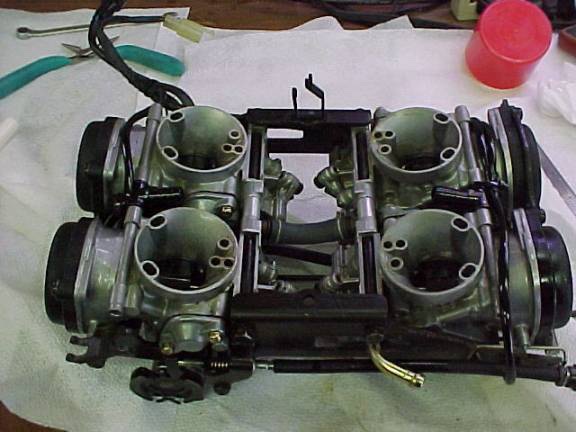
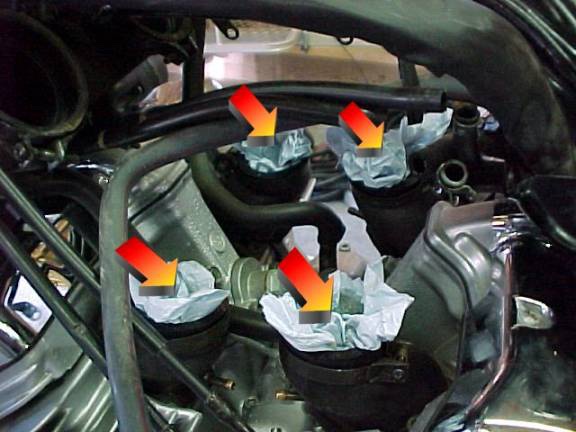
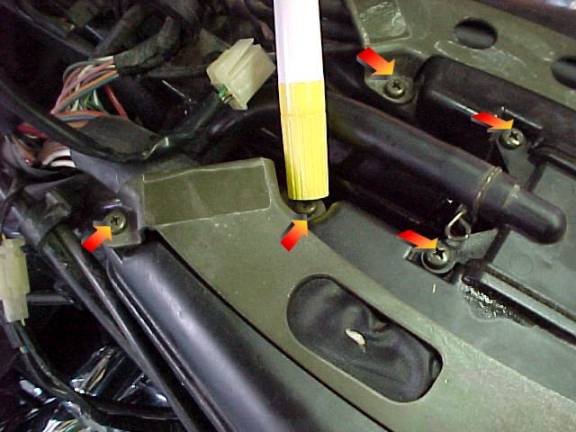
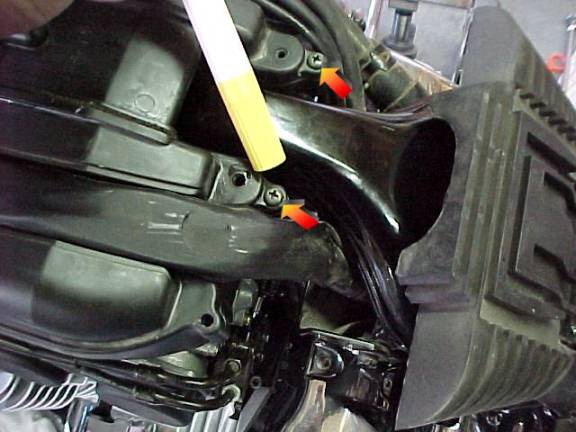
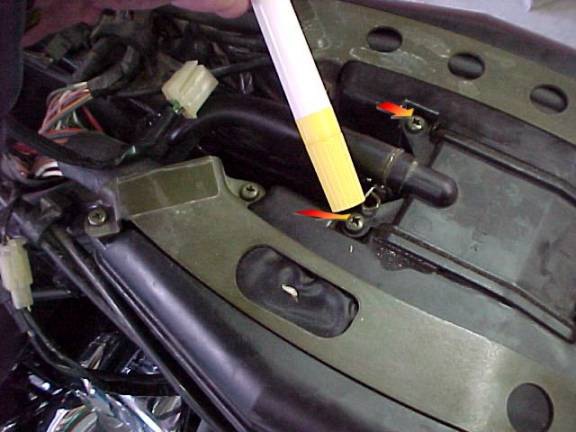
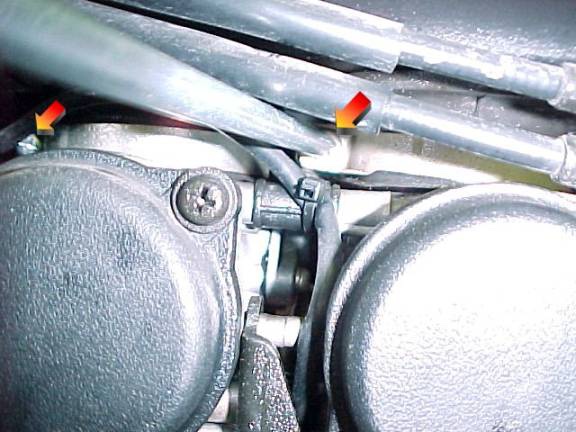
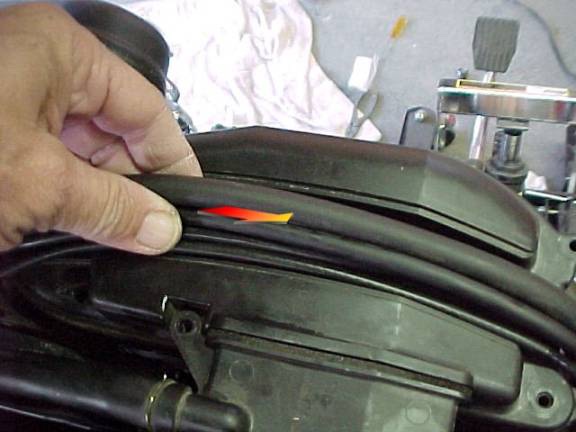
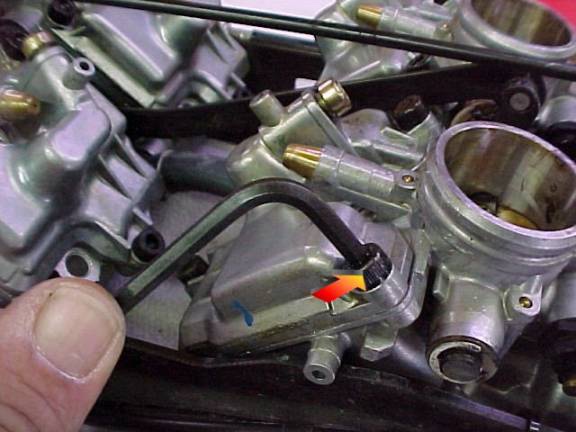
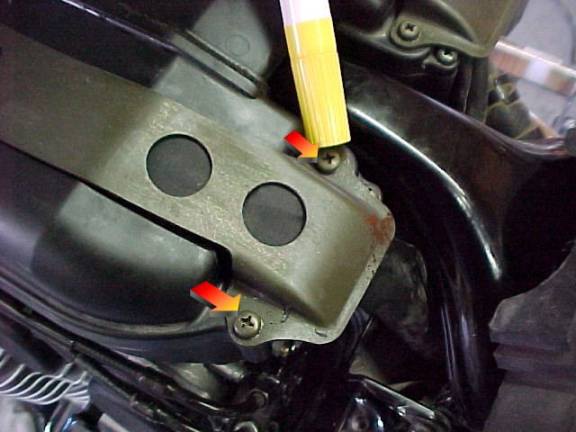
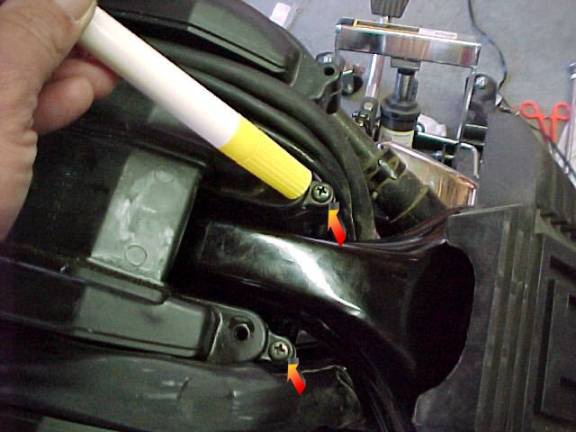
How to remove the carburetors from the '99 to present Royal Star Venture Thanks to Cougar for this excellent article. This was my first time removing the carb cluster from my 2000 RSV. This project took me about 30 to 40 minutes to do including the seat and tank removal. I think it is a pretty easy job to tackle. I tried to take as many pictures as I could. In the write up I used only 2 instead of 5. You will get the idea. 1. Remove the seat and fuel tank. 2. Now you will see the cable and cord clamps. Remove all the screws shown below. 3. No need to remove these screws. 4. Remove this hose from the right surge tank. 5. Now loosen the clamps on the front of the surge tanks (2) as shown below. 6. Now loosen all four clamps on the bottom of the surge tanks that are attached to the top of the carbs in four places, one on each carb. 7. These wires and hose will go towards the middle. 8. Pull the left and right wires and hoses to one side of the surge tanks. Do not worry, they will stretch far enough. 9. Now remove the tank surge union. 10. Now start wiggling and pulling up on each surge tank. 11. Remove one vent hose on each surge tank and then they will be free and out of the way. 12. Remove both left and right overflow hoses from each carb. 13. Next, split apart the two wire connectors on the left side front of the carbs. I think that they are heater and sensor wires. I always have hated the black connectors. 14. Now the fun part. Loosen both nuts on the throttle cable housing. (NOTE: REMEMBER AND MARK THE TOP AND BOTTOM) in the pictures I just remembered that the top nut and lower nut are different. 15. Remove the fuel line from the three holders. 16. Remove these two bolts off the right front carb. NOTE: DO NOT REMOVE THESE TWO SCREWS! (these are to hold the cover on for the carb diaphragm) 17. Loosen all 4 lower clamp screws on the bottom of each carb. 18. Now lift slightly on each side, left and right. 19. Start to pull from the left side about half way and then remove the fuel line that is on the rear middle of the carb cluster. 20. Now the carbs are free from everything. Pull them the rest of the way out from the left side. 21. Find a bucket and turn the carbs over to drain them. 22. Find your favorite work bench and place your carbs on it. 23. Do not forget to fill your intake manifolds with something that will not fall apart to keep the junk out of them. Just a side note for the float bowls. You will need a 4mm hex to remove the 3 screws. The cone shaped brass caps above the hex wrench come off for adjusting the mixing screws. Also, I want say PLEASE make any other comments or suggestions so that Don can add them to this write-up. I hope I explained this for you well.1 point


