Leaderboard
Popular Content
Showing content with the highest reputation on 05/03/2021 in all areas
-
the first clutch disc going in has only half the friction material and the remaining void is taken up by two metal discs and the thin wire is to keep them in position. This is to allow for soft engagement of the clutch. Most of us toss out this disc the washers and thin wire and replace them with a full friction face disc for better clutch grab. Also since this is a wet clutch you should never add any slip modifiers or use oil with slip modifiers added.3 points
-
3 points
-
I'm right there with you @Freebird. That is just scary. How many of us would have even thought to stick your finger in the hole that quickly. I had a run in with a table saw about 15 - 20 years ago and I remember the feeling of running the first board after that. Luckily I got past it so . . . . . . the image below is what I was working on at the time.2 points
-
@cowpucI assume when you mean slow riding it is not far of from what I refer to as softer engagement. In my case I replaced my Clutch with the Barnett clutch ( Keep in mind here when one says they used the Barnett clutch that Barnett has a variety of clutch friction material and spring strength options ). Now in my case I purchased the kit with the carbon fiber clutch which has been recommended for slow riding and is used in many police bikes for that reason. The carbon fiber has a high wear resistance to slip clutching and yet when fully engaged there is no slippage even when pulling a heavily loaded trailer. With regards to clutch feel I myself found or at least I think I found I had better clutch feel with the Barnett carbon fiber clutch over the OEM setup. You do however require a bit stronger grip for the clutch lever since the springs are heavier so for some it is possible that the softer spring may give them a better feel over the stiffer spring. Not to make this sound the wrong way, but for a tradesman like myself who has spent their life working with heavy tools or someone who works out your grip does tend to be stronger than someone who for example works in an office type job and/or does not work out, in which case you may want to consider wether or not a stiffer clutch is a good idea. On the other hand if you do opt for the stiffer clutch your grip will strengthen over time from working the clutch, so there are a few things to consider such as the points cowpuc mention in his post and the points I have raised in this one. for example if your ride one up and never pull heavy there may be no need to go to a heavier clutch.1 point
-
1 point
-
1 point
-
I've got to say, I know it was a freak accident but it would be hard for me to pull the trigger again. At least with such old ammo that I know nothing about. I like to think I could overcome it but I don't think I can say for sure.1 point
-
No plans for a MD this year. We truly plan to kick it off again next year. I would like to make the one in Kentucky if the dates work out. Just can't promise at this time.1 point
-
that 1.5 to 2 times the axle width is not a max dimension, it is a minimum dimension. there is no problem with going longer other than it will take more room to turn around. The longer the distance the easier it is to back up. Look at how long a semi is compared to its width.1 point
-
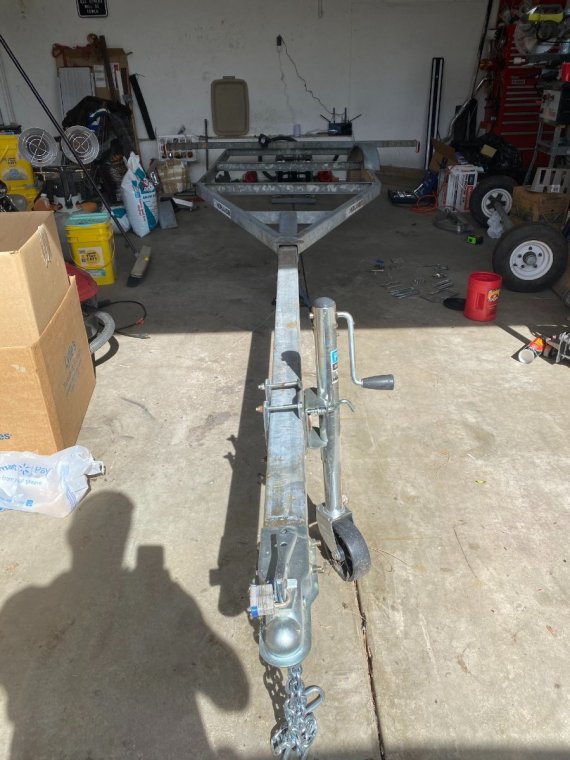
This is what she looks like with the tongue attached. That’s 6’ 4” from the A-frame to the ball. Here’s a link https://trailerparts.com/1-1-2-square-galvanized-axle-1-800-lb-capacity-with-1-spindles.html to the axle with dimensions 57.5” hub to hub. As @Flyinfool mentioned a rule of thumb is 1.5 - 2x axle width from axle to ball. I plan to cut the tongue down in length, curious if there are any suggestions on how far? I’m thinking it might be smarter to get the decking down and wheel chock mounted first to determine axle placement with the intended load. Also thinking about adding a tongue box. https://www.harborfreight.com/2-34-cu-ft-steel-trailer-tongue-box-62253.html I also think I decided on 2x6 Douglas Fir decking. Next I’m gonna have to figure out where to store this thing 😬. She won’t be a big trailer but I already have four vehicles stuffed into our three bay driveway and another on the street with two steeds in the garage. Note: I don’t plan on using that crossmember on the back, the original design had two crossmembers fore and aft where the rollers were mounted for the Hobie hulls. So the axle width sat between the hulls.1 point
-
1 point
-
Just stick a thumb in it! Ordered a couple shirts. It truly is a miracle he survived this.1 point
-
Scott is a local here in town. I was on duty when this happened, all we knew was he had serious injury since it happened outside our response area. Glad to see him back at it.1 point
-
1 point
-
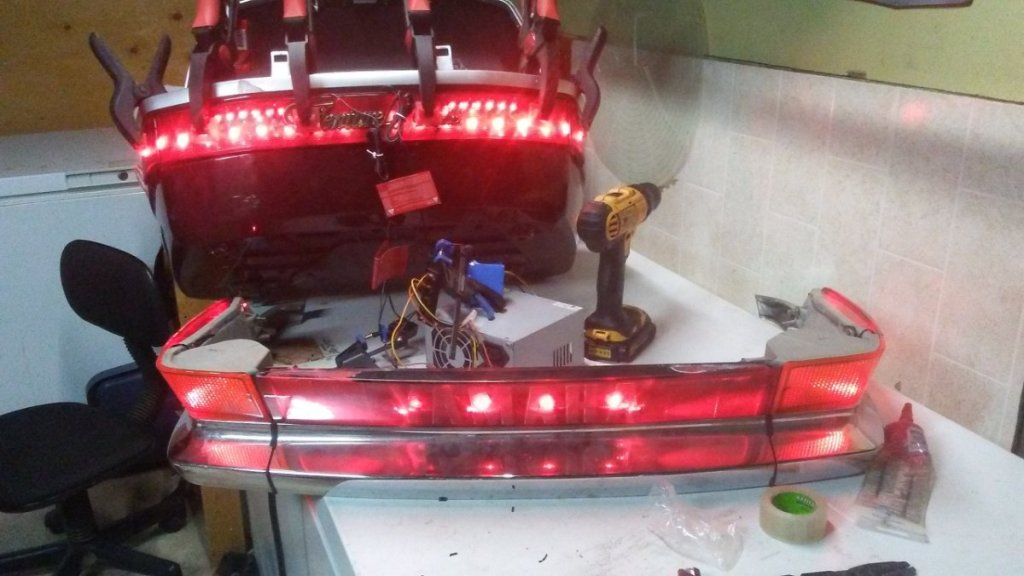
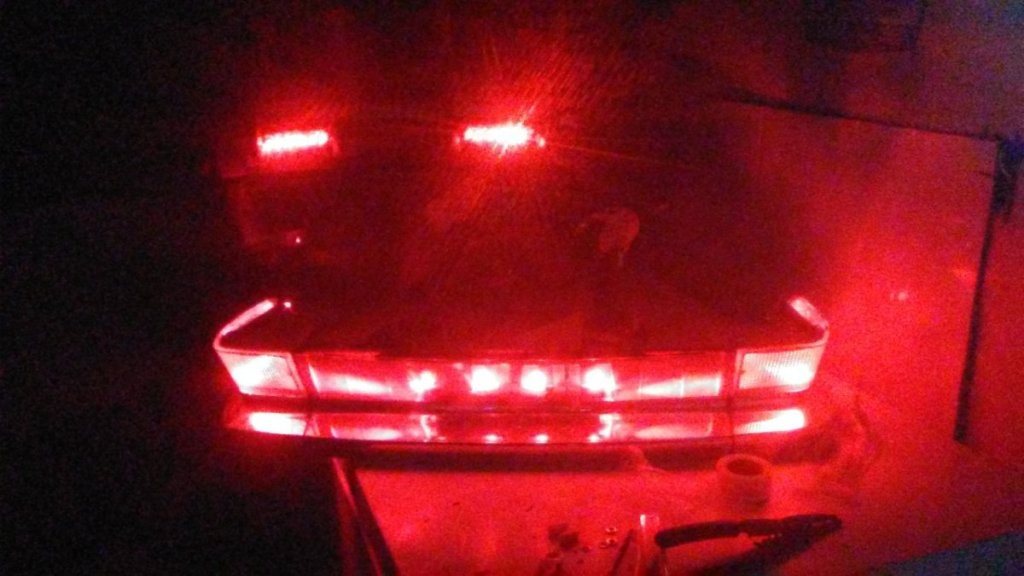
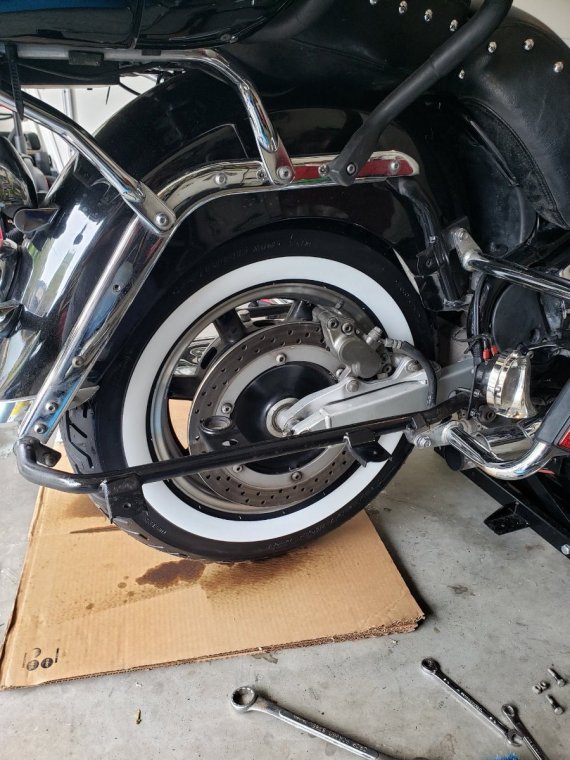
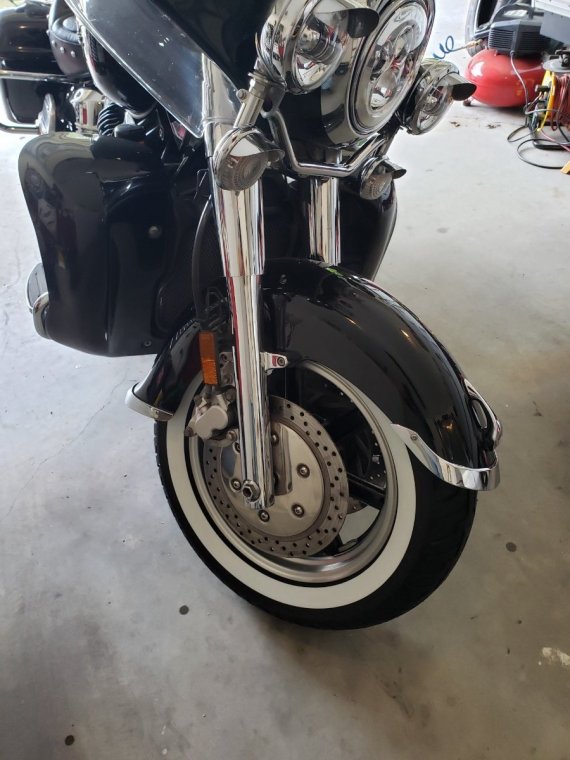
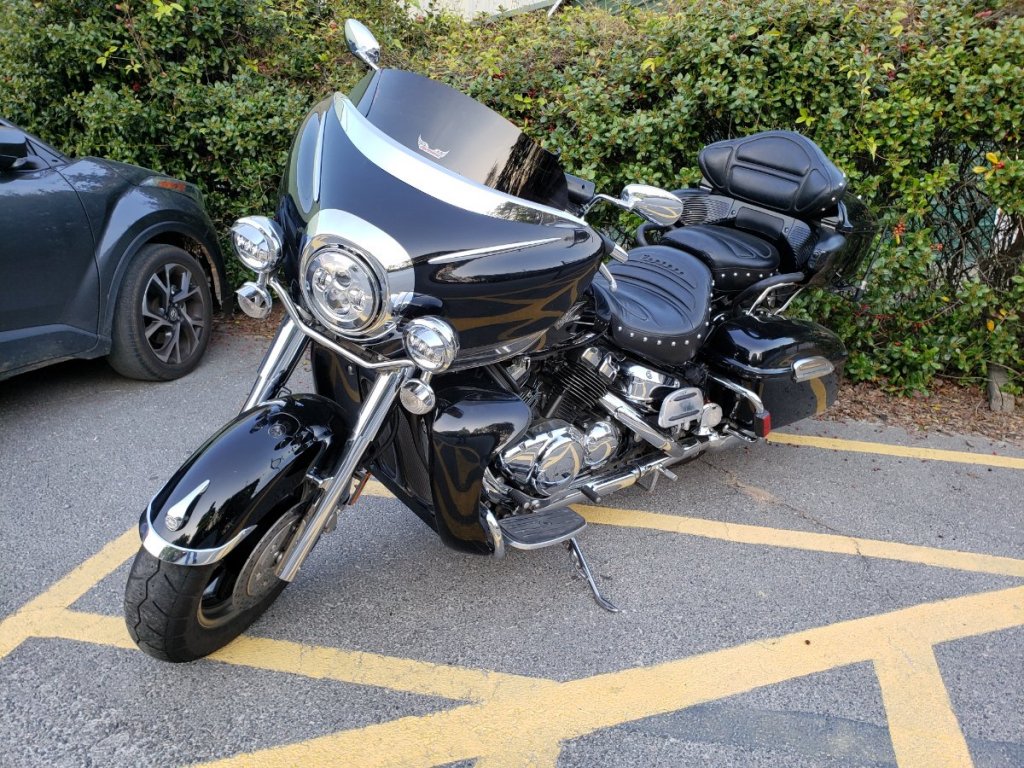
Took it off the work table, and went for my 1st ride of the season. A little later than I normally would begin riding but the more I worked on it the more little things I found that either needed to be or may as well address. including top set polishing removed parts on the buffing wheels I mounted on my wood turning lathe, while they were off the bike.This of course led to having to remove and buff parts that I initially intended not to bother with but once you start bring some aluminum pieces up to a chrome like finish, the ones you were just going to let go look even worse. So off they come and to the make shift polishing station they go. Swapped out rusty chrome crash bars with a good looking set I salvaged from an 87 I stripped down for parts and all this being fitted in with refurbishing a hard top camper that belonged to my son. Thanks to my big mouth I stuck my foot right into a cowpuc ( pun intended @cowpucLOL ). and got myself elected to do the work. But that is another story.1 point
-
1 point
-
1 point
-
1 point
-
If I remember correctly intake clearance is .004-.006 and exhaust is .006-.008. Set them toward the higher limits as clearance shrinks with wear.1 point


