Leaderboard
Popular Content
Showing content with the highest reputation on 04/20/2021 in all areas
-
I spotted it right away, you forgot to put a sticker on it!2 points
-
Aren't the wires supposed be UNDER the protection plate instead of next to it? What is the purpose of that white tie wrap holding just one turn of the winding away from the rest of the coil. That sure looks like a wire that will want to overheat by no being in contact with any sort of heat sink or epoxied into the rest of the windings. If ya spent more time in chat we could have schooled ya properly.2 points
-
2 points
-
Wire set isn't under the foot where it belongs.2 points
-
Going to give the Shinkos a try. $360 + tax CDN and free shipping. The Dunlop E4 has been discontiued in the 150/90-15 rear.2 points
-
After many many years of dealing with OEM Japanese bikes going as far back as the 60's and including both Street, Dual Sport enduro's and even my MX bikes I have suspected that all of the Metric Manufactures including Mom Yam used some form of fish oil for their suspention dampening needs, including fork oils, due to the horrid smell always associated with swapping in new oils. Ironically my numerous encounters with the MK1's were some of the worst in odors when dealing with OEM original swaps. Combine that with the ink pen springs Mom Yam provided as a means of supporting the weight of the bike it is no wonder that my MK1's ALWAYS went to a whole new level of handling both on road and off road just by going Belray 12w for fork oil and dropping in a set of Progressives setup with 1" of preload and never ever needing any form of air above the oil to provide perfect riding for 100's of thousands of miles... After emptying of that nasty OEM stuff and going with Belray I never experienced and form of odors...2 points
-
That song just put a huge smile on my face brother 😁 You're a brother that's easy to love, have a great day my friend! 🌞1 point
-
Hey you lop eared varmints,,, its a $50 Ebay special,,, you didnt really expect the kid putting them together in his garage to triple dip in the laminate coating to insulate the coils when he could skip to steps by holding them apart with zip ties did you!! LOL1 point
-
I just stepped out into the garage and snapped these just for you Squid!!! ONLY THE DOCTOR WHO DID THE JOB AND SIGNED HIS WORK KNOWS!!!! That burned out stator that I replaced with the new one is, indeed, the stator that you lovingly provided/installed for us down in Texas my precious Texas Hero @Squidley!! Sure hope this aftermarket stator serves as well as that Texas Stator did my brother, my money is on it wont happen,,, LOVE always wins!!1 point
-
Was that the Texas stator Puc?1 point
-
You beat me to it Father Time!1 point
-
I agree with marcarl the wire isnt under the foot. And theres an empty space where there obviously should be a sticker. Very sloppy!!! What is the world coming to? Im sure a quick trip could solve the missing sticker so grab a dart and a map and forget about packing!1 point
-
I’m afraid you got it mounted off centered used the wrong holes in the stator. Stuff happens when your distracted.1 point
-
He is not trying, he did say!! Now if you would listen it should be loud and clear. He is much younger than you eh!1 point
-
Forgot to locktite the bolts or torque them.1 point
-
Not normally but some gear oils do and if someone used gear oil instead of actual fork oil. Gear oil can have a very strong almost a sulfur type smell.1 point
-
I guess that I forgot to post what it was...... The clutch fluid needed flushed. It actually had ‘a ball of crap’ that was in the reservoir along with the fluid. Once flushed, it now shifts like new! Thanks for suggestions.1 point
-
I got 11k miles out of both my Shinkos, just replaced them with new 230s.1 point
-
Come to think more on the subject.....I still have the Shinko 230s on the first gen. Such a nice handling ride. I loved the Shinko 777HDs I put on the RSV. Great ride. Excellent handling in torrential Oklahoma rains and after 2 k miles, still looked brand new. Unfortunately, the rear found a nail on the way to @cowpucland and had to be replaced. His dealer had a Shinko 230 in the right size, so on it went. Still on there and running well!1 point
-
I'm going to try to remember to take some measurements when I get home this evening. With the possible exception of the lower fairings being in the way, I'd bet these drop guards will fit the Gen 2. Their website states they will fit some Yamahas, probably the Star line, maybe the Royal Star as well. They do, also state they will not fit the HD lineup that has lower fairings in place.1 point
-
1 point
-
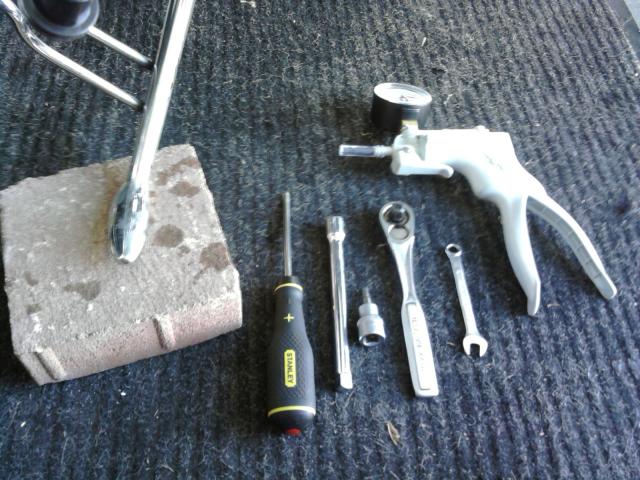
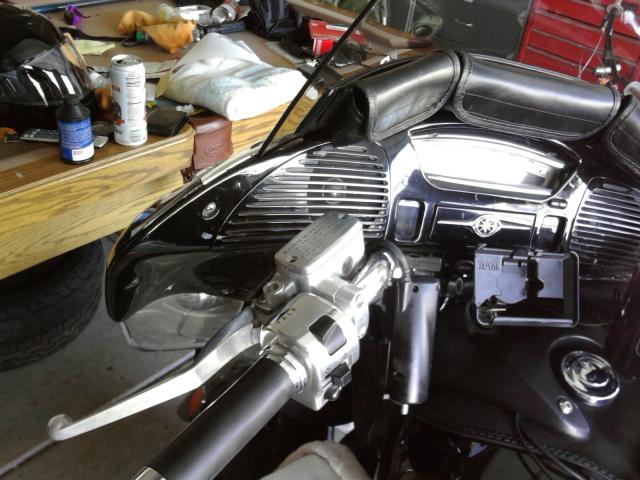
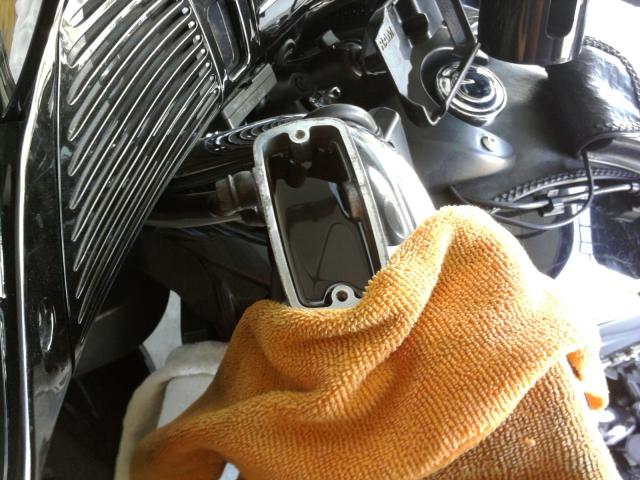
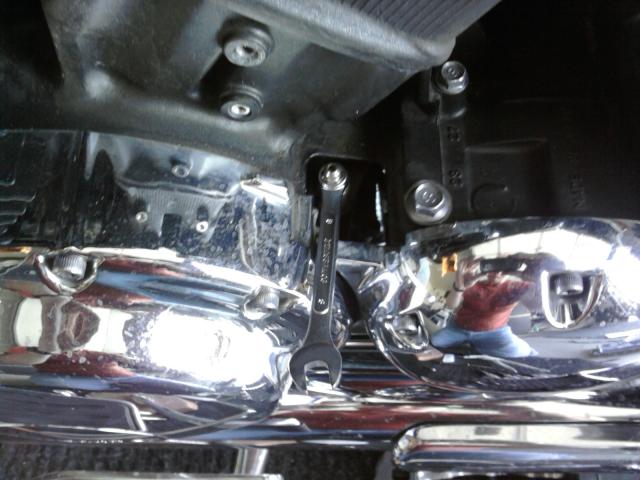
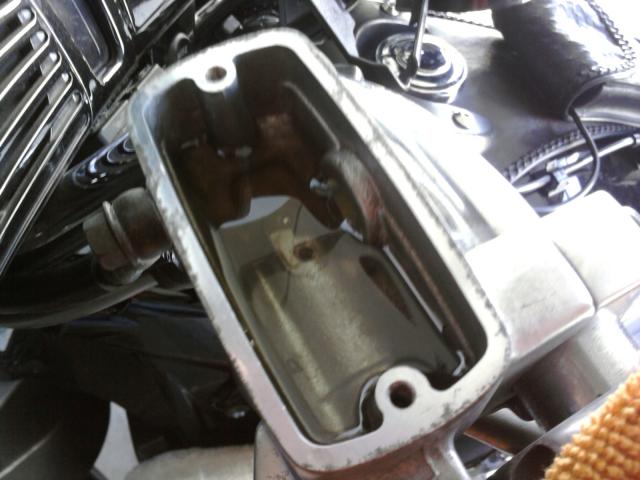
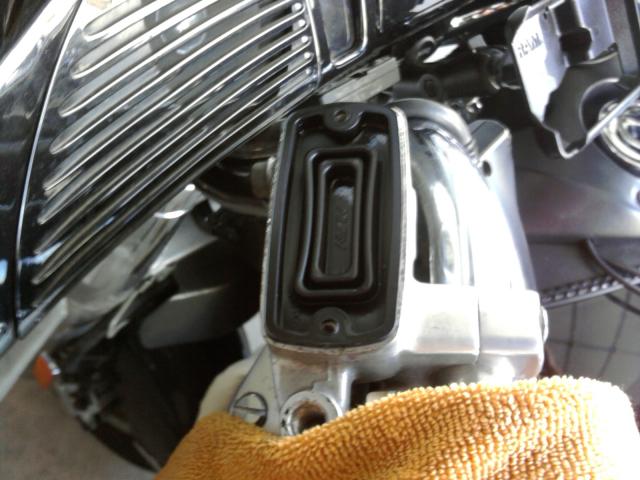
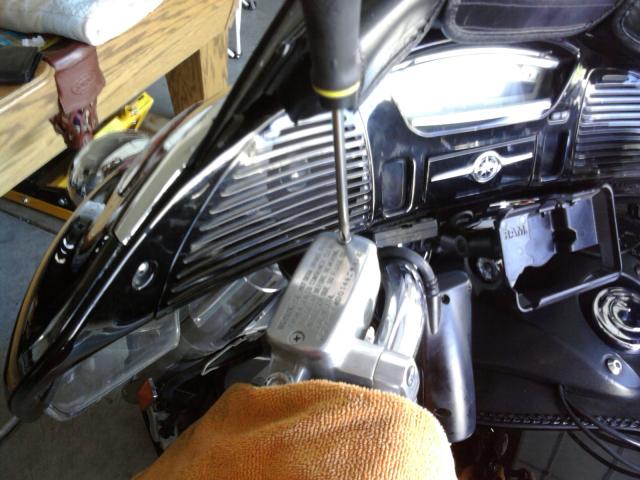
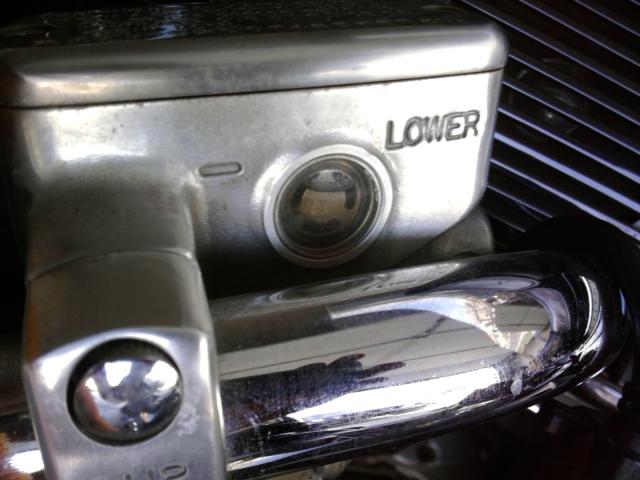
Further discussion on this article can be found here: http://www.venturerider.org/forum/showthread.php?t=54241&highlight=bleed+clutch After changing out my clutch with the Barnett Pressure Plate and Barnett Carbon Fiber Friction Discs, I also found my clutch release point was very close to the handgrip. As soon as I bled the system, all was back to normal. I decided to post the 2nd Generation Clutch Bleed to help anyone who needed it. First off, I put a brick under the kickstand to get my bike near level...then i gathered the tools needed. 5mm Alan Head (Hex) Bit, 8mm wrench, phillips head screwdriver, and a vacuum pump (not necessary but very helpful if you're doing it solo. Next step is to remove the left rear cylinder side cover. three 5mm bolts hold this in place. Unscrew and remove the resevoir cap and diaphram carefully. Cover your paint with a towel (I was probably a little overdue for a fluid bleed...) Suck out the old fluid from the resevoir using the pump (or a turkey baster) and refill with new DOT 4 brake Fluid (or DOT 3 or DOT 5.1) Attach a plastic tube to the clutch bleeder valve, set up your vacuum pump, and loosen the valve using an 8mm wrench. Now, get to pumping...watching the level in the resevoir as to not let it suck any air. When the fluid coming out of the valve is clear, the system is flushed. (NOTE: if you are doing this by hand, (1) loosen the bleeder valve, (2) squeeze and hold the clutch lever, (3) tighten the valve, (4) release the lever...then repeat 1 through 4 about 50 more times being sure to watch the fluid level in the resevoir) Once you are done, close the valve to 4.3 ft/lbs and refill the resevoir. Then replace the diaphram and resevoir cap. Put the rubber cover on the bleeder valve and re-install the left rear cylinder cover. Check the fluid is at the appropriate level... ...Then fire her up and go for a test ride! Hope this Helps! -Motorpig-1 point
-
Good eyes!!! How did you come up with that idea, I would have never thought.0 points


