Leaderboard
Popular Content
Showing content with the highest reputation on 03/01/2021 in all areas
-
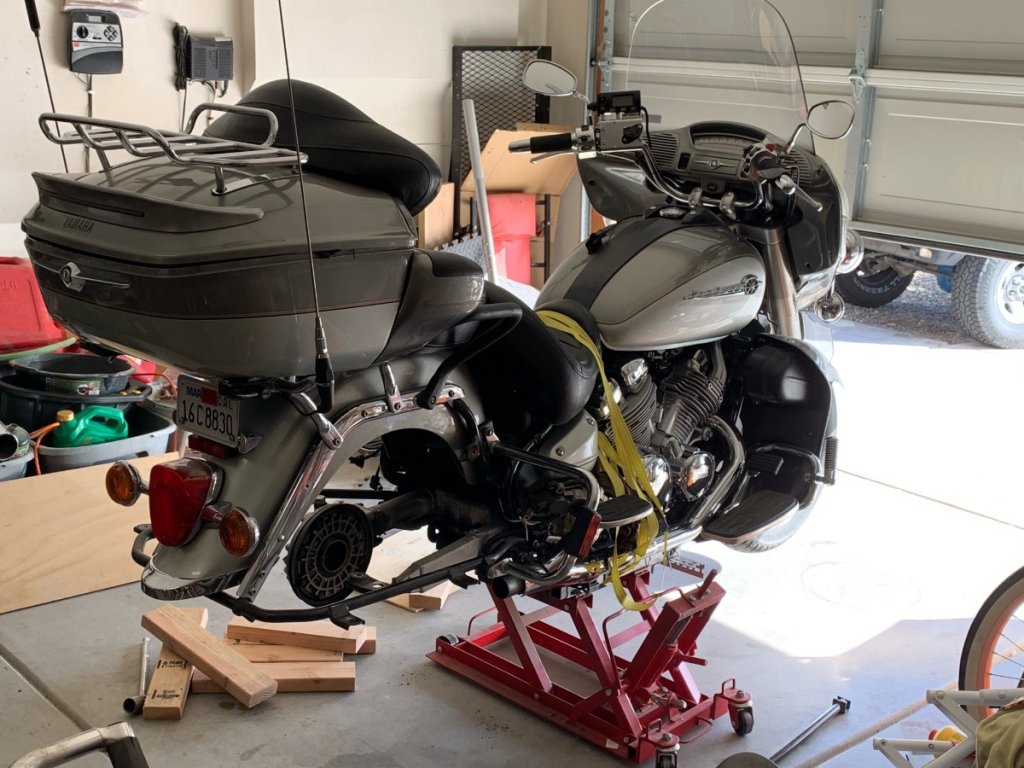
Lots of good ideas already listed here. As VA suggested, getting riding gear that is waterproof/resistant is the easiest way to go. Firstgear Kilimanjaro has been my goto for many years. You can get often NOS from motorcyclegear.com at closeout prices (they will be older versions, but still new). However, what has worked for me is to start travelling and paying attention to what you didn't use. When my wife and I started doing multiday trips, I pulled a trailer with all our stuff. Found we didn't need about 80% of it. We have recently done a 7 day trip where the right saddlebag carries tools/spares/fluids/first aid kit/TP/etc. Left saddlebag is riding gear - different gloves/boot covers/non-riding shoes (Chucks are great as they mash flat)/lightweight bike cover/etc. Topbox is where my wife packs all her stuff. Mine goes into an Ortlieb roll top bag that gets strapped to the luggage rack on the topbox.3 points
-
Though I would share my experience modifying a rear spoiler to have a much brighter brake light and also with turn signals incorporated into it. My wife followed me on the freeway when I purchased my bike and said visibility of the bike from behind was severely lacking, which I naturally took as carte blanche to embark on a project to fix that little problem! 🙂 So, picked up a used wing from 'the diamond cut guy', ripped out the old LED and ordered Custom Dynamics TruFlex light bar, along with their Dual Converter and Smart triple play controller. The latter two allow for the dimmer running tail light function and programmable operation of the brake light and turn signals. With the triple play controller, the entire strip, including turn signals operate as the tail/brake light. I have mine programmed to strobe the brake light for a few seconds, then go solid. The brake light is significantly brighter than the stock LED strip. I can't define that in terms of lumens, or anything, but can say that when I first tested it I looked at it too long from a few feet away and had that burned into your eyes thing going on, like when you look directly at the sun. The CD truflex strip is 14.6 inches long and the stock strip is ~11" long. Fortunately the height was identical and was a perfect fit into the existing slot in that direction, but the slot needed to be lengthened ~1.5" on each end and it need a backer plate installed from the backside in order to affix the new LED strip to it. So, step 1 was take a deep breath and grab a dremel with a router bit. My trusty old corded single (high) speed dremel was not the right tool for this job, so with my carte blanche blessing to make the bike more visible I acquired a nice cordless multi-speed dremel to safely accomplish the task. From prior (bad) experiences, I knew it would be difficult to carve the slot out by hand and keep it straight, so I used some 1/8" wide masking tape to extend the slot lines and then proceeded to cut away, staying well short of the tape. From there, I used a series of files to fine tune the slot. It was not 100% perfect, but the imperfections are ultimately not visible in the final product. I then cut a scrap piece of ABS plastic sheet, courtesay of Tap Plastics, to approximately 16" long and 1" wide, used a heat gun to soften it up and shape it to the contour of the backside (inside) of the spoiler behind the slot. With a little cutting and fine tuning it fit perfectly and I permanently fixed it into position using ABS pipe glue. Painted the spoiler to match my '07 blue with the color rite matching paint, drilled the necessary holes for the LED light strip and installed. The dual converter and triple play controller fit nicely behind the battery box and the wiring was simple with the help of the wiring harness adapter from @M61A1MECH. In hindsight, I should have taken more pictures along the way....but here is the finished product. Took it out for first ride today and watched cars behind me as I braked. Almost without fail, they all seemed to give me more room when I braked. The brake strobe effect really is attention grabbing. IMG_1208.MOV2 points
-
Hey Everyone, This will be my final update on the Shim Kit Saga. I received word from USPS saying they were NOT going to honor the Insurance Claim because they were used parts, and I wanted to keep the shims that actually made it all the way home! In other words, they would take possession of 55 shims, the Bucket Tool, Feeler Gauges, and the busted up case, and give me $200.00. I said, "No Thanks"! So in the future, I won't be wasting my money on USPS Insurance! On another note, The "New" Shim Kit is all back together, with about 90 shims in it, and all of the tools you will need to complete this service. At this point, I want to thank EVERYONE that has kicked in to help me replace the shims. I want to assure you that I spent every penny on new shims for the kit. And lastly, I am not back to work at my "Day Job" yet from my recent surgery, but I am on the mend and getting around pretty good these days. All of my kits I offer, as well as the Shim Kit Loan are being offered again. The only exception to this would be the Block Off Plates. I haven't been allowed to fire up the milling machine yet by my wife. If everything goes well at my next doctor's visit, I should be back to work mid March. I can't tell you how grateful I am to be sitting here still on this planet, and chatting with this wonderful group of people! So, if anyone needs the Shim Kit, or anything else for that matter, just let me know! Also Thank you EVERYONE for the support during this trying time! Earl2 points
-
You're just like my wife, always telling me things I missed!!! Thanks bro,, it's all clear now.2 points
-
Yea my other half when we first started doing long trips thought she needed 5 pairs of pants 6 or 10 tops etc. Something for every day. She finally believed me there was laundry equipment everywhere we stayed. So some of that stuff got curtailed. My self, a couple pairs of jeans, depending on weather a few shirts and I'm good. No fashion show and most times nobody knows me where I'm going for more than a day or so.1 point
-
I like the old bikes that do not run ..Picked up an old 1979 Yamaha 750 Triple had not run since 1986 .. I spent 4 days getting the engine to turn over . Done a lot of work to bike since but it sure runs nice and I can tell why they used to call it a tire shredder it has 29000 K's ..1 point
-
The fluid film is real handy to have too. Its great at loosening things up and keeping them loose. Is a great anti rust coating and lubricant as well. I keep five things in my shop at all times. Fluid film, ACF50 for cleaning and protecting electrical as well as many other uses, Seafoam, Dielectric grease, and a good penetrating oil (which also works great as cutting oil for drilling and tapping) https://learchem.com/products/acf-50.html https://ridermagazine.com/2016/09/09/acf-50-anti-corrosion-formula-review/ https://www.fluid-film.com/1 point
-
@Marcarl already awarded you the prize when He said ...We told you so instead of I told you so. Better take it cause that's as about how generous a Dutchman gets when it comes to handing out prizes.1 point
-
Awesome, you learned some things along the way, as did the rest of us from all the great advice and tutorials given here. Venturerider.org is the internet done right!1 point
-
Still need to be careful, bike may not run for a number of reasons. Some very costly and Others not so much. I once bought a bike from a guy for $25 dollars who stated it had a broken crank. Checked around found a good used engine. I never need it though because what the prev owner thought was a broken crank was a stretched primary chain which skipped while cranking the starter. I replaced the chain which cost me $15 dollars and rode that bike for 3 years.1 point
-
So tell us what gear are you in when you roll on the throttle between 35 and 50? If you are in 4th or 5th (both are overdrive gears) this response is completely normal. At 35 to 55 you should still be 3rd gear, roll on the throttle at those speeds in 3rd and she should take right off. No need to be in 4th or 5th below about 60. This engine does not perform well at low RPMs.1 point
-
Pasta Burner, it would be nice to finish this up over the winter, but there is just to much to do. My wife doesn't mind me spending time in the garage, but as I get older I am less inclined to spend a lot of time working on projects. I tend to get burned out much quicker than before. I like to try to keep a steady pace and work at least on something each week. For polishing the aluminum I bought a kit several years ago from Eastwood. It came with several buffing wheels and an assortment of rouge. I bought the smaller wheels that I use on my small bench grinder. It works pretty good and makes quick work of the project. For the painting so far I just clean up the parts, sand them with some 400 grit and then apply the paint. The plastic body panels will involve a little more than just sanding and painting. For degreasing it's just carb cleaner, nothing special. I would love a solvent tank cleaner but I just don't do enough work or the space for one. That's pretty much my motto also use what you have. Thanks for taking a look at the project. I am pretty confident we might have it done by late fall, at least that's the goal.1 point
-
1 point
-
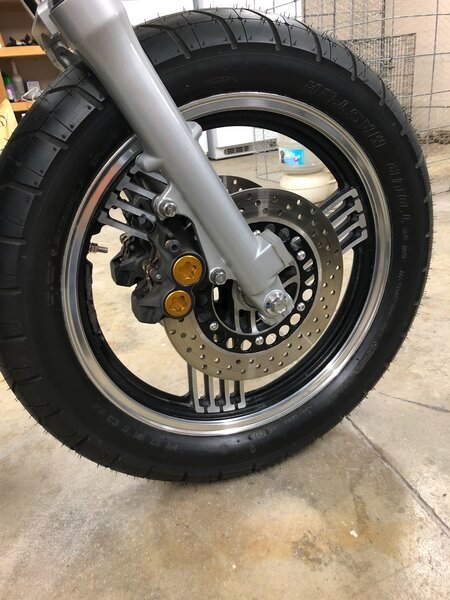
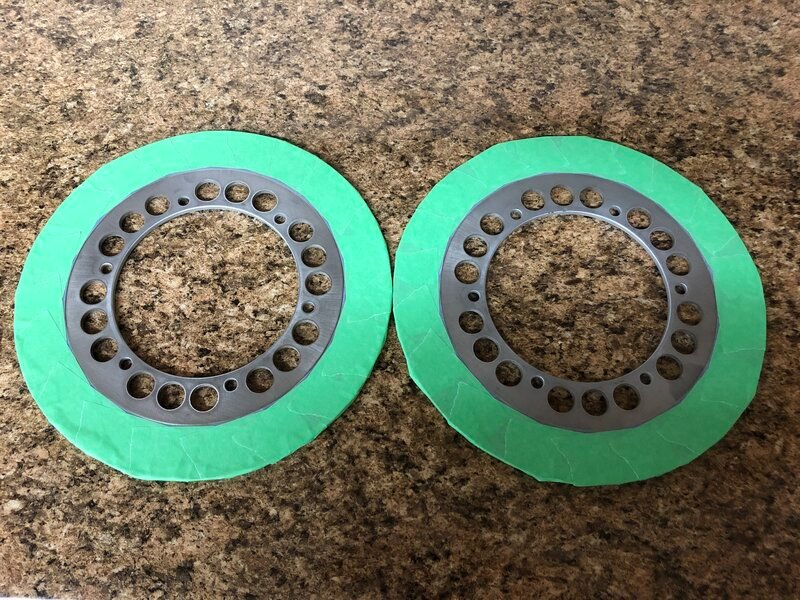
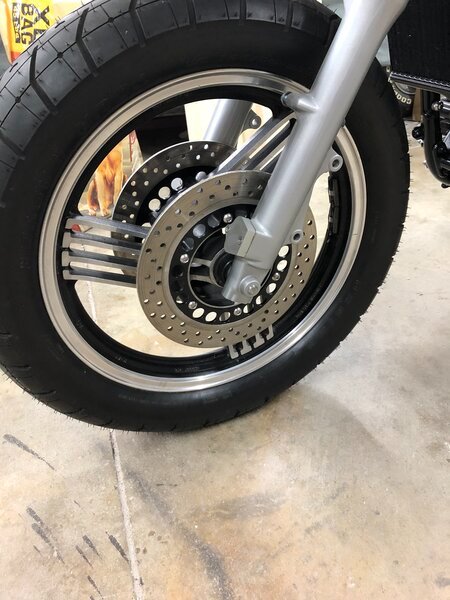
I know I must have read this at one time concerning the R6/R1 front brake caliper upgrade, but for some reason I guess it just didn't stick. If you go back in the thread a little bit you will see a pic of the front wheel with a set of R6 brake rotors on it. Well they look really good, but they are too big for the upgrade. The R6 rotors are 300mm and you need to have ones that are 282mm which are the same as the ones from a MKII Venture. I guess I missed that part. The R6 rotor seems to fit just fine on back and so I wanted to keep with the same hole pattern for the front rotors. The MKII rotors have the slots and so not a great match. I did some research and found out that rotors from a 96-99 Yamaha Virago XV1100 are 282mm and have the same hole pattern as the R6. Here is a couple of pics of the rotors prior to painting and installed.1 point
-
1 point
-
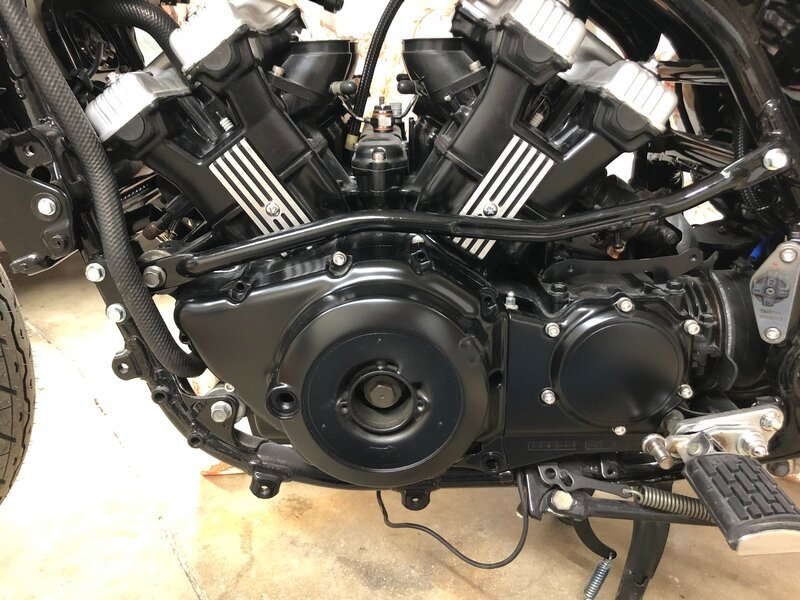
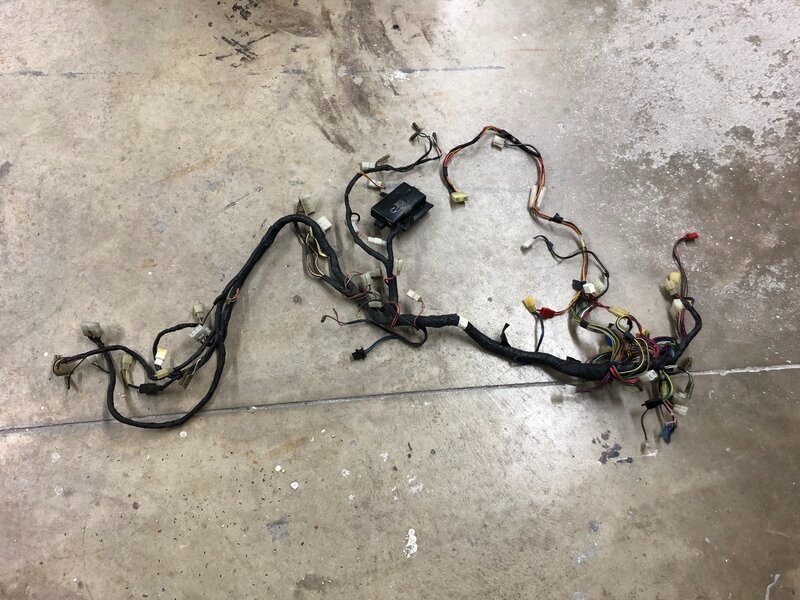
Finally was able to clean up the generator cover and get it painted. The two center plates for the generator cover and the clutch cover were shipped out to the platers last week. Looking forward to see how they look with some shiny chrome. I also worked on the side covers for the cylinders. Both turned out real nice. I ended up buying another wiring harness. The original one was to chopped up with a lot of wiring additions and modifications. I found a nice one that doesn't have any mods done to it. It looks like it just needs a little cleaning up and I can start putting it on. More to come later.1 point


