Leaderboard
Popular Content
Showing content with the highest reputation on 11/24/2020 in all areas
-
2 points
-
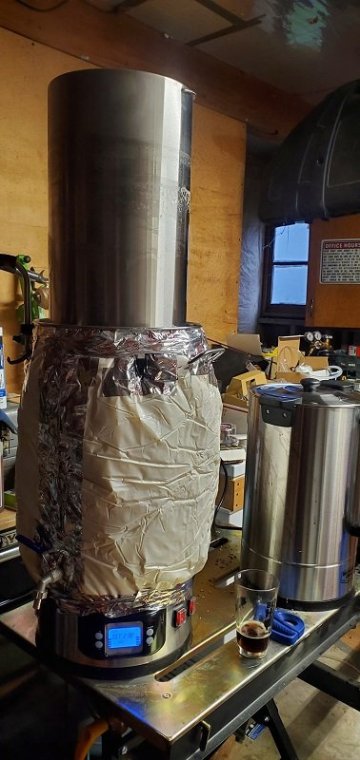
I'm sure I've posted other beer brewing topics here in the past. I've been home brewing for many years but have not brewed regularly for a few years. Mostly because my system was cumbersome and time consuming in clean up. I could do 10 gallon, high gravity batches but my brew day was 6-8 hours per batch. I just picked up a Brewer's Edge Mash and Boil with Pump system. It's a lautering Tun and boil kettle in one set up. Now, instead of having a hot liquor tank, mash tun, and boil kettle with separate heating sources that took up 10 feet of counter space and a good bit of floor space, my 5 gallon brew setup fits on a 2'x3' table. This is my first brew with the new setup and, so far all is well!1 point
-
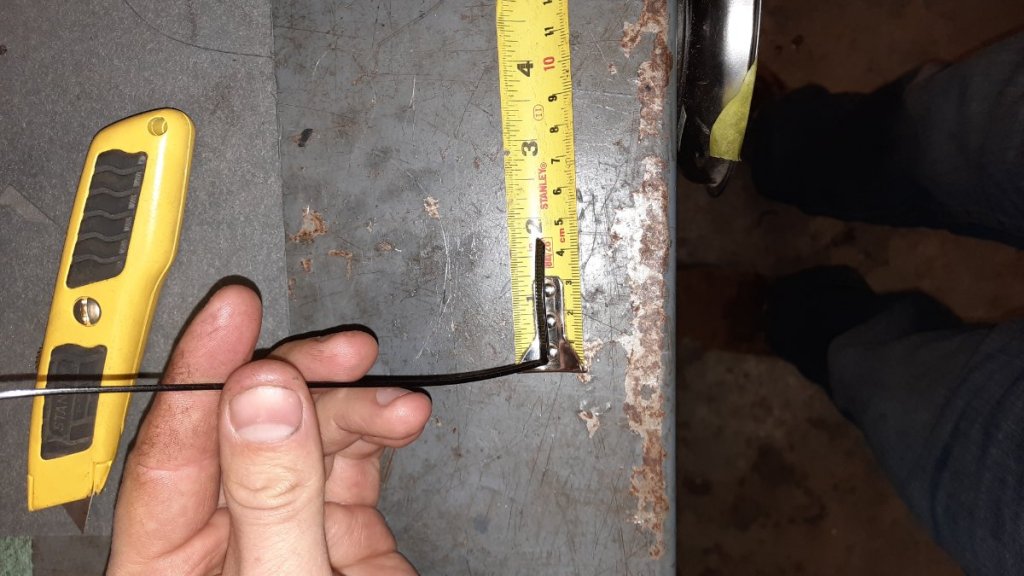
I have seen this trick mentioned briefly when doing some researched but the replies were mostly along the lines of it being sketchy or difficult. In fact it works very well and I have used this trick on both my FJ600 and now my RSTD. Use a good thick ziptie and there is no risk of it getting cut by the valve. The method I use is this: 1) Bend a heavy(thick) zip tie to 90 degrees by pinching it with pliers, make sure that the short leg is 1-3/4" long to reach the valve. 2) Turn the engine over until the cams are pushing down the valves and insert the zip tie with the stem facing between the pair of valves you want to check. 3) turn the zip tie gently to one side until you feel light contact or about 20 degrees, then while holding it there, slowly turn over the engine until you feel the valve grab the zip tie. If you miss, try lowering the valve and try again. 4) If you caught it, properly, you can keep turning until you have enough room to pry out the shim from the bucket and grab it with a magnet as usual. 5) when do e, just turn the engine slowly backwards until it let's the zip tie go. Then you can wash, rinse and repeat for the remaining valves. Hope this helps the other cheap buggers like me who don't have the tool handy!1 point
-
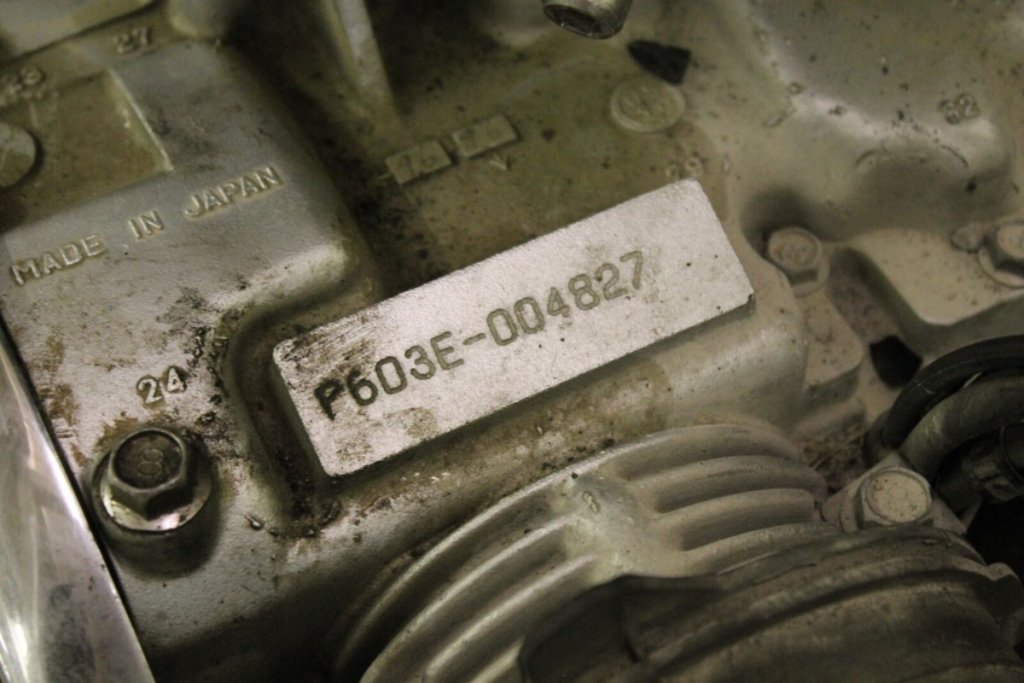
Omgosh........ yes I found that number yesterday same spot. Mine was covered by the rear tail pipe just out of site. Also a little wired our numbers are super close, lol. I also just called it in to Yamaha corporate office and they verified it for me. Also for anyone who struggles with this in the future they can help us with factory original numbers. If engine has been replaced they can’t help obviously. They were supper nice, and helpful. I will hopefully get back to the dmv today and get and get title and registration done. I thanks to everyone for all the help.1 point
-
At least I get to sit in the living room where it is nice and warm and watch the better half out there doing the shoveling of SNOW for a change.......1 point
-
Best of luck to ya...heal fast...At least you picked a good time to have it done.1 point
-
You are all wrong!!!!!!! That looks exactly like @cowpuc. Is it really him??? No wonder he was grunting!!1 point
-
Good luck with the surgery and the recovery. The disclaimer sounds more like an opportunity to have some fun?1 point
-
Expecting some pictures! You know it didn't happen if there was no pictures. Don't forget the nurses,, we are very interested in the nurses!!!1 point
-
Hope to hear from you a couple of days before and after your procedure. Recover fast. I will assume your PT will happen around Spring. Note: Please don't post any gross pictures.1 point
-
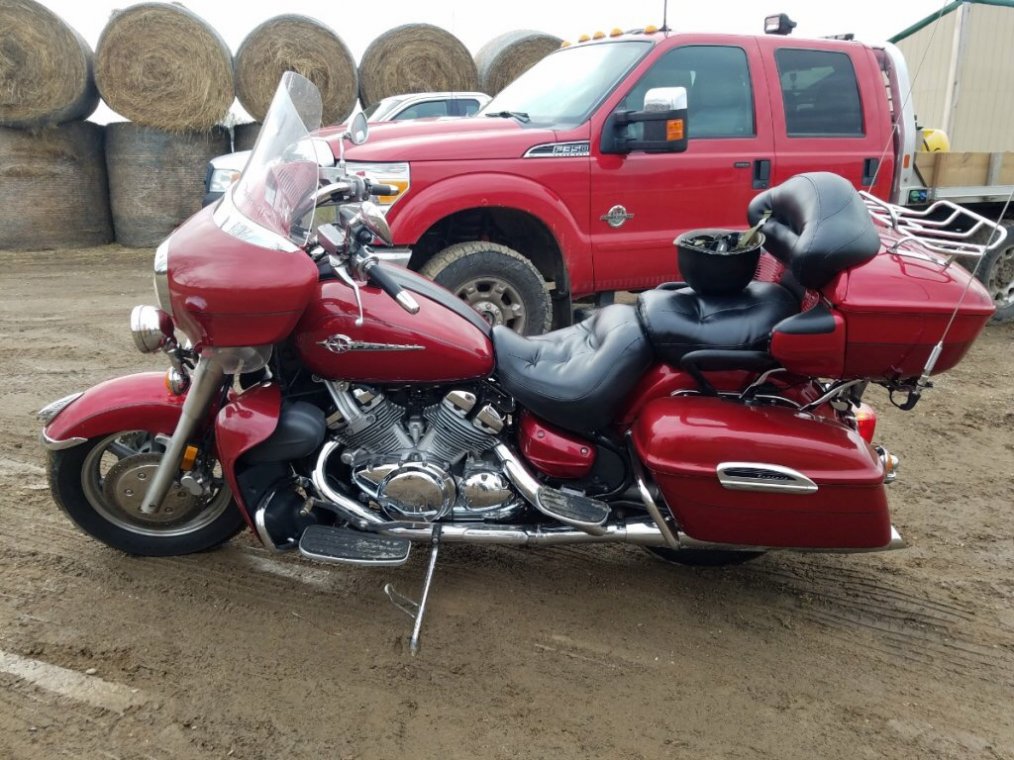
Last March, I brought the RSV to Phoenix so my buddy and I could ride through the Spring through Fall... Hitting the mountains and enjoying weekends on the road. Covid put an end to that. A few weeks ago, i started the bike up and fuel poured out the overflows. Went through the basics but nothing worked. Mind you I've been running her at least once a month since March. Running fine. This week I broke down and took the carbs off. Actually, after reading @V7Goose's older article about removing carbs and another that @Freebird posted from an earlier member... The process was simple!! Yea.... Seriously. Took the carbs out, cleaned the carbs, bowls, jets... Checked the gas in tank, fuel lines and replaced fuel filter. Replaced plugs as well. Thought we had it done but after 10 minutes or so of running very well... fuel poured out the left overflow. Took the tank and air stuff off... Started her up... And she ran fine... No overflow. What? Put her back together last night.Went for a long ride today.... City riding, country and freeway... Hitting 80mph. Not one issue. Have to conclude the problem was some gunk got in one of the carbs and took a while to work it's way out. For the record, the full gas tank had Stabil and Techron in it since March. BTW, I set the floats at 9mm and the pilots at 2.5. Pilots were at 2.25 and she was always cold blooded. So a touch more fuel I thought would help. It did. My thanks to @cowpuc for his help and his encouragement! Besides helping me stay on track, he gave me extra ideas to ponder and check out as I went through the carbs. This forum and it's members have once again proven their worth!! Sorry no pictures... We were to busy CTFW!! David P.S. Dont fear pulling the carbs on the 2nd gen. Read the two articles, both in the 2nd gen maintenance section. The pictures and explanations are perfect.1 point
-
Thank you for this video and info on the NAPA filter. I spent the better part of an hour repositioning the myriad hoses in that area from the rats nest they were (drove me crazy every time I looked at that) to make them more cleanly routed, freeing up enough space to put the filter in the hose area. See attached photos. A couple of key things to make this work: Remove the u-shaped hard rubber tube on the hose from the filter to the pump, this makes it easier to reroute it. Rotate that little black can, held on by the white p-clamp w/ the PIA screw/cap nut, ~45 degrees towards where the filter used to reside. loosen the hose clamp & rotate the pump hose going to filter ~180 degrees. Its preformed to go down from the pump and you want it to go up and back. I had a good bit of extra hose length going from the tank to the filter and did not want to cut it, so basically had to snake it around a bit under the tank, making sure not to have any kinks. Its not currently secured in position w/ any zip ties but just a tight friction fit and the hoses sorta holding it in position. I may take a second look at ensuring it cannot move and add some zip ties to be safe.1 point
-
1 point
-
I enjoyed watching the video. [emoji2]. I currently have a purolator fuel filter. That NAPA 3001 you have is better, because it fits perfectly on the black rubber that holds the fuel filter. [emoji1303] Sent from my iPhone using Tapatalk1 point
-
Excellent video. Thank you so much for taking the time. I have copied this to the Tech Library.1 point


